In this guide we’ll show you how you can set up customer tags targeting to your Coupon X widget in a few super simple and quick clicks.
Click to read more about how to use Coupon X for Shopify or Wix.
With this feature you can choose to show or not to show the Coupon X widget based on tags you have added for your customers. For example you can choose to display your discount code only to customers who have subscribed to your email marketing. You can add a rule for any of your existing tags and even check if the customer is subscribed to receiving your marketing emails. Let’s dive in!
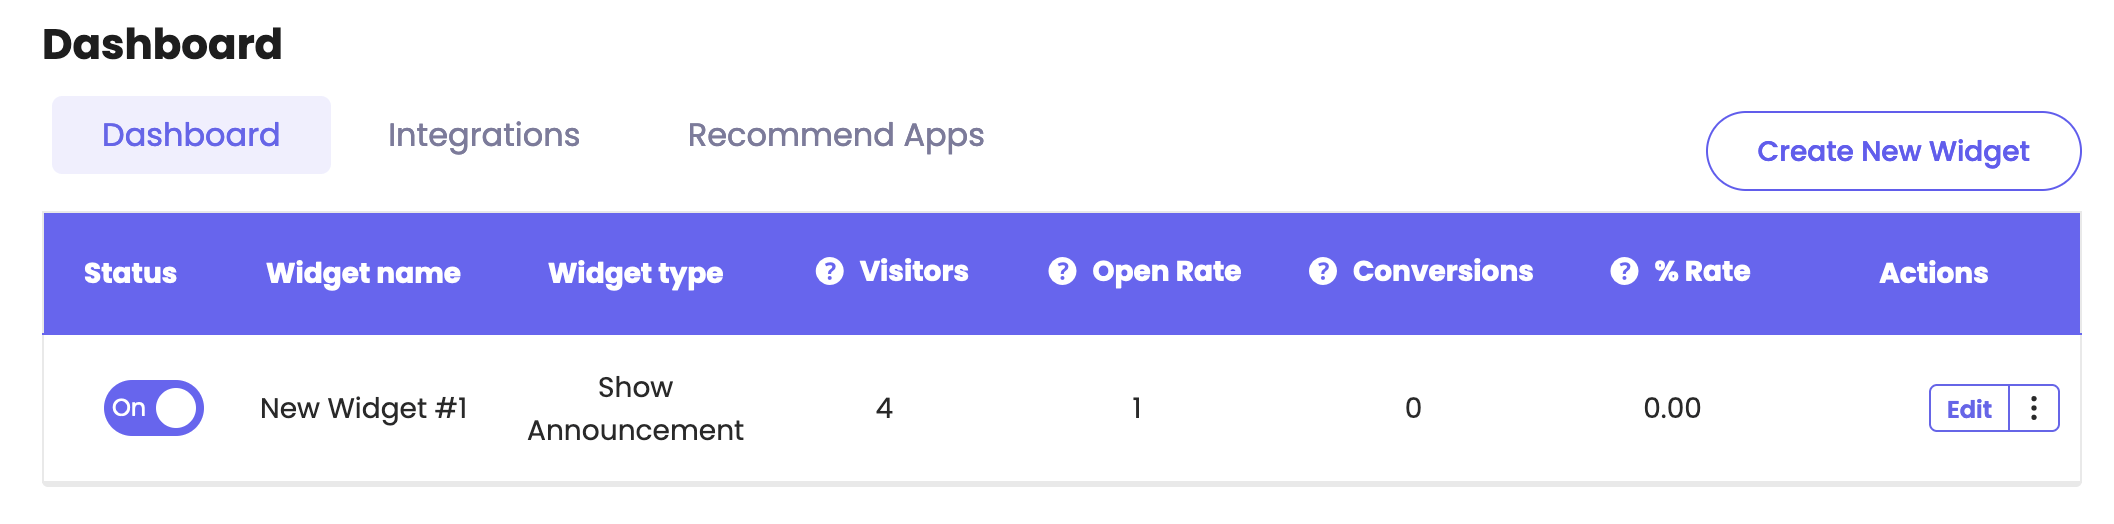
First, open the Coupon X app in your Shopify or Wix admin panel and click on the ”Edit” option next to your widget.
Click on Step 4: ”Triggers and targeting” in the page that will open.
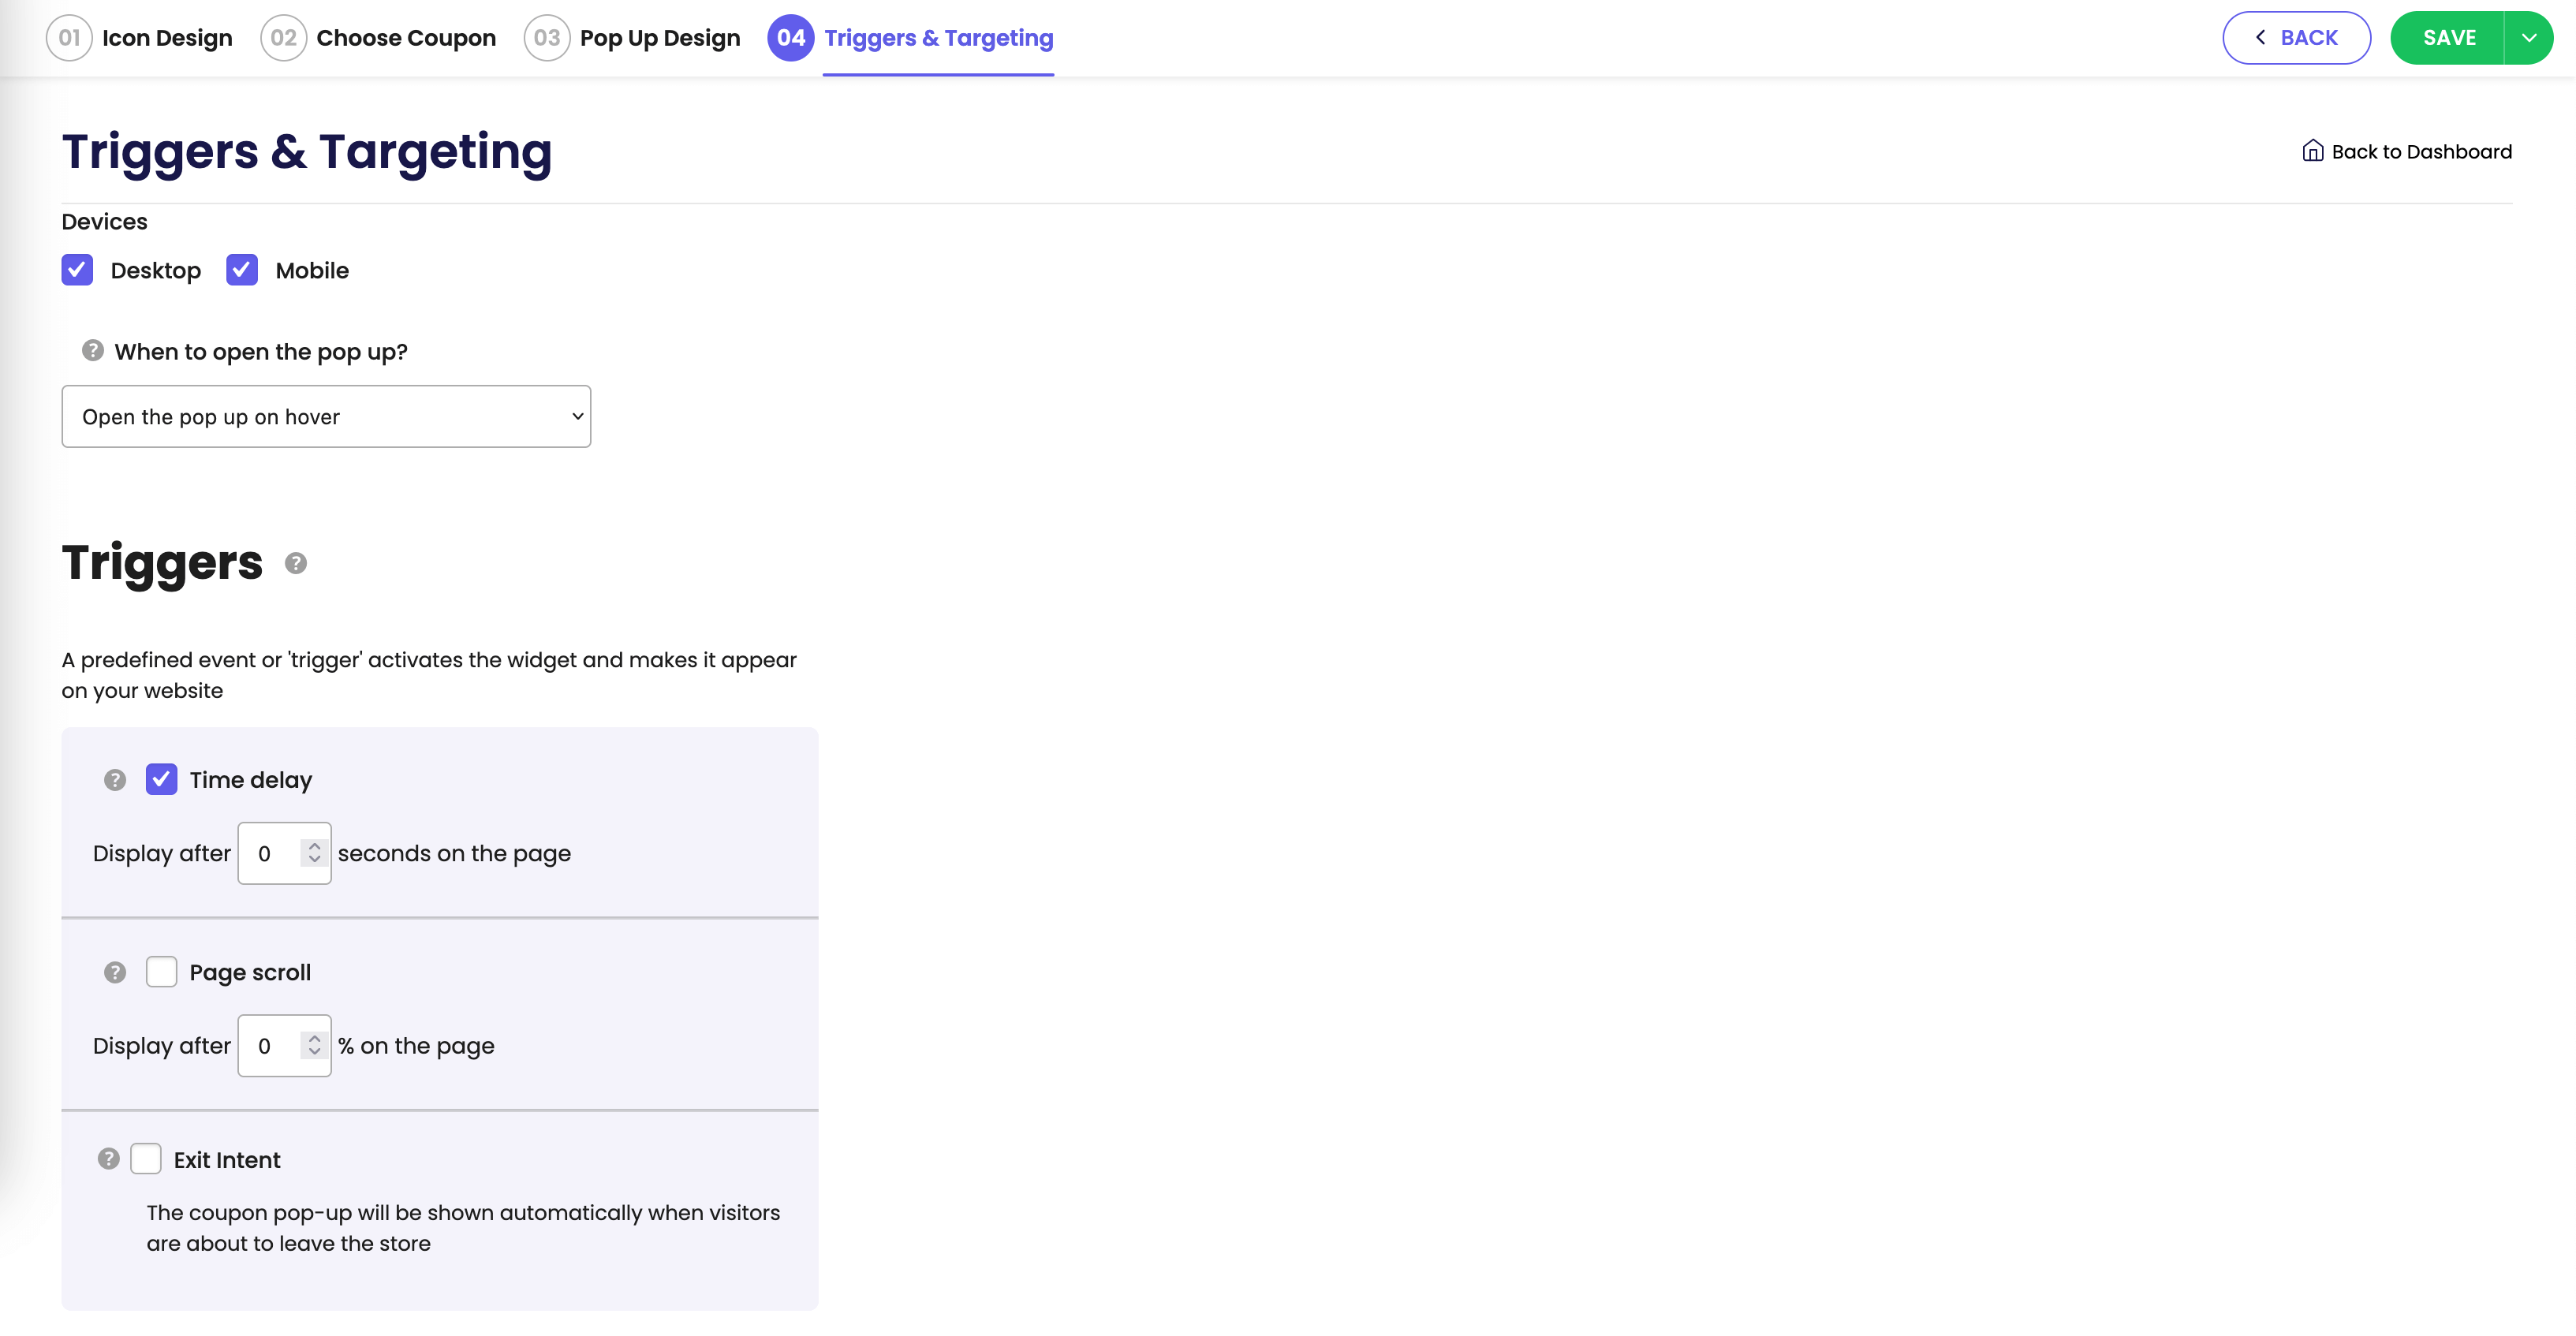
Scroll down the page and look for the ”Customer tags targeting” option. Please note it’s available for pro users only.
Now you need to select to show or don’t show the widget from the left-side field and select one or more of your existing customer tags from the dropdown menu of the right-side field.

That’s it! When you’re done setting up your customer tags targeting settings, don’t forget to hit ”Publish” at the bottom of the page. Easy as 1,2,3
You can also read more about how to display the widget on specific days and hours, add page targeting to display the widget on specific pages, add country targeting to display the widget for specific countries, choose to display different widgets based on the time of the day, set up cart targeting rules, set up (past) orders targeting, set up date schedule targeting, set up traffic source targeting by clicking on each of the hyperlinks.