In this guide we’ll show you how to display different coupon code widgets based on the time of the day using multiple Coupon X widgets. For example, this could be helpful if you want to offer different discount codes during the day and after business hours, or for weekdays and weekends.
Click to read more about how to use Coupon X for Shopify or Wix.
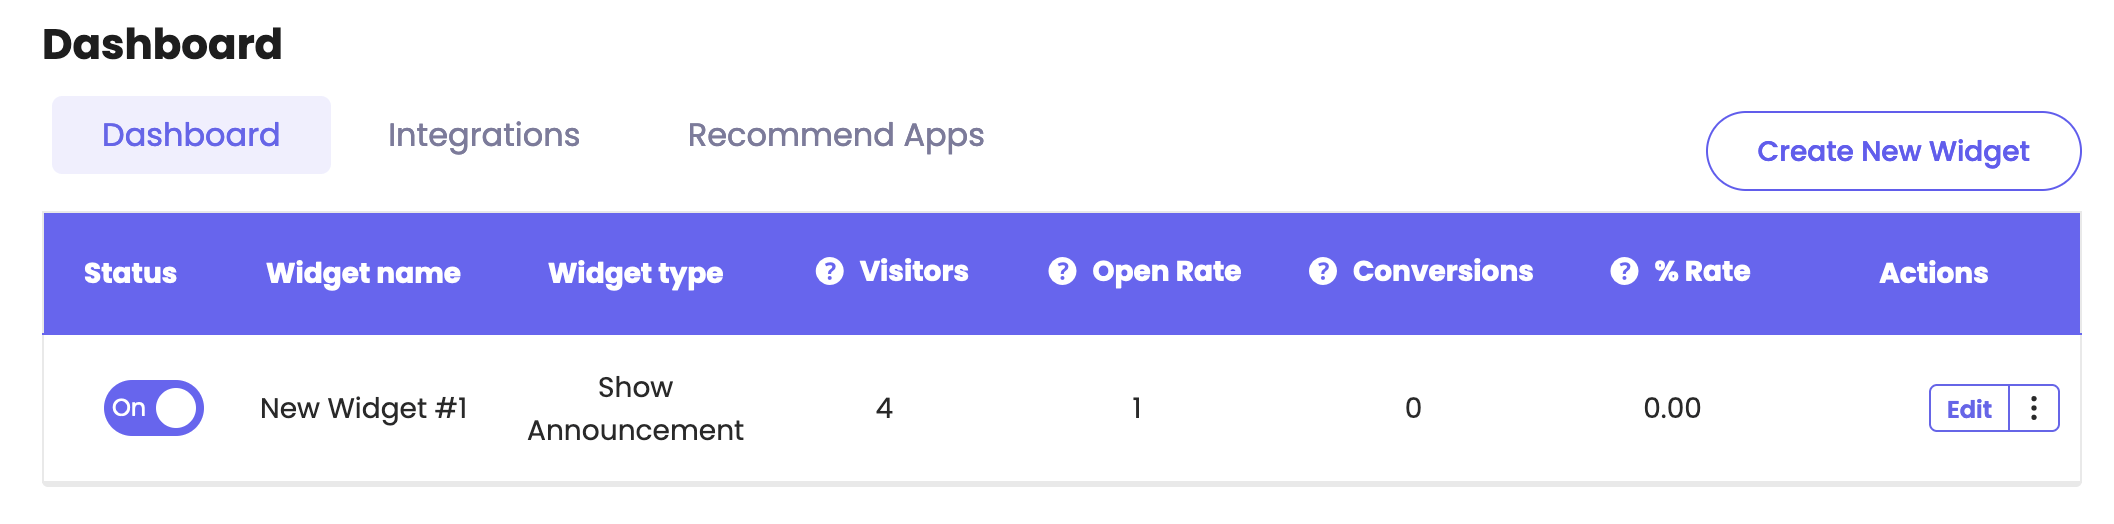
Start by opening the Coupon X app in your Shopify or Wix admin panel. In your app dashboard you’ll see a ”Create New Widget” button as well as a table with your current widgets and their statistics. To create a new widget, click on the ”Create New Widget” button.
You can read in more detail how to set up and customize your Coupon X widget here: https://premio.io/help/coupon-x/how-to-create-another-coupon-x-widget/ and here: https://premio.io/help/coupon-x/how-to-use-coupon-x/
Then, go to the ”Triggers & targeting” page. The targeting option you need in order to display different discount code widgets in different times of the day is the so-called ”days and hours” targeting.

Click on ”Add rule” and then select to display the widget only in the days and hours you want. For example, if you want to display your coupon code #1 in business hours on weekdays, choose ”Monday to Friday” and in the ”from” and ”to” fields respectively, add 9 and 5. When you customize your own widget, don’t forget to choose your timezone correctly from the ”GMT” option! If you don’t know your exact local timezone to GMT rate, you can check it out here: https://greenwichmeantime.com

Please note you can add a separate rule for each day of the week or choose from our ready custom options – ”Everyday of week”, ”Sunday to Thursday”, ”Monday to Friday” or ”Weekend”.

Now, following the same steps from above, create a new coupon code widget #2 with the discount code you wish to display after business hours, again for example, from 5 PM to 9 AM. In the ”days and hours” targeting, click on ”Add rule” and then select to display the widget ”Every week day” from 5 PM to 9 AM, following the above example. Again, don’t forget to choose your timezone correctly from the ”GMT” option! If you don’t know your exact local timezone to GMT rate, you can check it out here: https://greenwichmeantime.com
When you are done, don’t forget to toggle the ”Publish” button to activate the widget. That’s it, easy and clear!
You can also read more about how to display the widget on specific days and hours, add page targeting to display the widget on specific pages, add country targeting to display the widget for specific countries, set up cart targeting rules, set up (past) orders targeting, set up date schedule targeting, set up traffic source targeting or set up customer tags targeting by clicking on each of the hyperlinks.