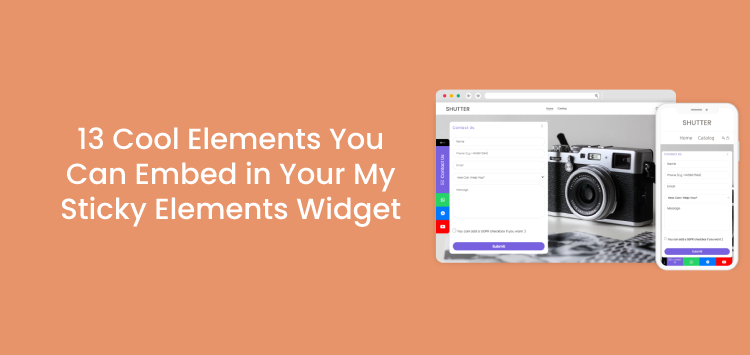
Using the My Sticky Elements plug-in for WordPress, you probably know that you can add a customized contact form and social channels to your widget to allow an easy all-in-one communication solution.
However, did you know that you can also embed almost anything in the plug-in custom shortcode channel to personalize your widget further and make it more adequate for your audience?
Using iFrames is a great way to create a visually rich environment and further engage with your audience in various ways. For example, you can share an excellent Spotify playlist that matches the tone of your website, promote your recent social media post to get it some extra love, squeeze in a language switcher or display a calendar so customers can book a time slot to connect with you and much more.
In this blog post, we will spark your creativity with 13 cool ideas about elements you can embed in your My Sticky Elements widget to boost its performance.
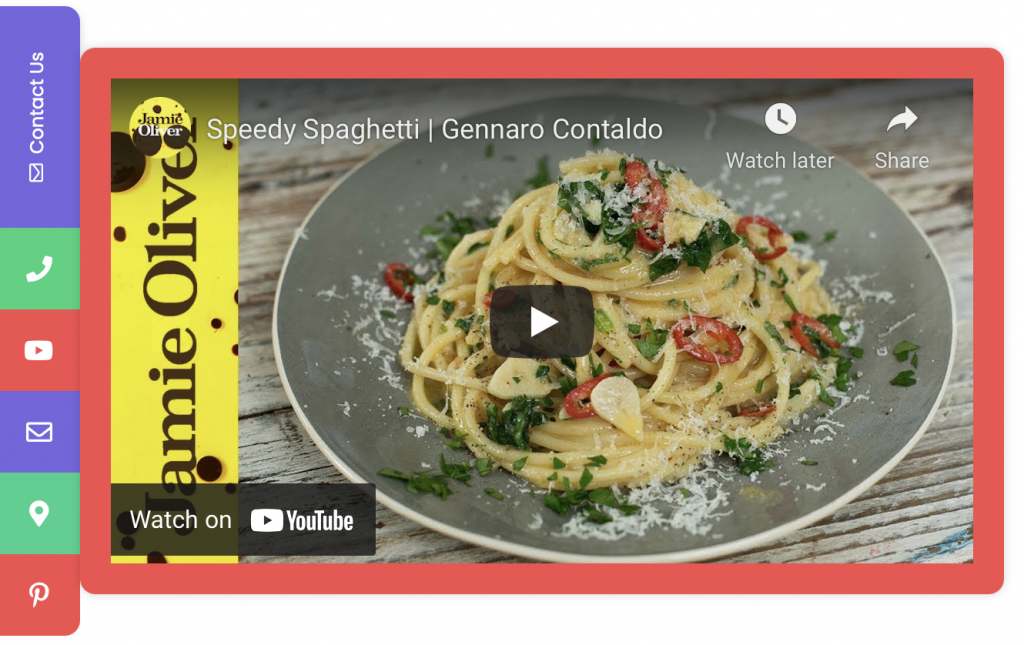
#1. Embed a YouTube video
In the digital era, videos have proven to be an effective way of communication that can boost your marketing and overall website traffic, and embedding one in your My Sticky Elements widget will only take you a moment.
All you have to do is open the YouTube video you want to embed, click on the ”Share” arrow button and then choose ”Embed”.
You can select what second or minute from the video you want your embedded video to begin at and further adjust the embed options.
Then, copy and paste the code into the My Sticky Elements custom shortcode channel settings.
Below is what the result may look like. Pretty fascinating, we would say.
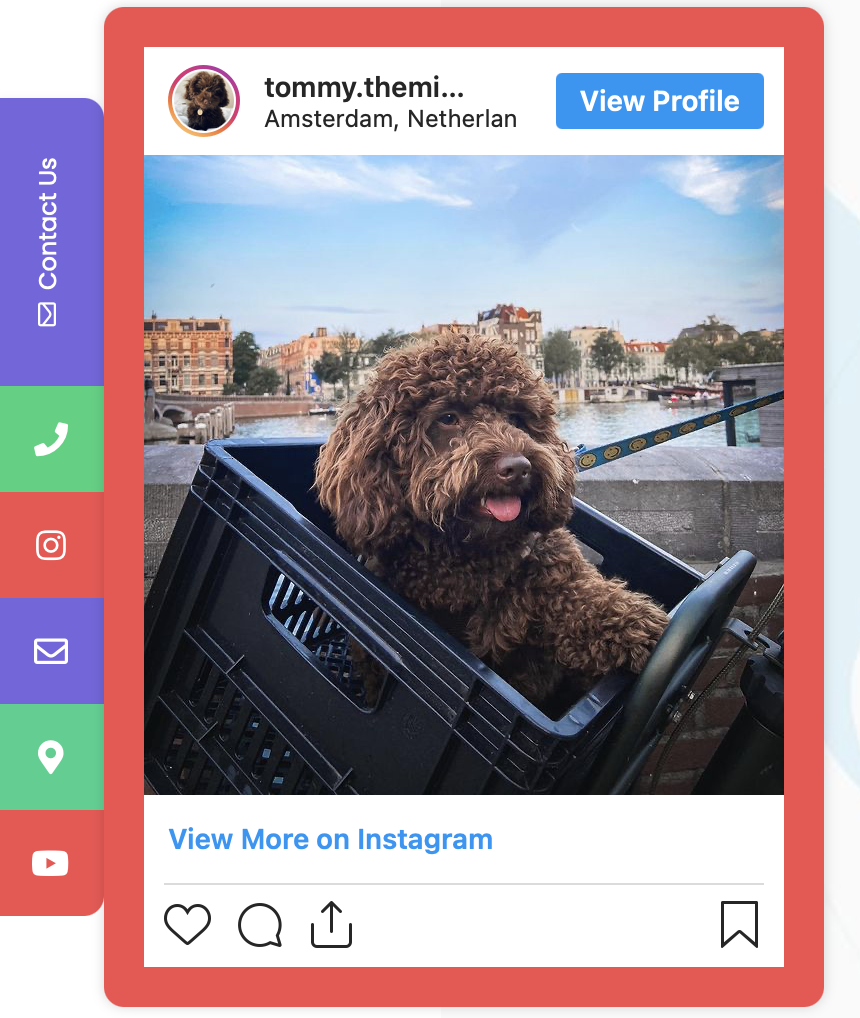
#2. Embed a social media post
Sharing your latest or most-loved social media post or flyer on your website can get it some extra visibility.
You can easily create flyers or posts using online tools like PhotoADKing, Canva, Visme, Colorcinch, etc. It is a win-win situation as that way; you can also direct website visitors to your social media accounts, expanding your audience across multiple channels.
You can embed a post or video from different well-known social media channels, such as Instagram or Facebook.
To embed a Facebook post, navigate to your preferred post, click on the three dots to the right, select ”Embed” from the settings and choose if you want to include the full post (meaning comments and reactions included), and then paste the code in the My Sticky Elements custom shortcode channel settings.
Embedding an Instagram post is similar – click on the three dots to the right of the position you want to embed, select ”Embed”, choose if you’re going to include the post caption, and copy-paste the code in the My Sticky Elements custom shortcode channel settings. The result will look something like this:
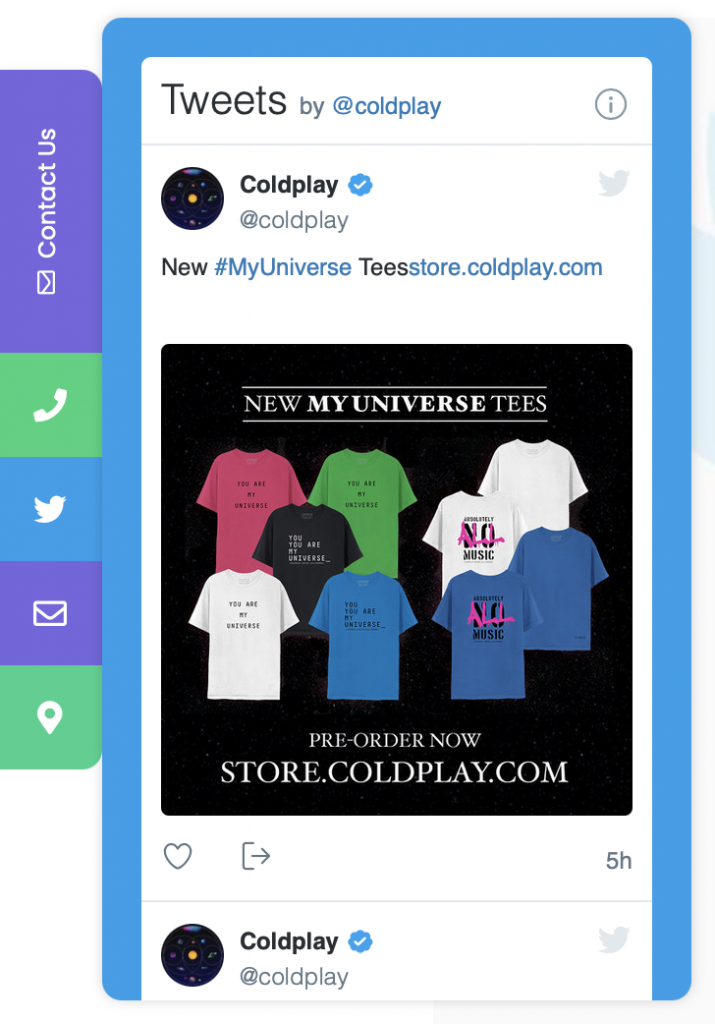
#3. Embed your Twitter timeline
Unlike most other social media channels that allow you to embed a single post only if you are on Twitter, you can embed your entire timeline in your My Sticky Elements widget.
To do this, open this page and add the URL of the account you want to embed in this format: https://twitter.com/yourusername, making sure to change the name so that it matches your Twitter username.
Then, choose the ”Embedded timeline” option and copy-paste the code you will be displayed in the My Sticky Elements custom shortcode channel settings.
The result will look something like this – a well-structured, scrollable timeline view:
#4. Embed a Spotify playlist
What we like most about this is that besides playing your favorite music playlist or album to set the mood for visitors scrolling on your website, you can also embed Spotify podcasts – thus sharing interesting topics or essential information with your audience.
Embedding any kind of Spotify content is easy – you just have to open Spotify, choose your preferred playlist, click on the three dots, select ”Share” and then ”Copy Embed Code”, adjust the element as per your needs and finally paste the code in the My Sticky Elements custom shortcode channel settings.
The result is pretty compact and good-looking.

#5. Embed the latest news or weather forecast
It may be handy to keep your audience up-to-date with the latest news on a subject or with the local weather forecast, and you can do this in a few quick clicks.
You need to paste the URL of the news page or forecast you want to embed on this page and copy-paste the code you will get in the My Sticky Elements custom shortcode channel settings.
Insider tip: for a real-time interactive weather forecast map with air quality information included, you can check this website, and this is how the result may look like:

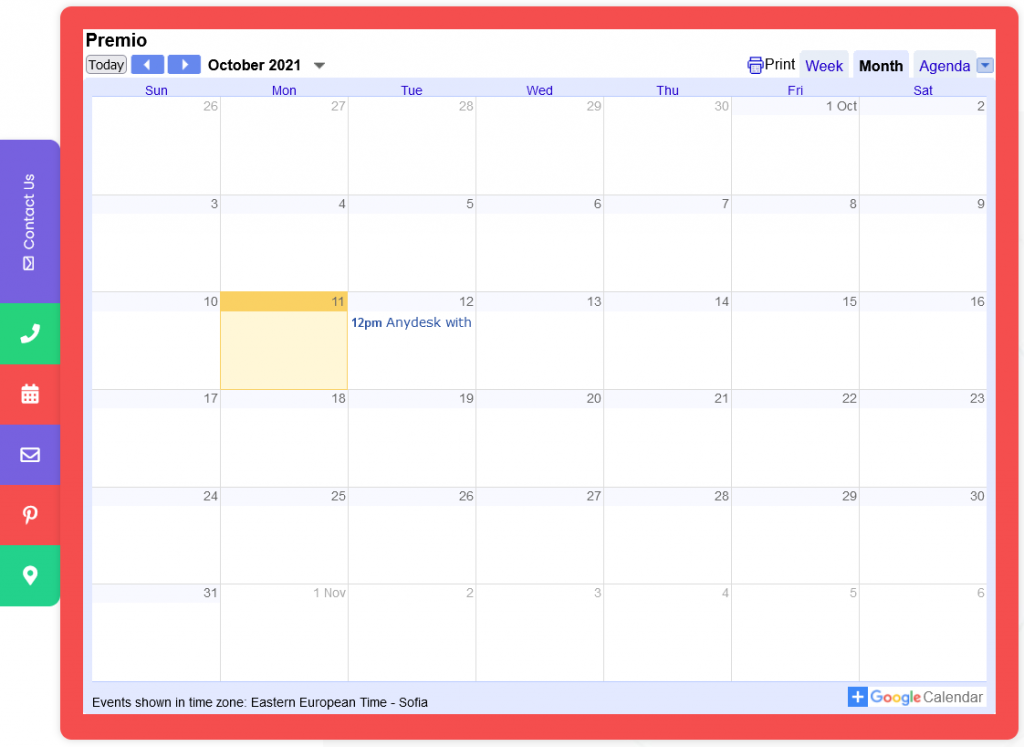
#6. Embed a calendar
You can share your Google calendar to display your schedule or an event or embed an interactive calendar that allows your website visitors to book a time slot for a short meeting with you using third-party products such as Calendly or M.E. Calendar.
In this post, however, we will cover how to embed a Google calendar. What you need to do is open your Google calendar on a computer (you won’t be able to get the embed code from the Google Calendar app), and click on ”Settings” in the top right of the page.
Choose the calendar you want to embed from the page’s sidebar you will be redirected to. Click on “Integrate calendar,” copy the embed code and paste it in your My Sticky Elements custom shortcode channel settings.
It is essential to remember your embedded calendar will only be visible to people you have shared your Google calendar with, so if you want all visitors to have access to it, you will need to make it public.
To allow site visitors to save a calendar event, you need to create or edit an event in a shared calendar and copy the code displayed in the “Publish event” window.
The result may look something like this:
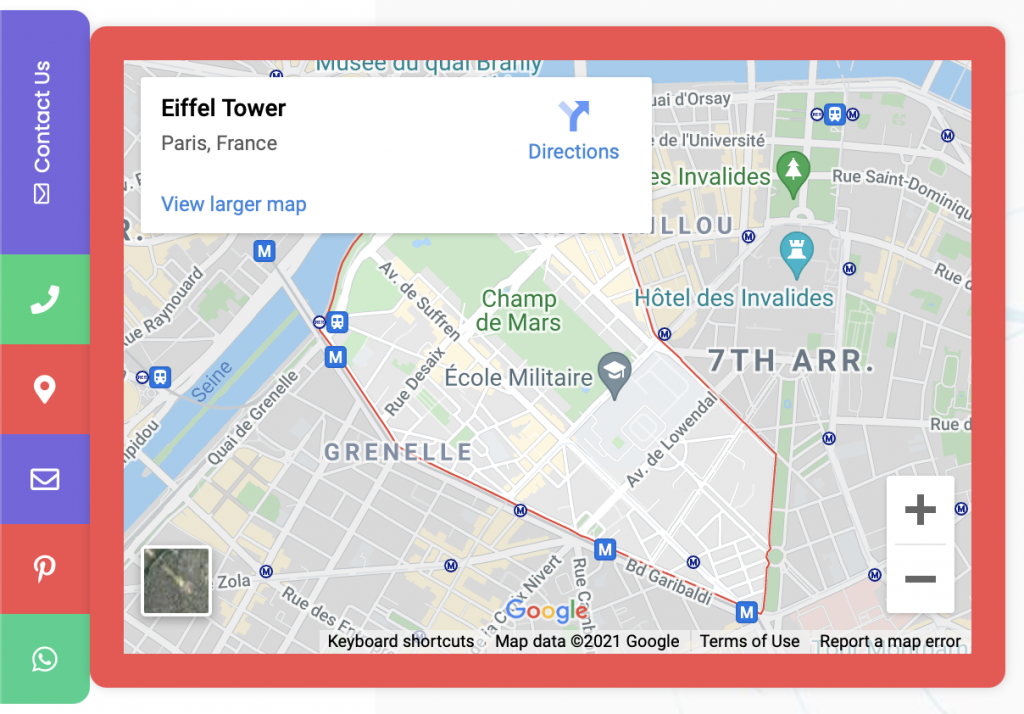
#7. Embed a Google Maps location
This could be an alternative to putting your location in writing or a solution for those who lack space for an entire map element on their site.
To embed a Google Maps location, all you need to do is type the address you want to embed in Google Maps, click on the ”Share” button, select ”Embed a map” (you can even choose the embedded map size), and copy-paste the code in the My Sticky Elements custom shortcode channel settings.
The result will look something like this:
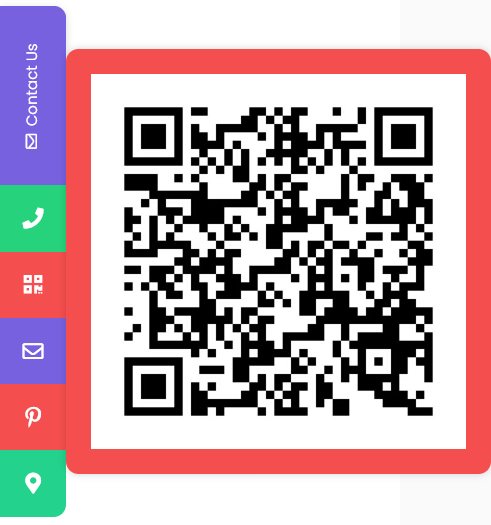
#8. Embed an image or a QR code
You may want to embed a custom image or a dynamic QR code to your widget, such as providing extra information about a product or service on the scan.
First, you must ensure the image or QR code you want to embed is uploaded to your WordPress Media library.
Then, click on the image to open it and copy the File URL. You can use this link to modify the element with custom width and height, making sure you paste your URL in place of the demo URL.
Next, copy-paste the iFrame code generated in the My Sticky Elements custom shortcode channel settings.
The result will look something like this:
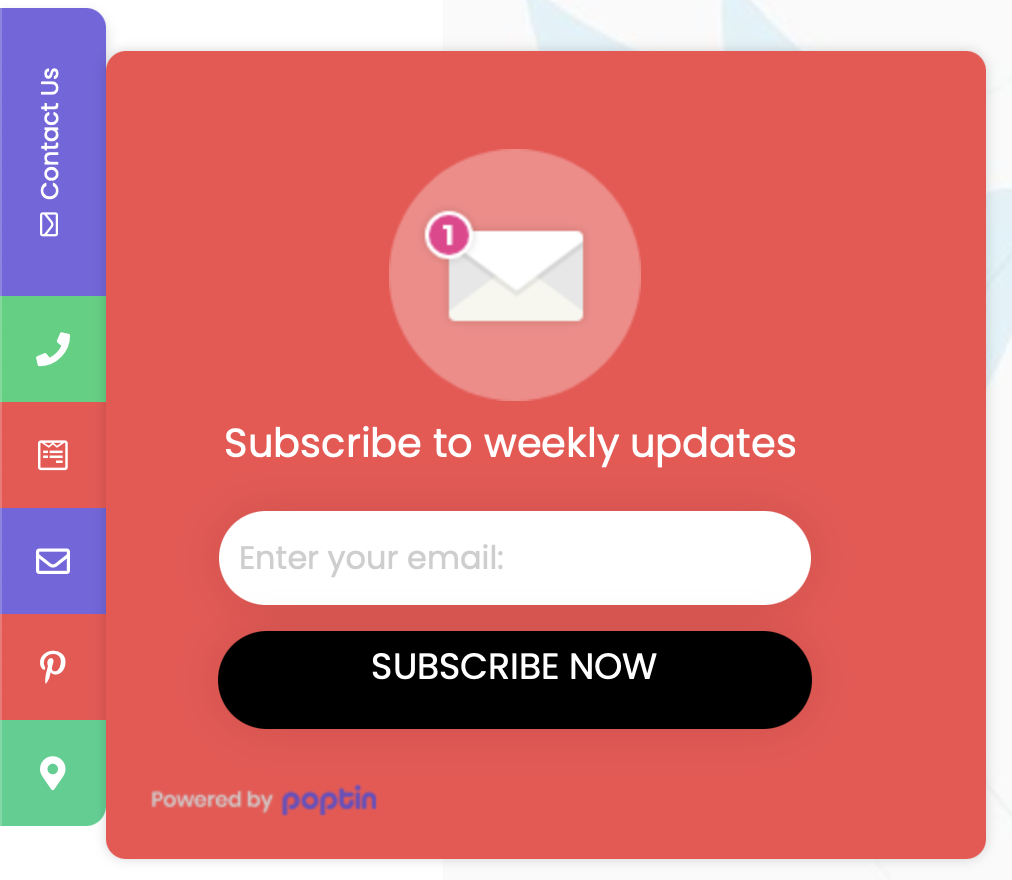
#9. Embed a Poptin form
An alternative to your website’s traditional static subscribe forms would be a ‘’sticky’’, expandable form embedded in your My Sticky Elements all-in-one widget.
An easy way to set this up would be using Poptin, a beautiful form and popup maker product you can download free from the WordPress repository.
It’s essential to keep in mind, however, that you can only embed a form and not a popup.
Once you create your Poptin form design, you will see a unique installation code that you can use to embed the structure in your My Sticky Elements custom shortcode channel settings.
For complete instructions on how to embed a Poptin form on your website, click here.
Simply copy-paste your Poptin form installation code into the My Sticky Elements settings, and you’re good to go – your embedded form will look something like this:
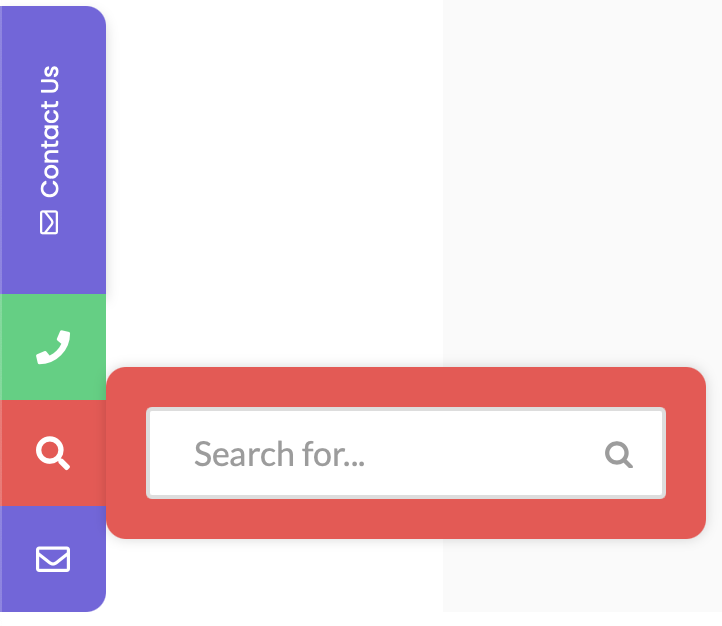
#10. Embed a search bar
Suppose you want a more minimalistic and simple look for your header or footer areas. In that case, you may consider placing some otherwise essential elements – such as a search bar, into your My Sticky Elements sidebar widget.
You need to follow the steps in this article to generate a search bar shortcode for your website.
Once the search bar shortcode is ready, to embed the search bar, simply add this piece of code (as per the search bar name in the article linked) in your My Sticky Elements custom shortcode channel settings:[wpbsearch]and the end result will look something like this:
#11. Embed a language switcher
Similar to the use case of the embedded search bar, you may wonder where you can place the language switcher on your website for a neater look at your website.
A great alternative would be embedding the switcher in your My Sticky Elements widget.
The process is straightforward – depending on the multi-language plug-in you are using, you need to fetch the switcher shortcode and paste it into the My Sticky Elements custom shortcode channel settings. The result will look something like this:

#12. Embed social share icons
The My Sticky Elements plug-in is meant to redirect to a social media channel rather than offering a way to share content across social media channels.
There, however, is a workaround to this by using a third-party free product called AddToAny.
All you need to do is paste the code you can find here into the My Sticky Elements custom shortcode channel.
Then, add the below CSS code in your WordPress dashboard > Appearance > Customize > CSS (or Additional CSS):
.a2a_kit{
width: auto !important;
}
The result offers classic social share style buttons, but if you want to spice up your look, you can take a look at the other AddToAny options here.

#13. Embed a .pdf document
You can embed a .pdf document to your My Sticky Elements widget so your website visitors won’t miss a vital copy or piece of information, such as terms and conditions.
To embed a document, use the below piece of code, making sure you change the yourlink.pdf example with the actual URL of your .pdf document.
<iframe src="https://docs.google.com/viewerng/viewer?url=http://yourlink.pdf&embedded=true" frameborder="0" height="500" width="500"> </iframe>The result may look like this:
And that’s it. We hope you found this blog post informative and valuable. The next time you work on a WordPress project, consider some of these examples for a remarkable result your customers will love!