In this guide we’ll show you how to send your Chaty contact form leads to your email address. Click here to learn how to add a contact form to your Chaty widget.
To learn more about how to use the Chaty plug-in click here, and don’t forget to check our entire Chaty knowledgebase to make the most out of it.
As a free user you can only store your leads in your local database. If you are a Pro user however, you can also send them to your email address so that you get notified instantly about new messages and improve your customer service.
So let’s dive in. First, open the Chaty settings from your WordPress dashboard and in ”Step 1: Choose your channels”, scroll down to your contact form settings.
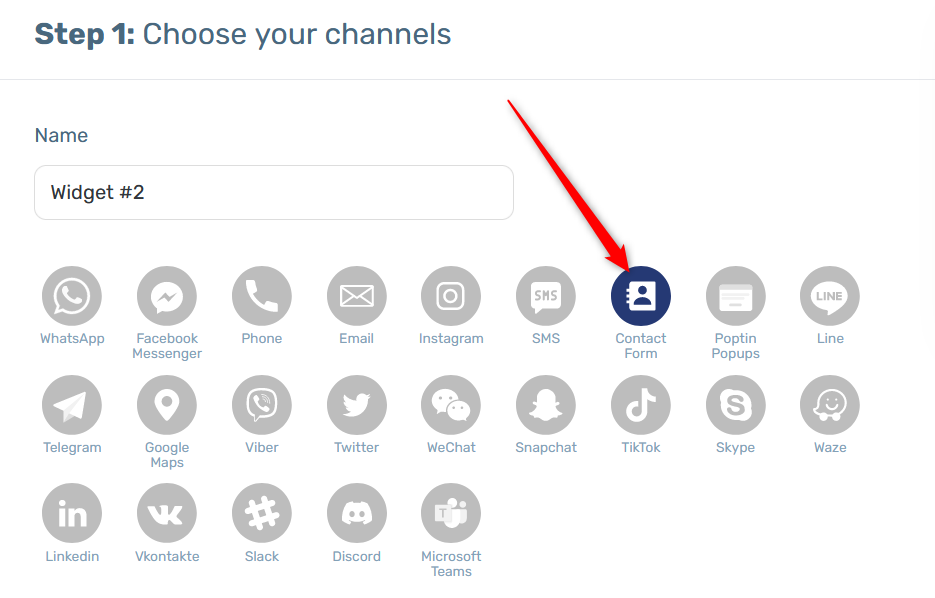
You can set up and customize your contact form in terms of appearance and functionalities by following each of the steps.
Finally you can enable sending your contact form leads to your email address. To set this up, you will need to add your email (if you want to add more than one email to receive the leads, you can do that by separating them with a comma), and you can also add any CC and BCC emails, set up sender’s name, for example ”Chaty” and email subject, like ”You’ve got a new lead”. You can use merge tags for the subject field, such as {name} to show the name of the person who contacts you in the email lead subject and {phone}, {email}, {date} and {hour} to display these details respectively in the email subject.

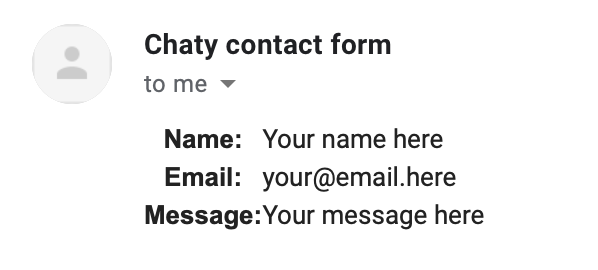
Here is how it may look in your email inbox:
That’s it! When you’re done, don’t forget to hit the ”Save changes” button to make sure your settings will be displayed accordingly. In the end, depending on your settings and customisations, it should look something like this: