In this guide we’ll show you how to add a contact form to your Chaty widget.
To learn more about how to use the Chaty plug-in click here, and don’t forget to check our entire Chaty knowledgebase to make the most out of it.
You can use this feature to provide a fast and easy way to connect with your customers, collecting the desired information from them in order to be able to provide better customer service. If you are a free user, your contact form leads will be stored in your WordPress local database and if you are a Pro user, you can choose to send your contact form leads to your e-mail.
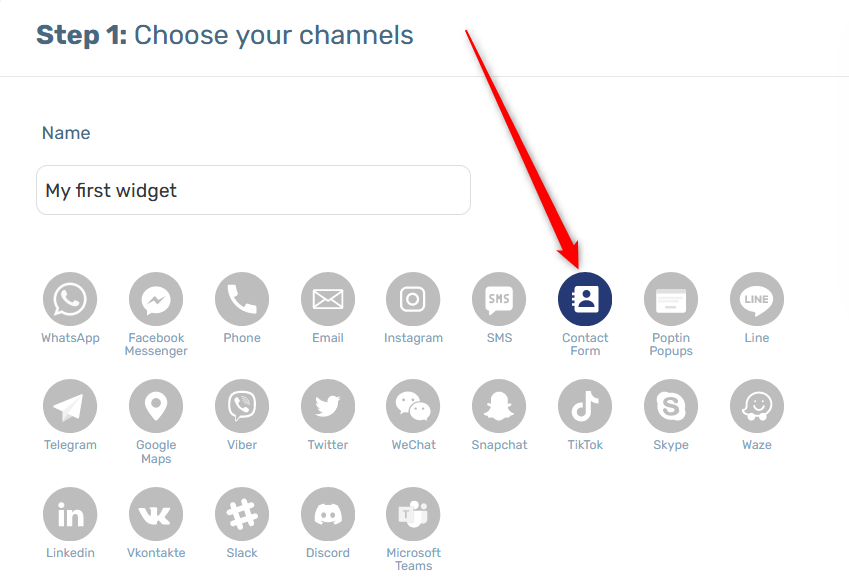
So let’s dive in. First, open the Chaty settings from your WordPress dashboard and add a the contact form channel from ”Step 1: Choose your channels”.
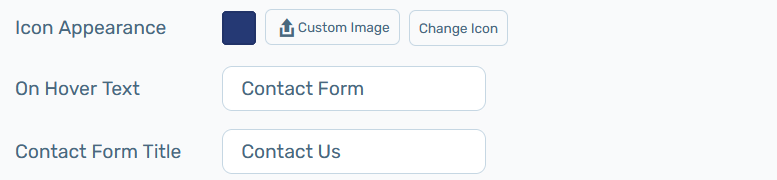
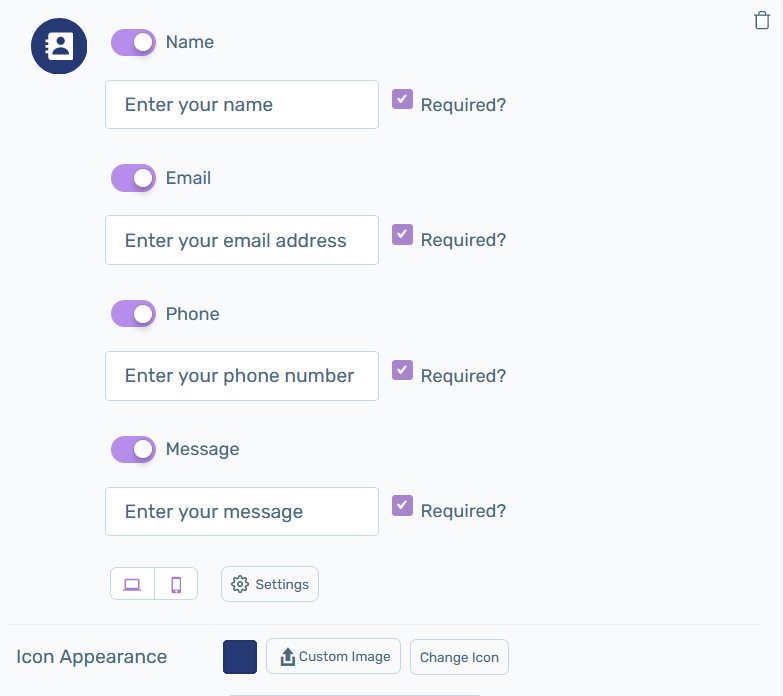
Starting to set up and customize your channel, first, choose your channel icon. You can use the pre-set icon and change its colour or upload a custom image of your choice. Then, set up your on-hover text, for example ”Contact us” and contact form title.
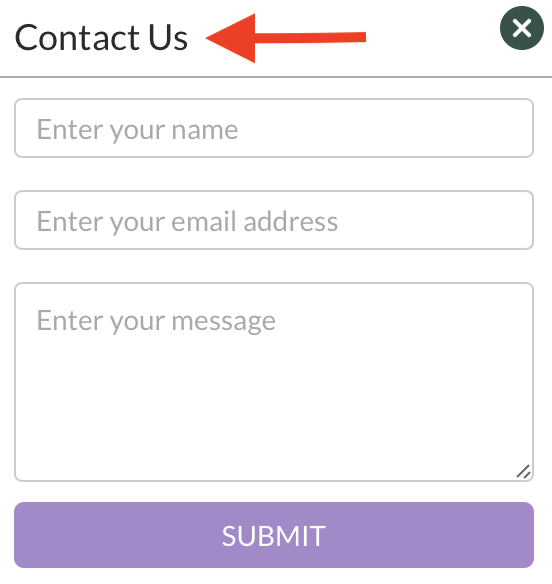
This is your contact form title:
Next, enable or disable each of the pre-set fields – name, email, message, and type your custom placeholder text for each of the fields, for example ”Enter your name”. You can then select whether each of the fields is required or not by toggling the ”Required?” button.
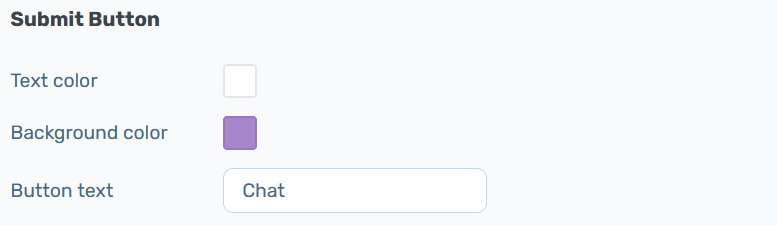
Now, choose your ”Submit” button text colour and background colour. You can edit the button text if you want to say something else. Next, you can add a custom ”Thank you” message, for example ”Your message was sent successfully”. Finally, you can enable redirecting after submission and add a redirect link to the page you want your website visitors to be redirected. You can enable opening the redirect link in a new tab.
You can also select to have the contact form close automatically after submission. If you enable this feature, you will be asked to add how many seconds after submission you want the form to close.
Finally, you can enable sending your contact form leads to your local database or to your email address, as well as add a reCaptcha to your form.
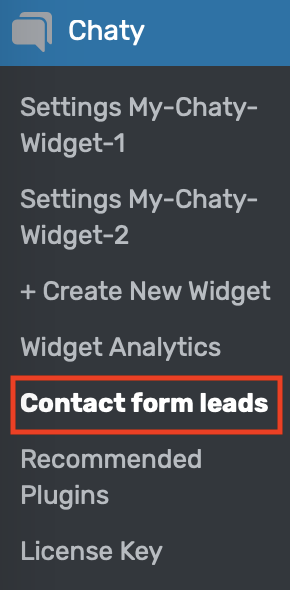
You can find your leads in your local database under the Chaty plug-in settings:
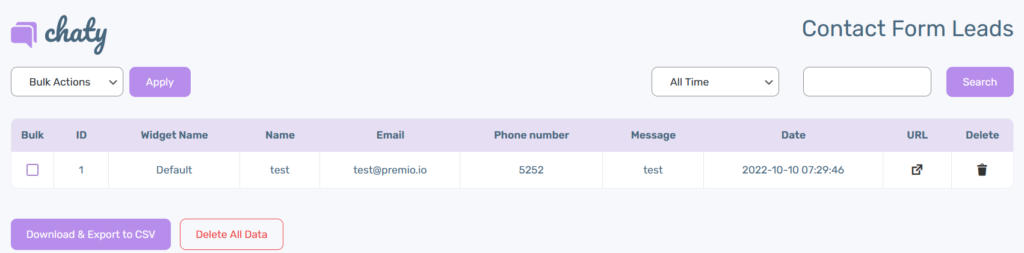
This is how your contact form leads page will look like:
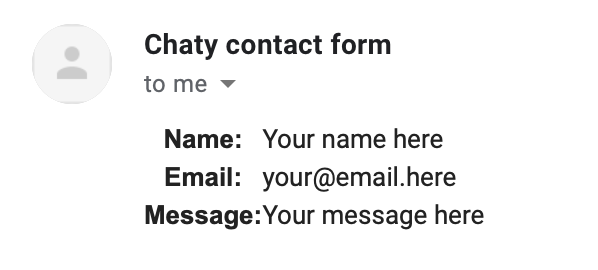
If you choose to send your contact form leads to your email address to be notified instantly, you will need to add your email and any CC or BCC emails if you’d like, and set up sender’s name, for example ”Chaty contact form” and email subject, like ”You’ve got a new lead”.

Here is how it may look in your email inbox:
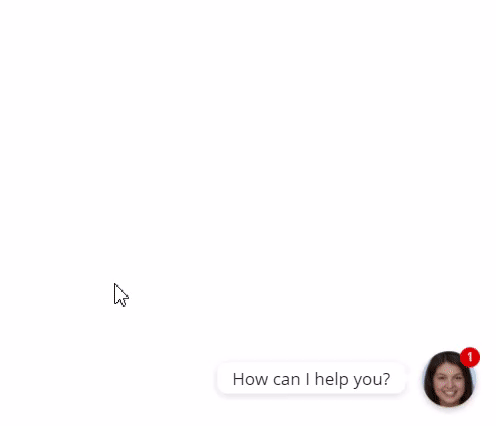
That’s it! When you’re done, don’t forget to hit the ”Save changes” button to make sure your settings will be displayed accordingly. In the end, depending on your settings and customisations, it should look something like this: