In this Help Guide, we will try to explain How to use Stars Testimonials plugin on WordPress. You can check how to collect reviews using Star Testimonials here.
Follow the steps below to understand the process:
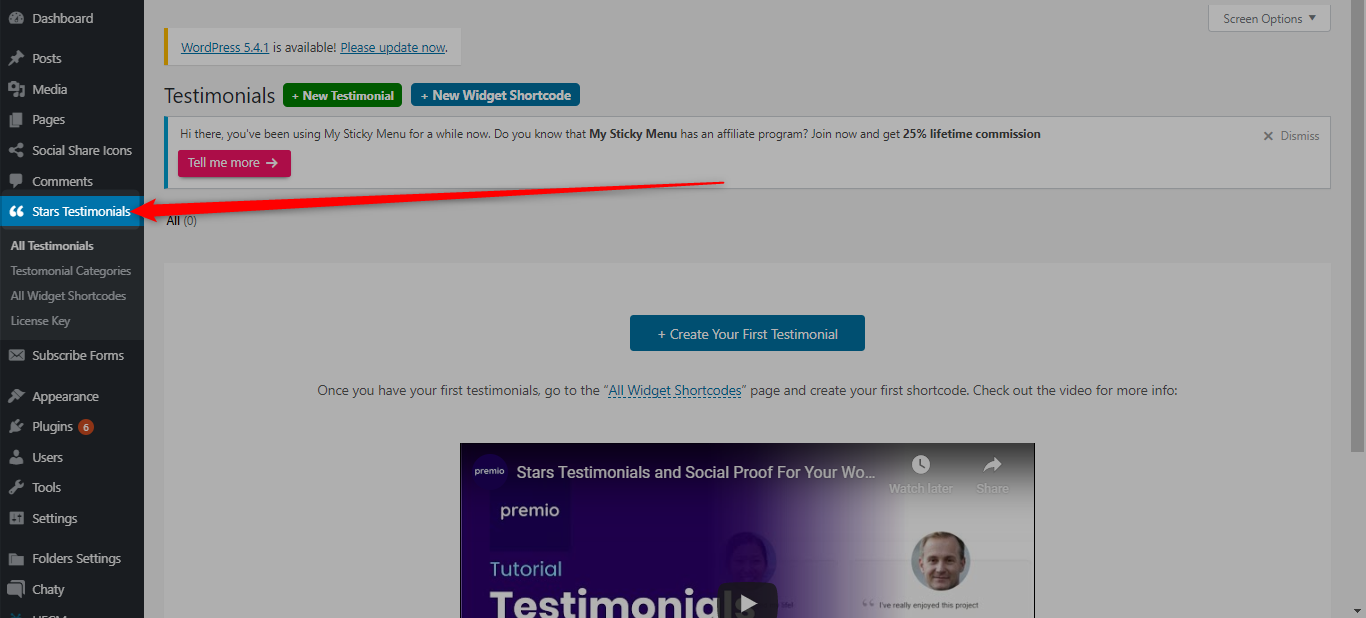
Step 1: Login to your WordPress Admin Dashboard and go to Stars Testimonials
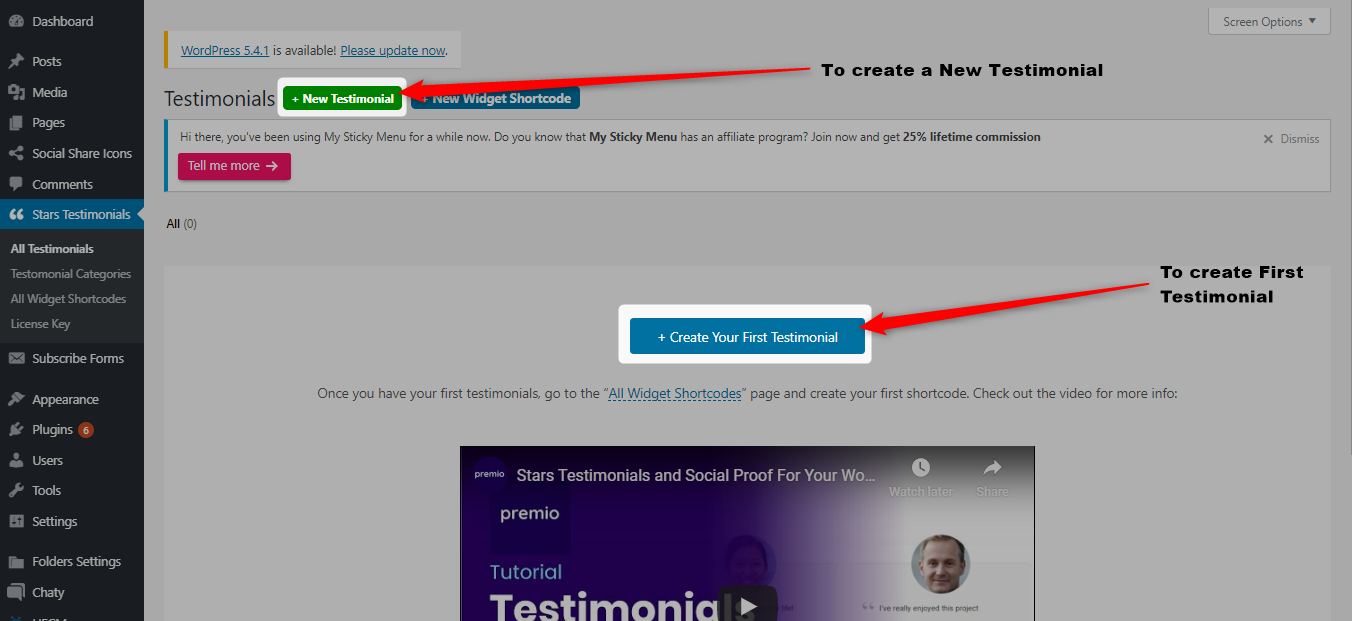
Step 2: Now click on “Create your First Testimonial” or “New Testimonial” in order to start making a testimonial
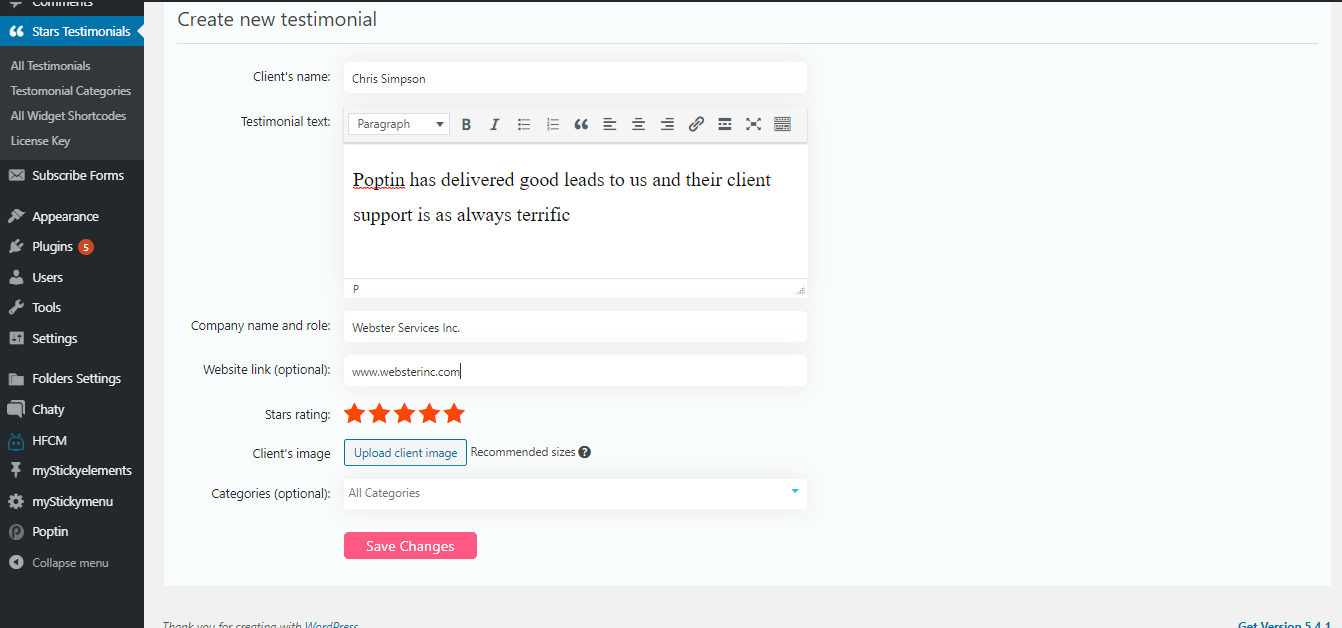
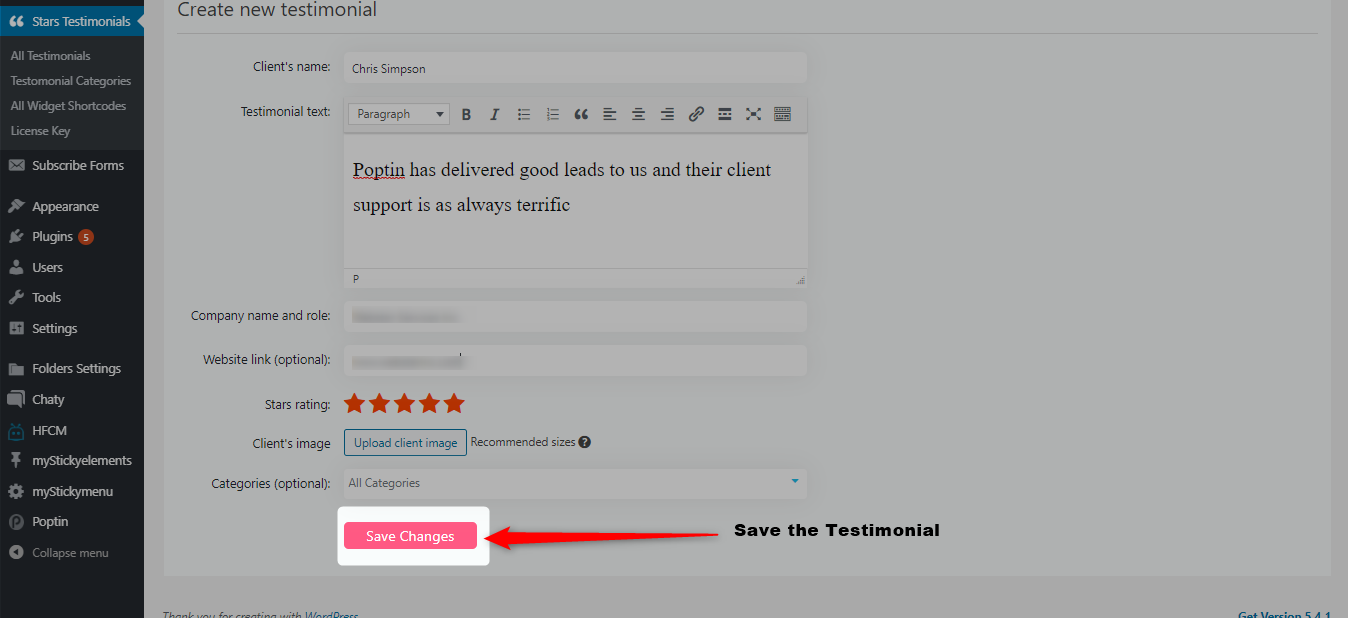
Step 3: Start creating your Testimonial
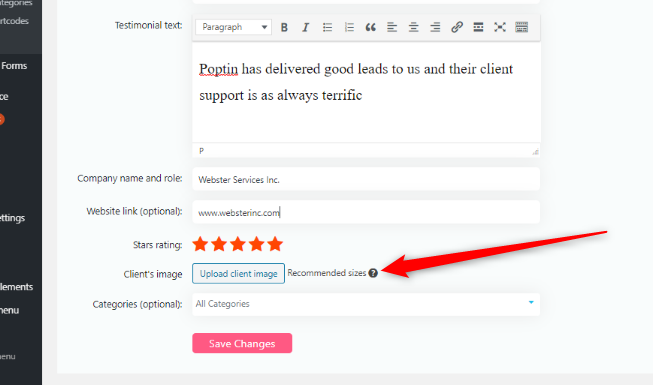
Please keep in mind to choose the recommended image size from here:
Step 4: Save your testimonial. Please make sure you add more testimonials by following the same process.
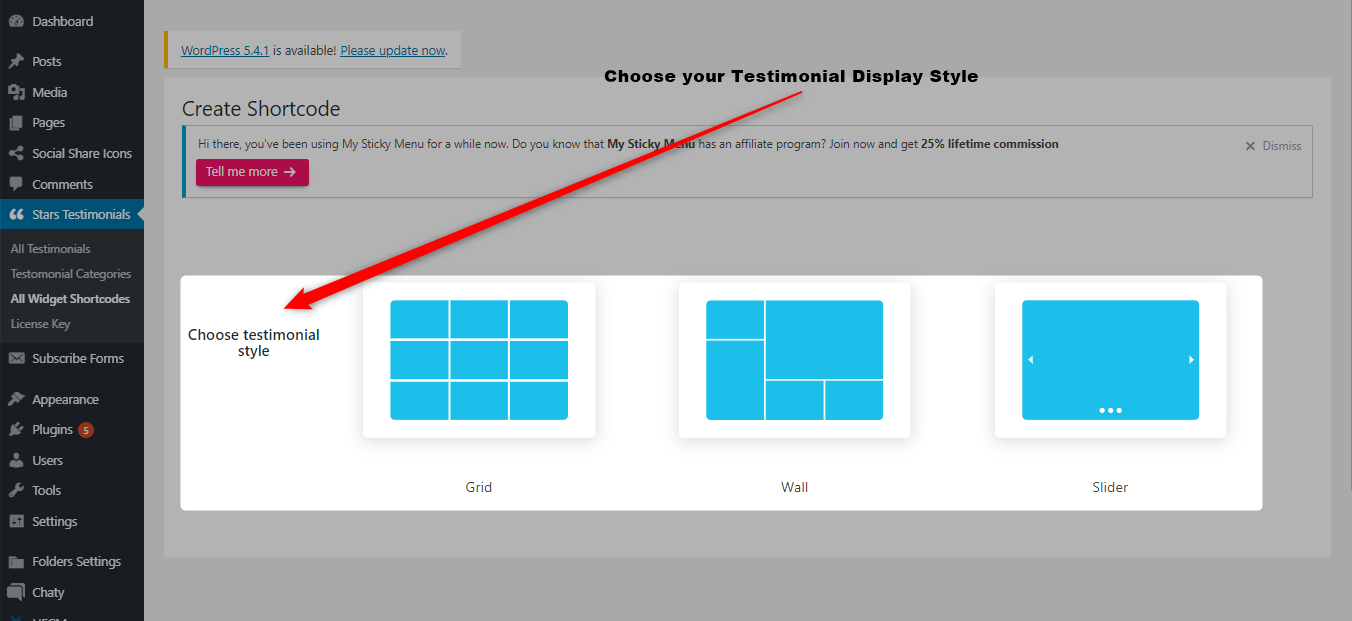
Step 5: Now set the Widget style and create its Shortcode

Step 6: Now select the Testimonial Display Style (Widget Style)
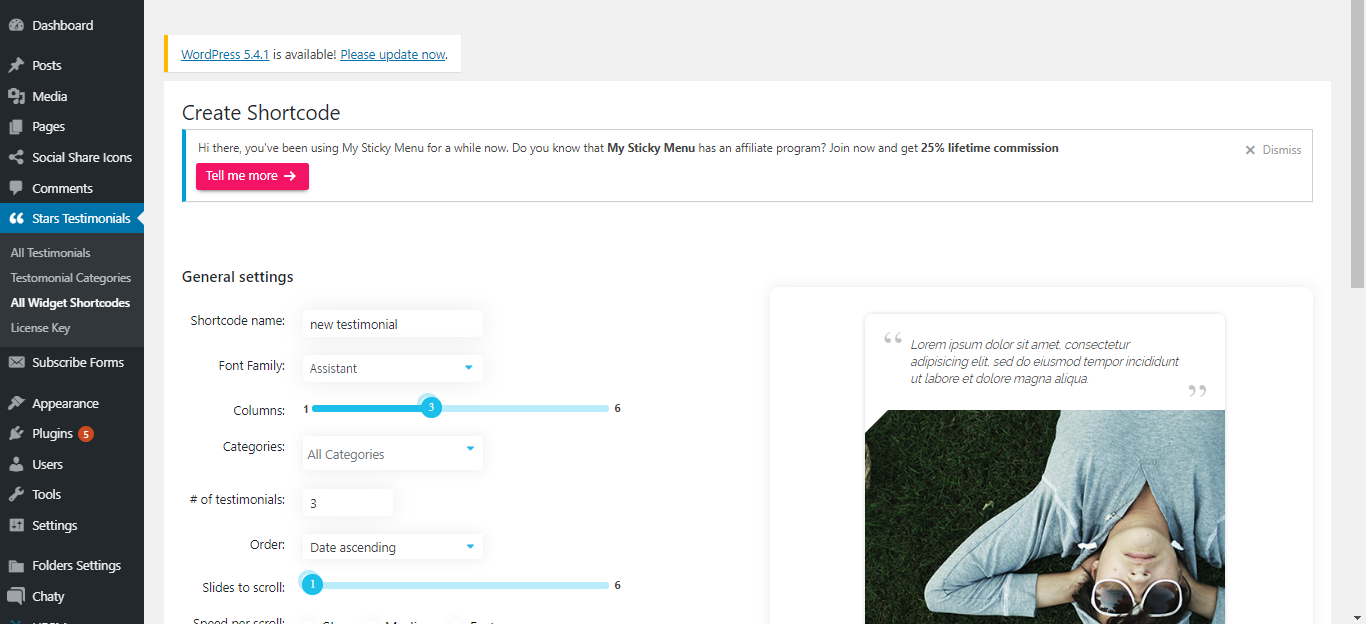
Step 7: Now customize the appearance of your widget in terms of Name, Font family, category, No. of columns, etc.
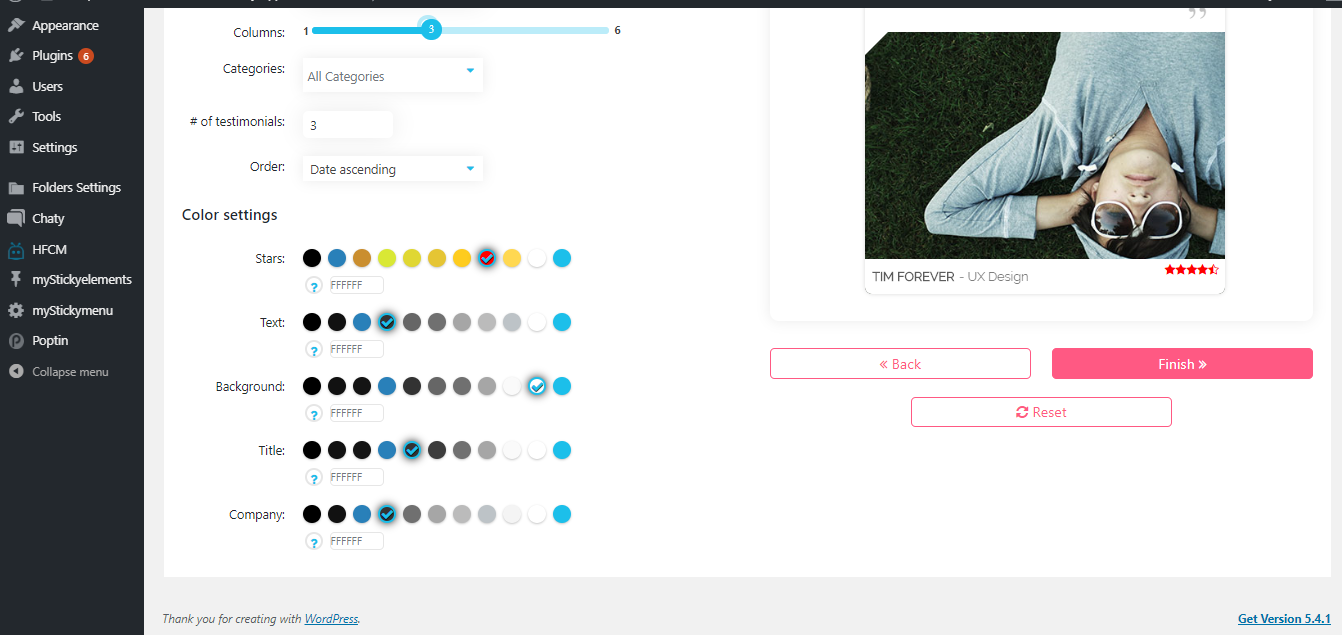
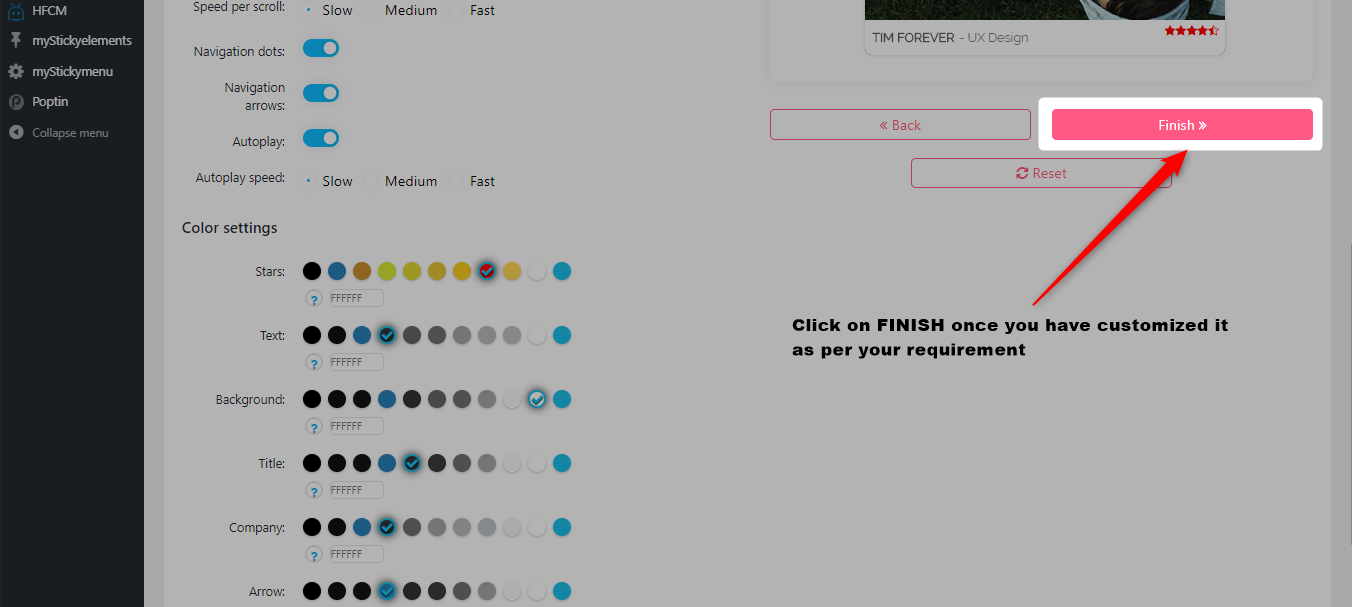
Step 8: Once you have fully customized the widget, click on the Finish button to save it
Step 9: Now copy the widget shortcode and paste it onto your page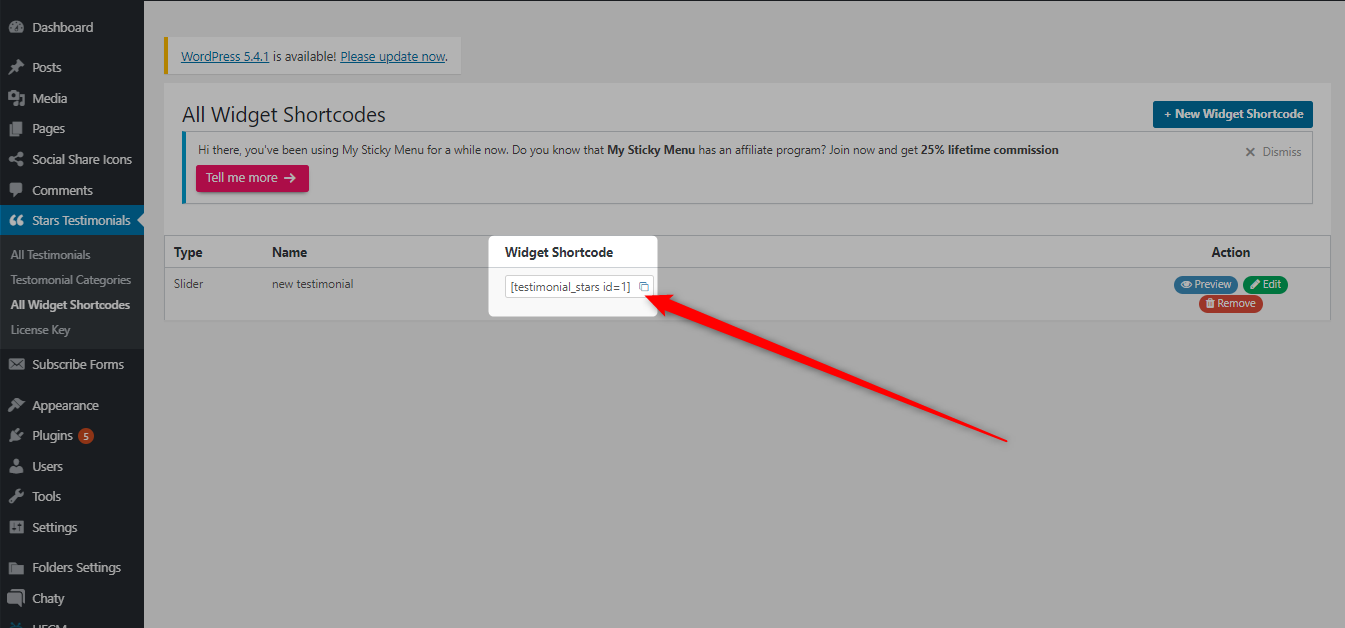
This is how the Testimonials may look on a real website. Please select the Grid layout for widget style and make sure you use client images of the recommended sizes as described while you create a testimonial and also keep the text size and quantity similar so that the grid looks aligned on the front end
(image for reference purpose only):