In this Help Guide, we will try to illustrate how to add labels to icons on My Sticky Elements?
To learn more about how to use the My Sticky Elements plug-in click here, and don’t forget to check our entire My Sticky Elements knowledgebase to make the most out of it.
Follow through the steps below to understand the process:
Step 1: Go to the My Sticky Elements settings on your WordPress Admin Dashboard
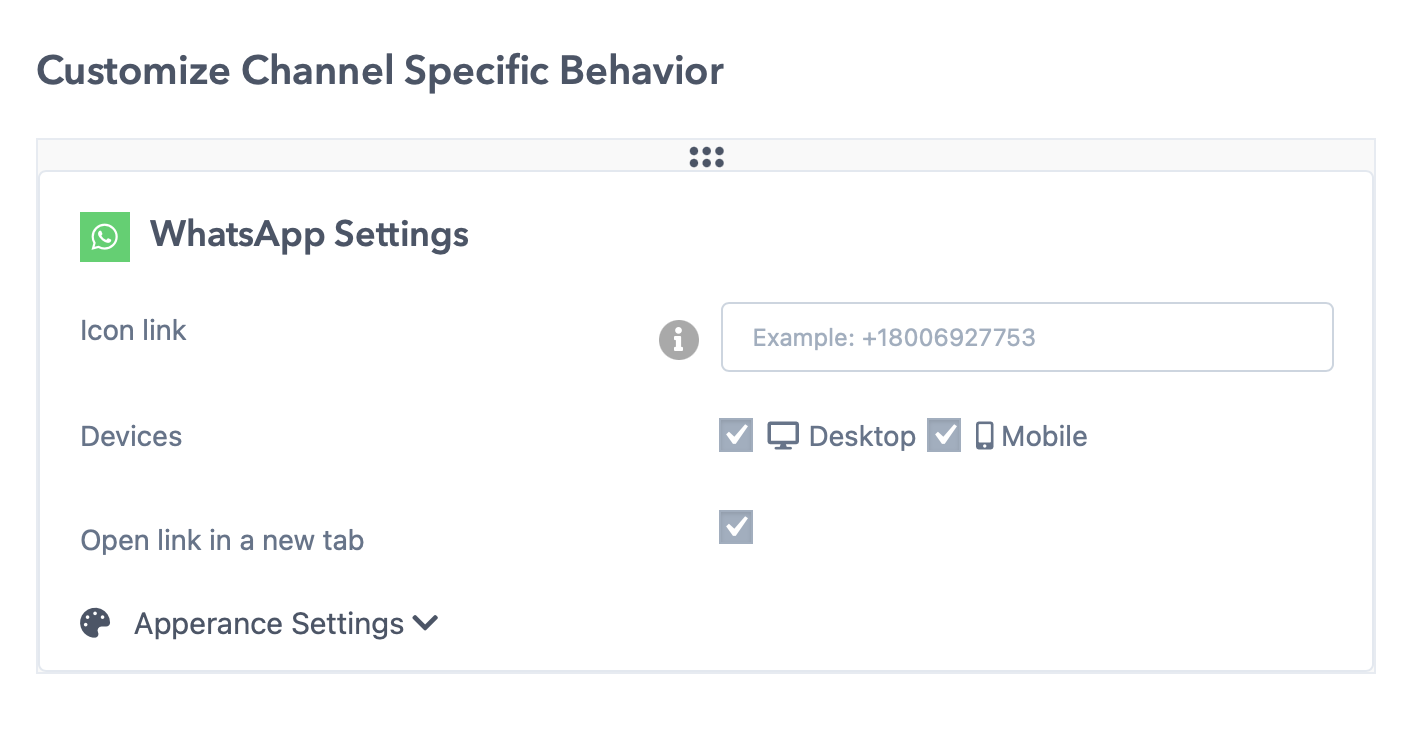
Step 2: Go to step 2: ”Add chat and social media”, then select any of the channels to add them to your widget and click on ”Appearance settings”
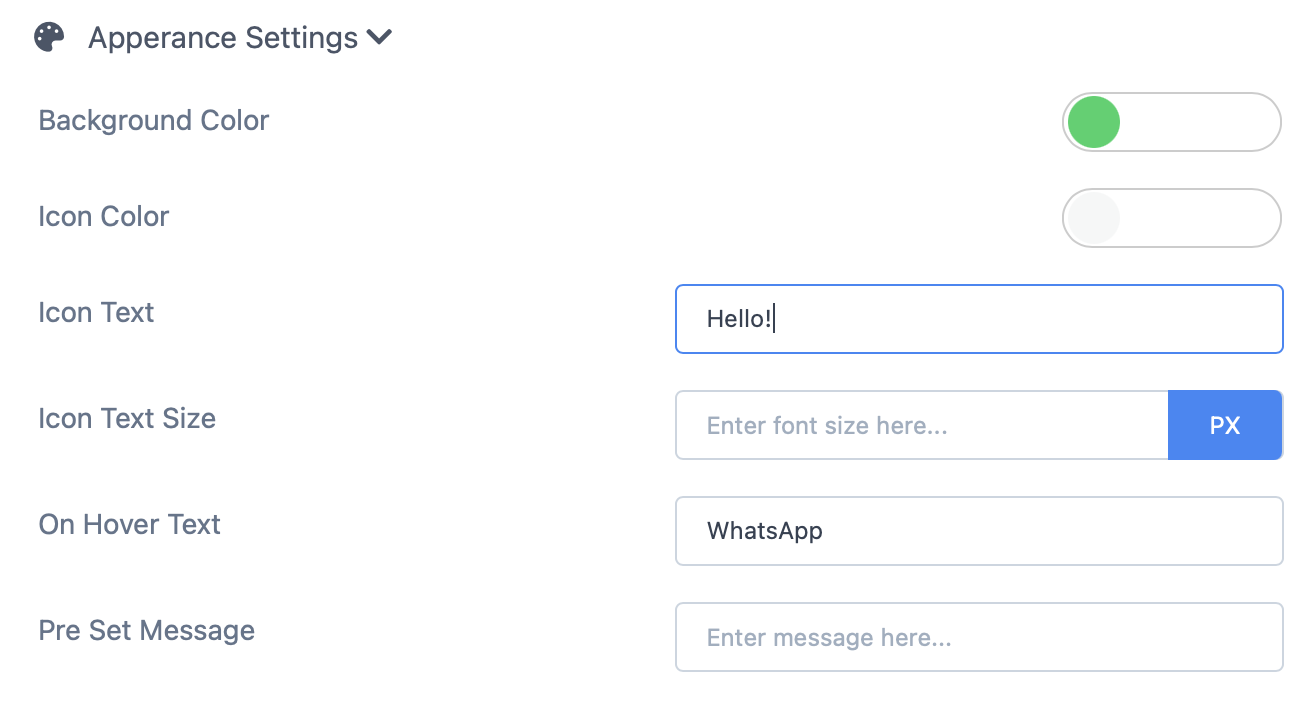
Step 3: from the settings that will show up, click on the ”Icon text” field and type your desired label
Step 4: When you are satisfied with the changes you have made. hit the Save button and that’s it!
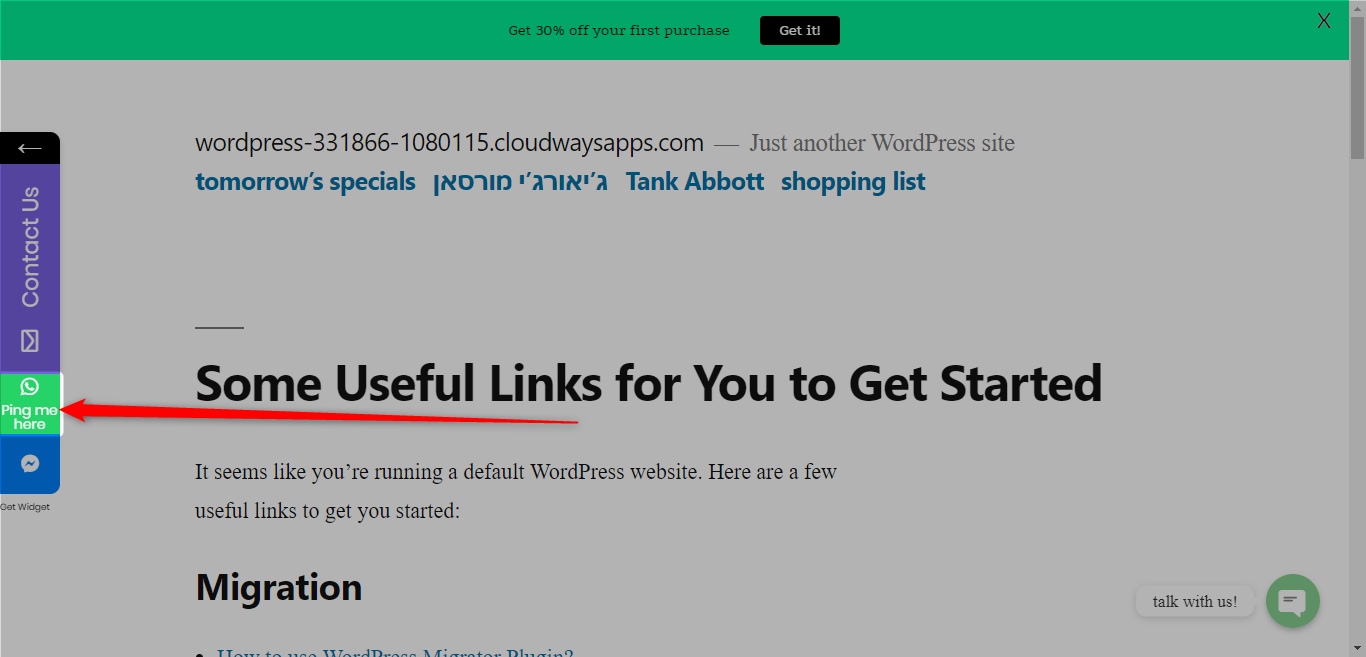
Step 5: This is how the changes may look on a real website depending on the font size and icon size (image for reference).