In this Help Guide, we will try to illustrate how to use My Sticky Elements.
Don’t forget to check our entire My Sticky Elements knowledgebase to make the most out of the plug-in ☺️
Download the My Sticky Element plugin for WordPress on Premio for WordPress if you haven’t still got it.
My Sticky Elements aims at getting new leads through a floating contact form on your website along with social media icons to connect visitors to your Facebook Messenger, Whatsapp, and much more.
You can use the form and the social media icons tabs individually or together as required.
Please follow through the steps below to understand the process:
Login to your WordPress Admin Dashboard and go to My Sticky Elements
Step 1: ”Add contact form”
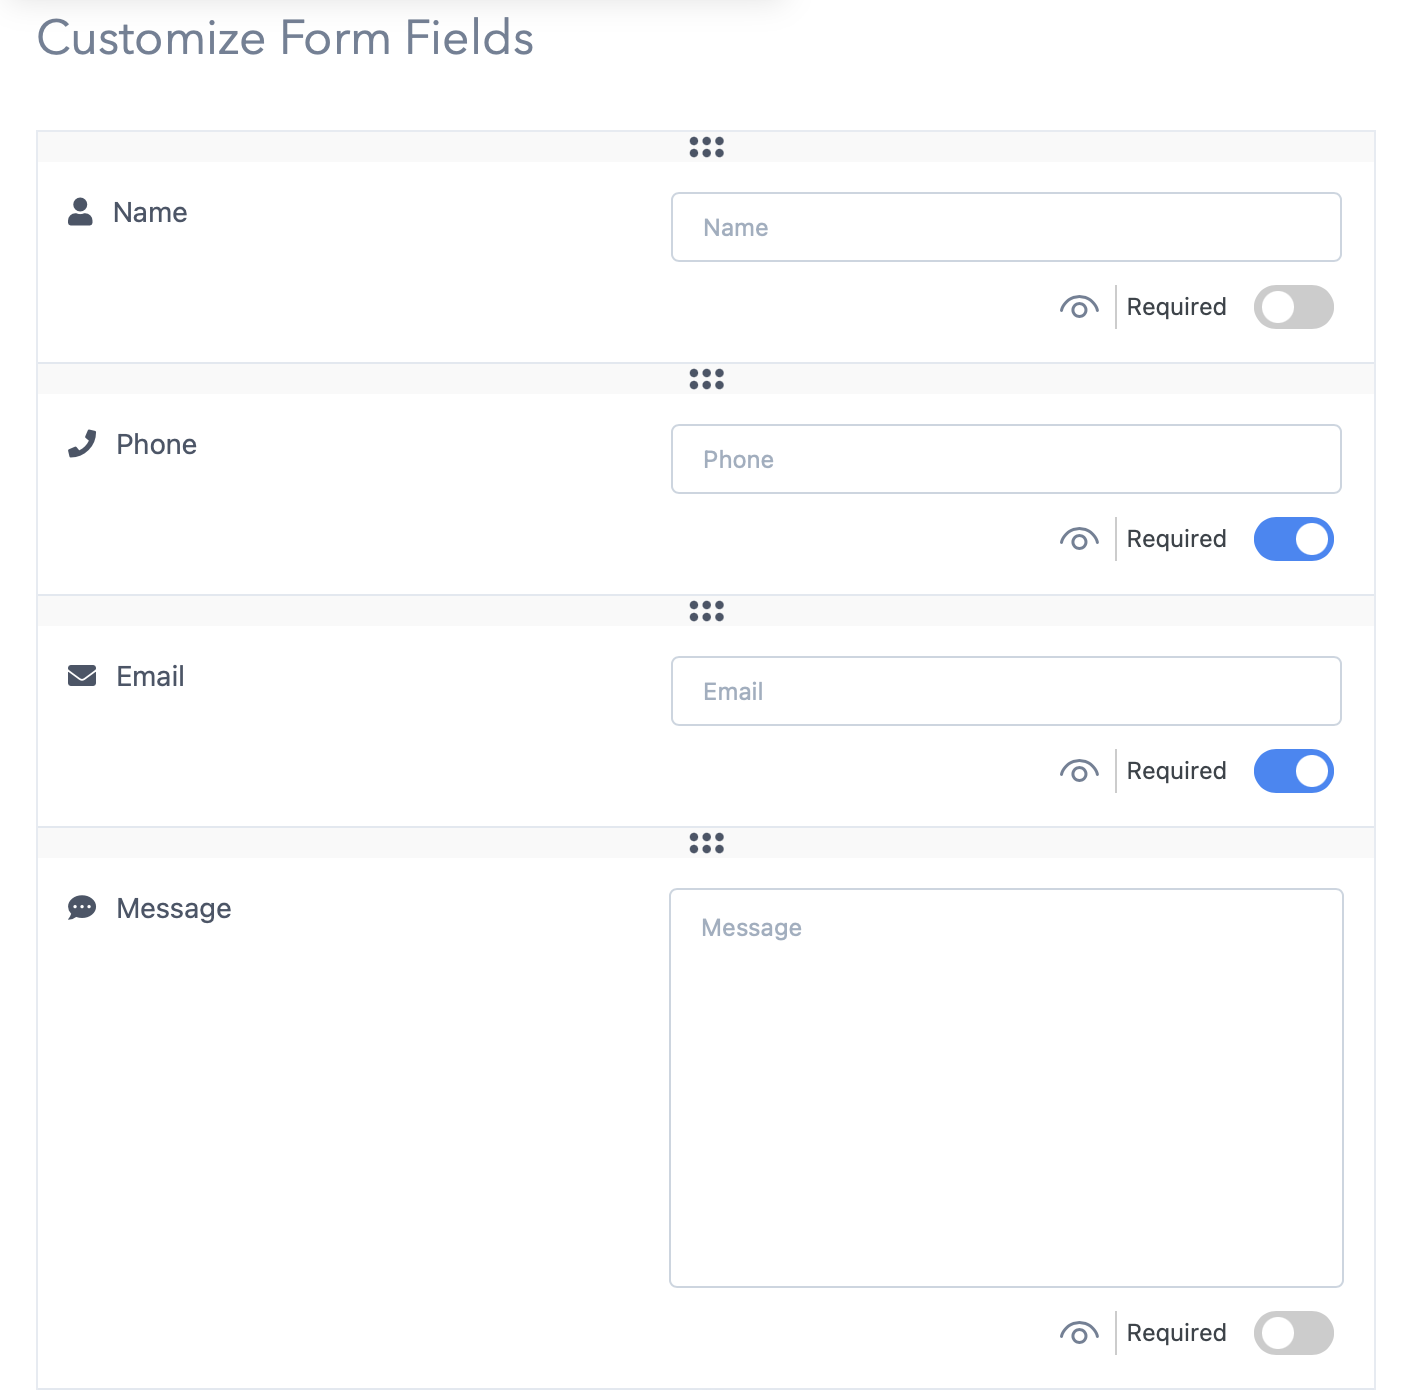
This step is all about setting up and customising your My Sticky Elements contact form.
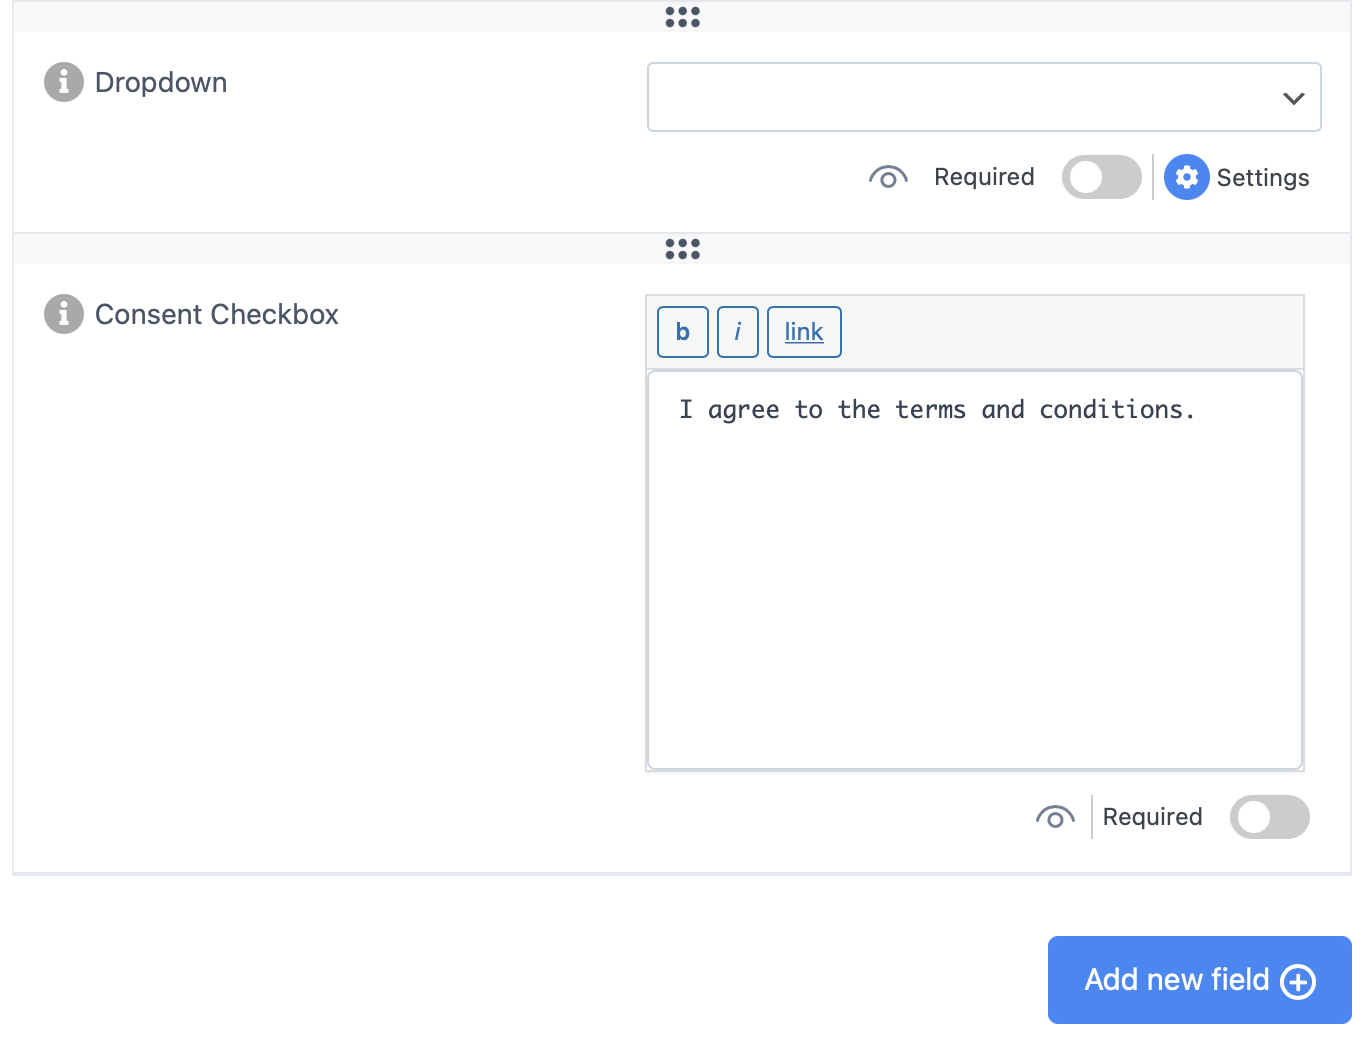
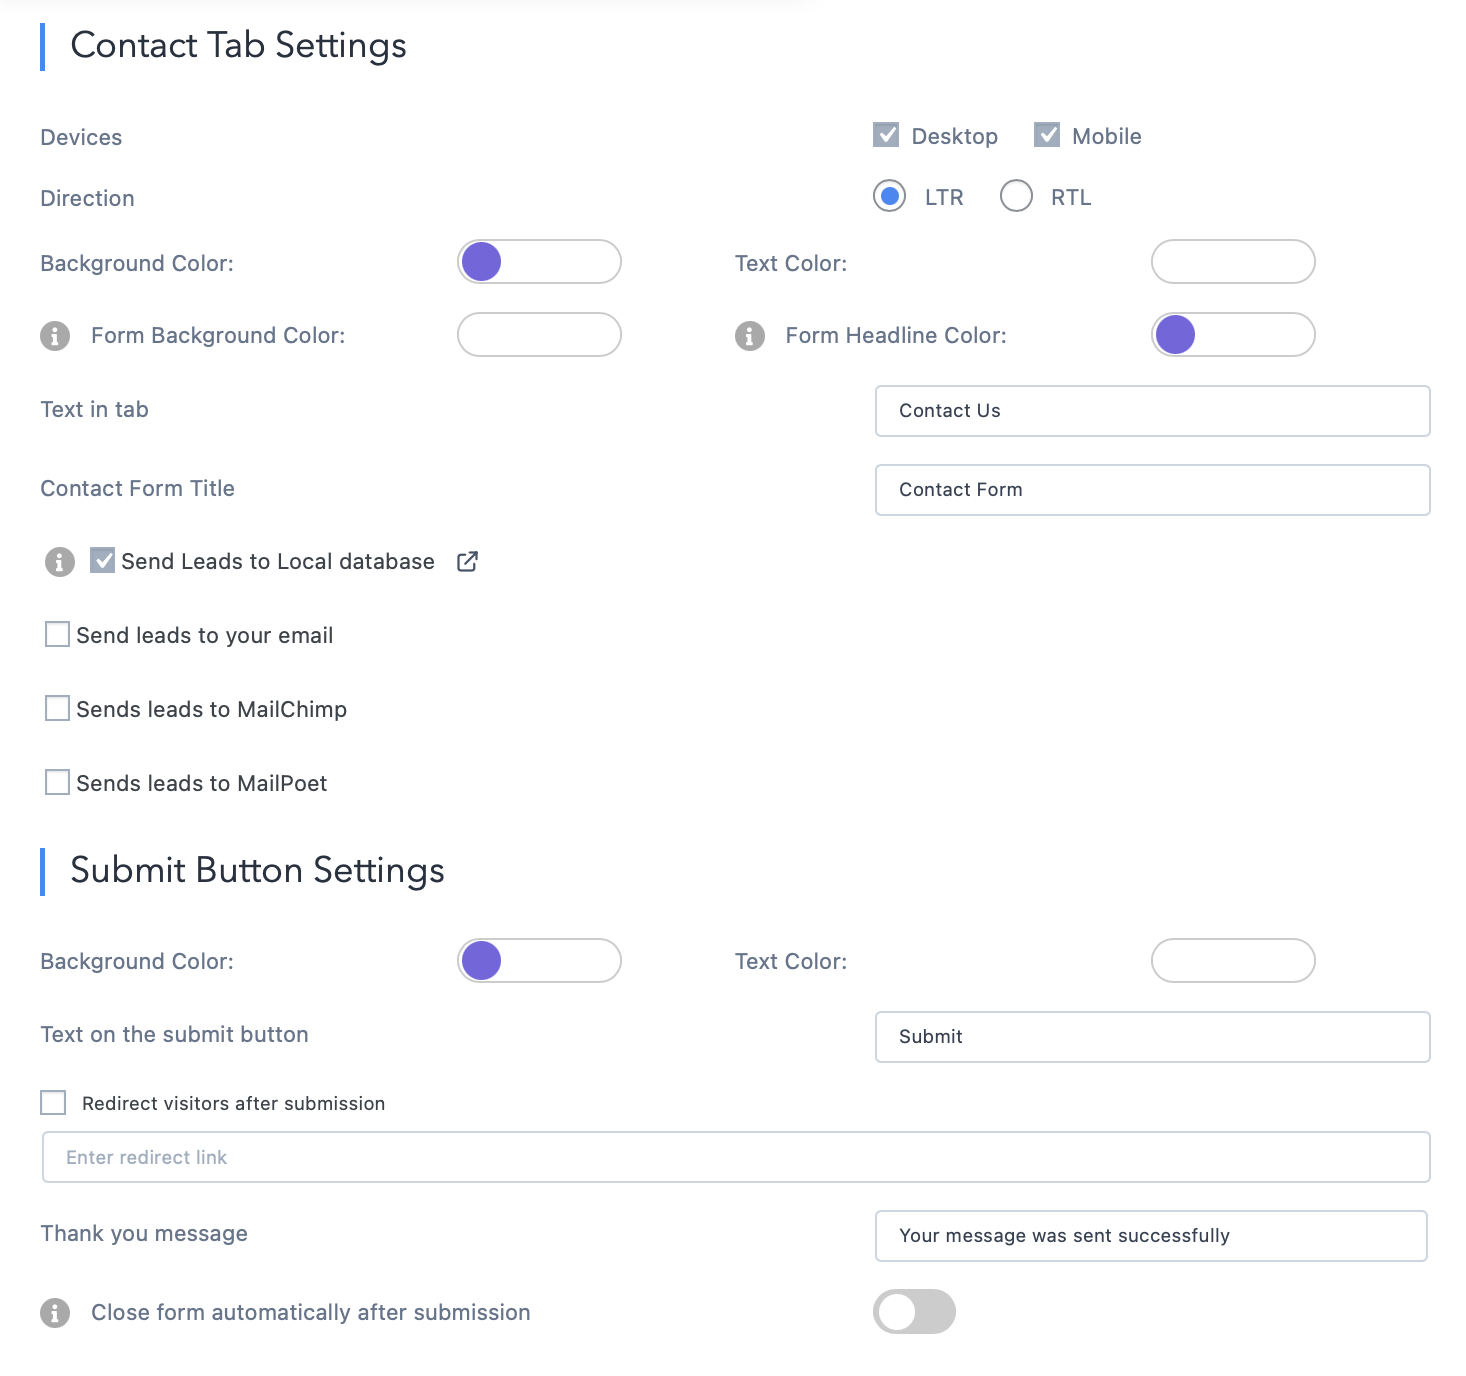
First, select the text fields you want in your contact form like Name, Email, Phone number, etc.You can edit the Placeholder text as per your requirement as well. You can also add custom fields and Dropdown fields, you can also choose whether you wish to keep these fields as Required or not, and customise your Submit button appearance in terms of its color, text, text color, redirecting the users to a different page etc. It also enable you to further customize your Contact Tab settings in terms of choosing device type to display on, direction of text feeding, text and background color, etc. You can also add new custom fields from here.
Make sure to set up how and where you receive your contact form leads in order not to miss your customer’s messages. Once you’re done, click on ”Next” and you’re ready for step 2.
Step 2: ”Add chat and social media”
You can select to have additional tabs for Social Media and other various communication Channels as per your requirement from here:

Click on the checkbox under each channel you want to add. You can also add up to 6 custom link channels and up to 6 custom HTML/ shortcode channels, or use the quick search tool to find a channel you want to add.
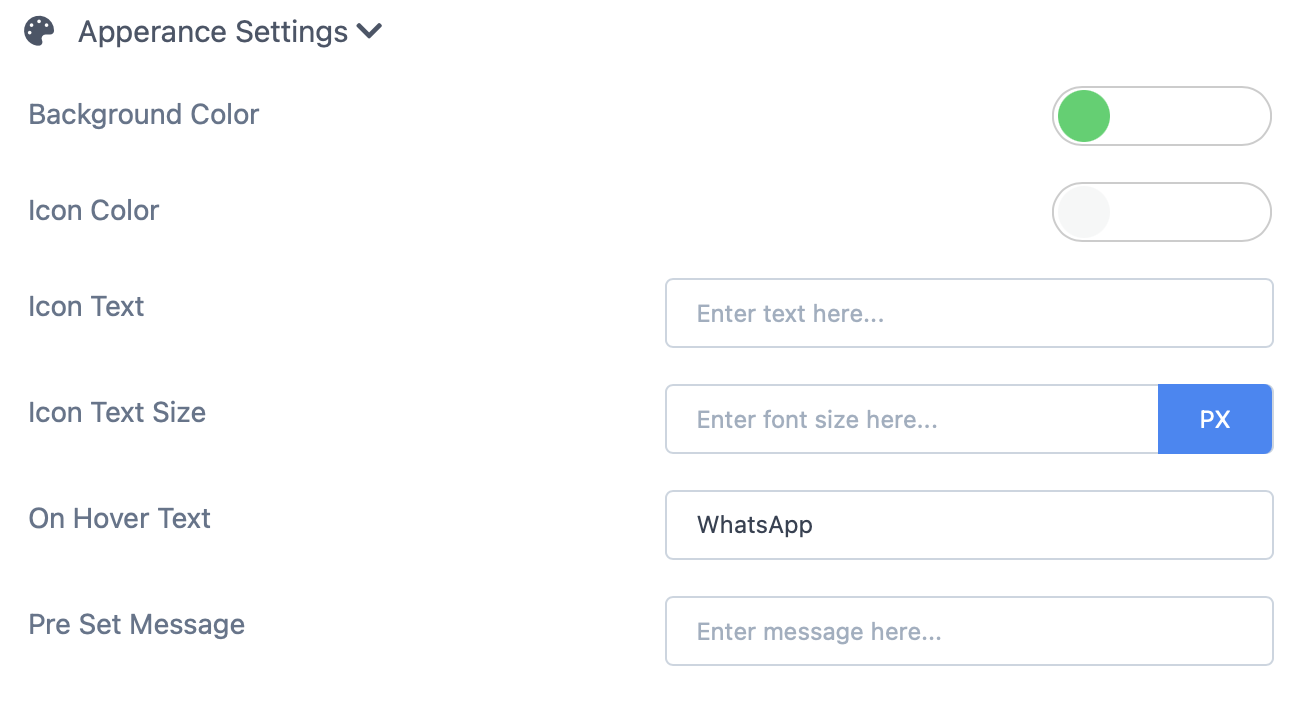
For a selected Social Media Tab, you will get the following options in settings:
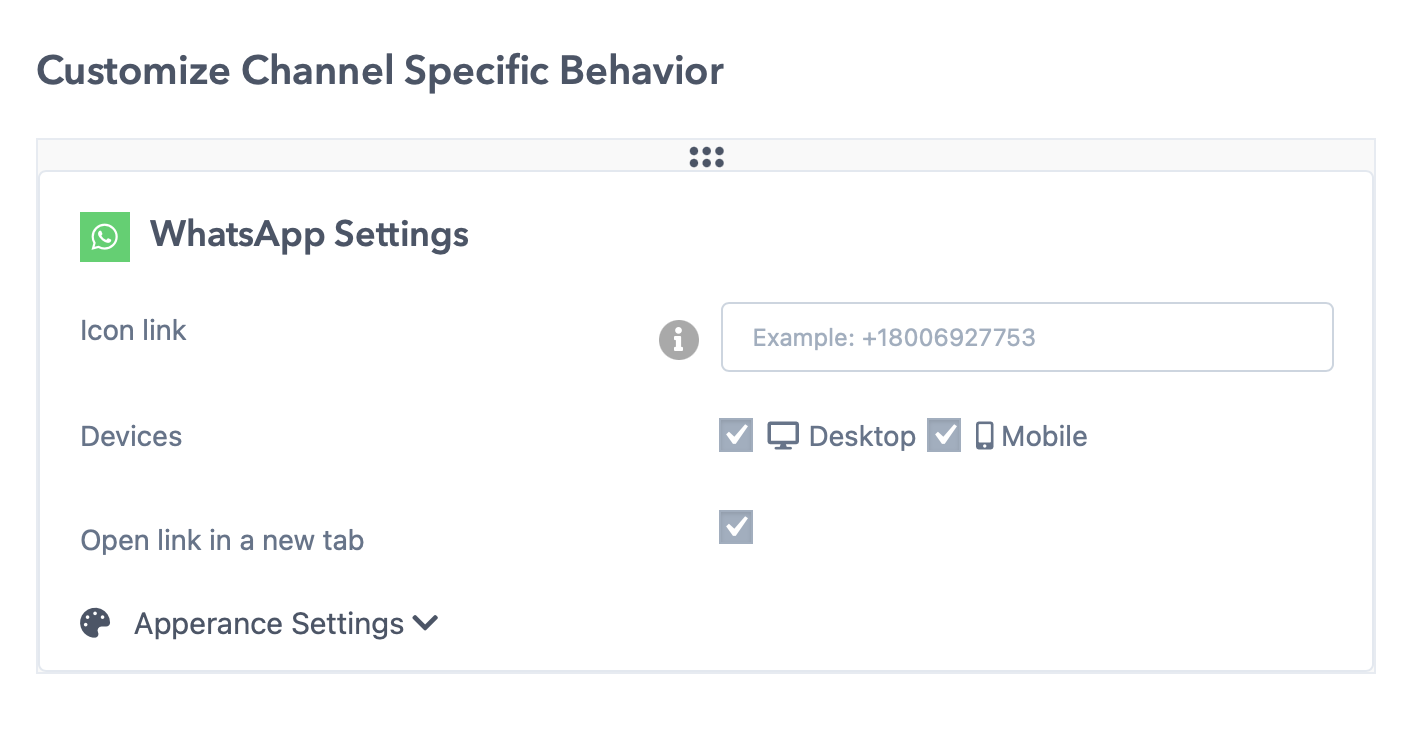
When you click on ”Appearance settings”, you’ll get to further customize the channel by adding a background color, icon color and much more.
Step 3: ”Display & hevaior settings”
Now, you get to customize the General Settings like Template design, Position of widget on desktop and mobile, widget size, font, targeting rules and much more.

If you click on ”More settings”, you can add a custom CSS in the two separate CSS boxes (one for the contact form and the other for the social and communication channels) as well as choose to have the widget minimized on load.

Once you are satisfied with the changes made, just click on Save button at the bottom of the page to save the settings.
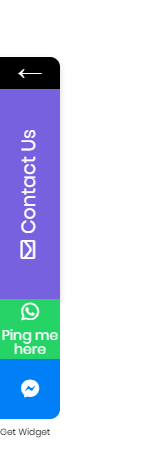
And that’s it! This is how the widget may look on a website:
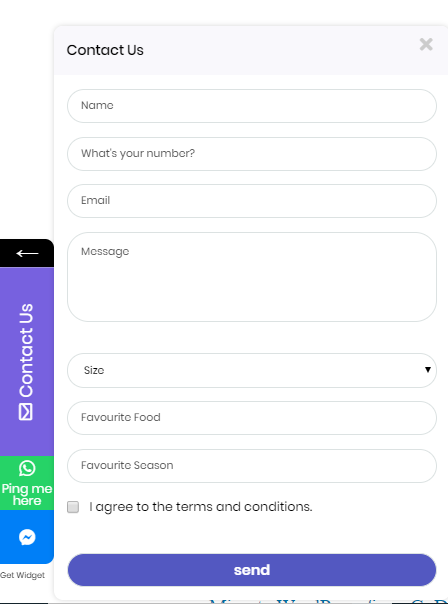
Click on the Tab to make the fields appear, that may look like this on your website:
** Please note that some of the features mentioned above are paid features only