In this guide we’ll show you how to use the auto rename media file feature with Folders. With this feature you can replace the actual file name of media files with a title of your choice from the WordPress editor.
Please note the feature will NOT work for bulk options and also it will NOT work for pages and posts.
To learn more about how to use the plug-in click here, and don’t forget to check our entire Folders knowledgebase to make the most out of it.
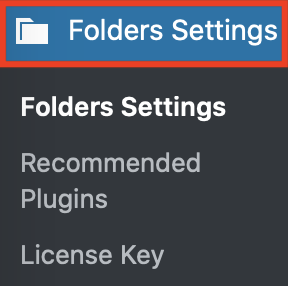
Let’s get right into it. The feature is turned on by default, but if it’s not, go to your WordPress dashboard and click on the Folders settings in your admin panel.
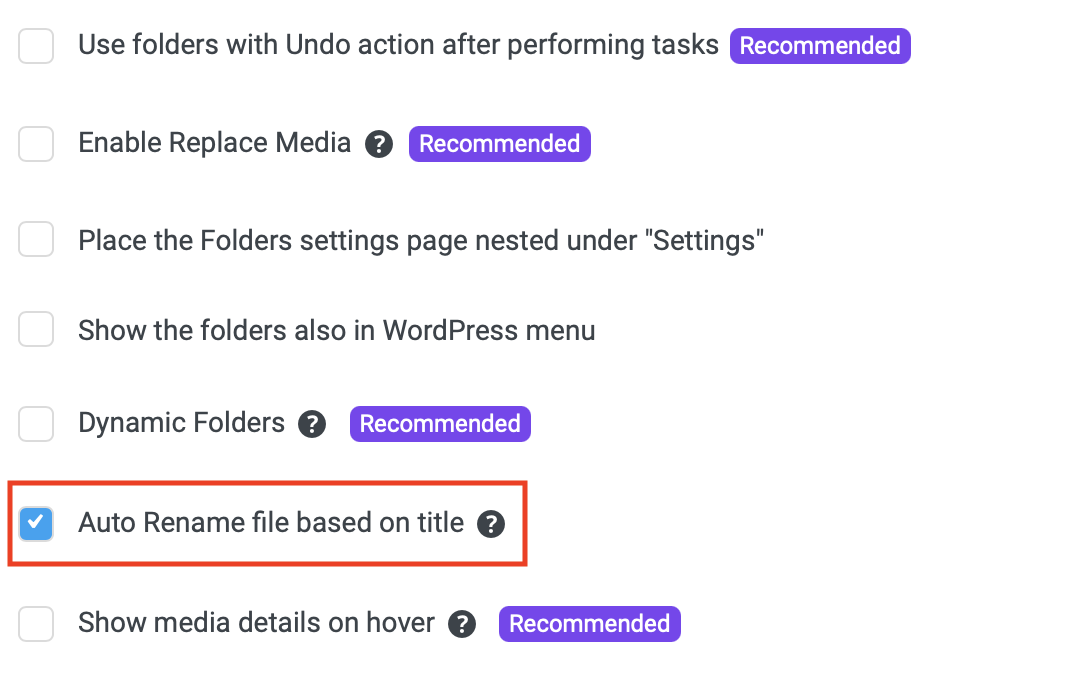
Scroll down in the page that will open and click on the “Auto Rename file based on title” box to enable the feature.
So here is how the feature works. Let’s say you give an image the “Beautiful temple in India” title, but the actual file name is DC123456.jpg. Using the ‘Auto Rename File” feature, you will be able to automatically rename that file to “beautiful-temple-in-india.jpg“.
If there are more than one files with the same name, the latest ones would be given a number, for example “beautiful-temple-in-india-2.jpg“.
To test out how the feature works, try uploading an image through the Media Library. When the file is uploaded, you will see its original title, for example DC123456.jpg. Scroll down and look for the ”Update file name with title” checkbox. If you enable the checkbox, the file name will be replaced with the one you give in the WordPress editor.
Don’t forget to hit ”Update” to make sure you save your changes.
Voilà! Easy as 1,2,3 ☺️ You can enable the auto rename feature to save some time and give your newly uploaded media files an appropriate name right when you upload them.