In this guide, we’ll show you how to add a discount code to your widget by selecting from your existing Shopify discount codes, generating a unique code, or creating a new discount code with the Coupon X. Click here to read more about how to use Coupon X
If you choose to go for the ”existing coupon” option, you will be asked to select a coupon from your currently existing Shopify discount codes. Each customer will get the same discount code and it can be used multiple times, until you change/ remove it.
If you choose to go for the ”unique coupon” option, the app will generate a unique coupon code for each customer. This unique code can be used only once.
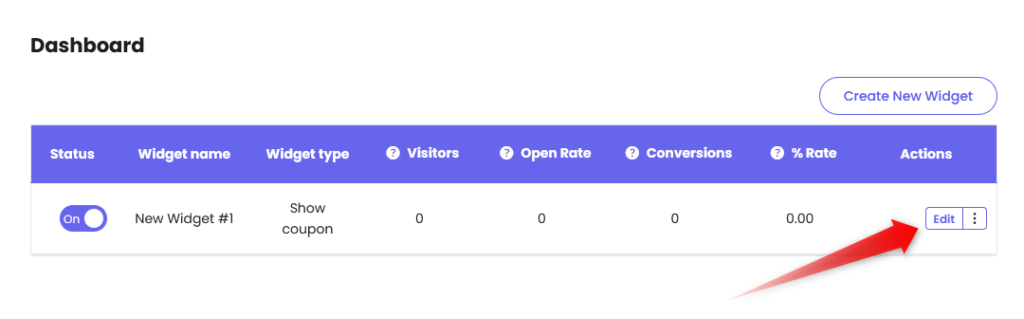
Step 1: Create a new widget or make changes to an existing one by clicking “Edit“.
Step 2: Click on ”Choose Coupon” on the page that will open.

Step 3: Select the type of coupon you want to add.

Create a new Shopify discount with Coupon X
You can choose this if you want to show the same discount code for all of your visitors. The code is fixed and will not change for every new visitor.
It will provide you with a pre-entered unique discount code which you can also edit and enter any desired code. Just need to make sure you do not put space and special characters.
You will then be asked to fill in your code settings, starting with the type of discount – Percentage, Fixed amount, Free shipping or Buy X Get Y – and Value of the discount.

Existing Coupon
If you select “Use a pre-existing Shopify discount coupon“, it will show you the list of your currently existing Shopify discount codes with their type (fixed amount or percentage) and value.

You simply need to select one of them or create a new discount code in the ”Discounts” page in your Shopify admin panel and don’t forget to hit ”Save”. You can find more detailed instructions on how to create and manage your Shopify discount codes here: https://help.shopify.com/en/manual/discounts/create-discount-codes
Generate Unique Coupons
If you click on “Generate unique Shopify coupons for each new visitor”, you’ll be asked to fill in your code settings, starting with the type of discount – Percentage, Fixed amount, Free shipping or Buy X Get Y – and value of the discount:

You can also take a look at another example below for the Buy X Get Y coupon type.

For this example, the coupon can be used only when the customer buys any item from the Shoes collection.

The coupon can then be used to get a 50% discount on any item in the Shirts collection.
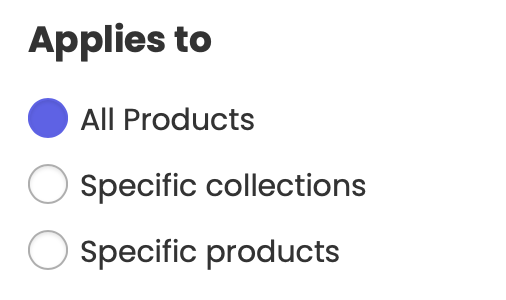
Step 4: After that, you will have to select whether the discount code will be applicable to all products or a specific product or collection. For the last two options, you will have to add the desired product(s) and collection(s) from the dropdown menu.
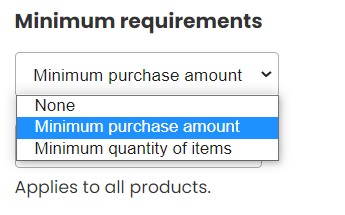
Step 5: Then, you will be asked to set minimum requirements, if any, such as minimum purchase amount or minimum number of items.
Step 6: You can also add usage limits, for example, a limit on the number of times the discount can be used or a limit to one use per customer:

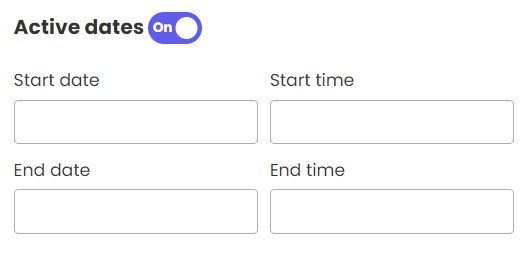
Step 7: Finally, you can add active dates for this discount code with a starting date and time and ending date and time respectively:
When you’re done, don’t forget to click ”Save” to make sure your changes will be displayed accordingly.
That’s it, easy as 1,2,3 ☺️ Your discount code will be automatically activated according to the conditions you have set.