In this guide we’ll show you how you can create a slide-in, lightbox or floating bar pop up with Coupon X in a few super simple and quick clicks.
Click to read more about how to use Coupon X for Shopify or Wix. If you want to learn how to customize your widget tab, click here.
With this feature you can increase the attention effect of your widget and further personalise your discount code popup so that it matches your overall website aesthetics. Let’s get right into it.
Start by opening the Coupon X app in your Shopify or Wix admin panel. In your app dashboard you’ll see a ”Create New Widget” button as well as a table with your current widgets and their statistics. You can activate or deactivate a widget from the ”Status” option to the left of the table. To create a new widget, click on the ”Create New Widget” button.
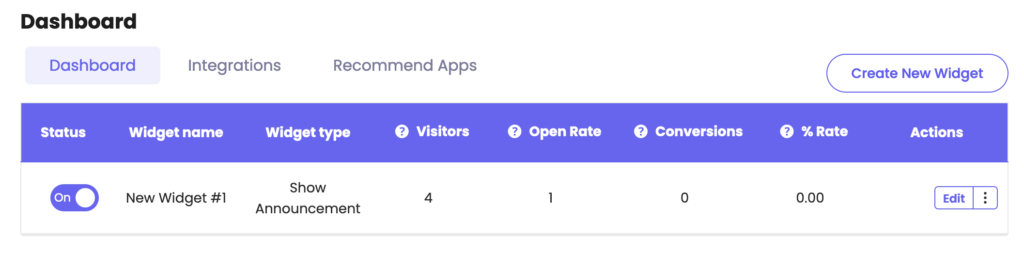
Tip: if you already have a widget and want to edit it, open the Coupon X app in your admin panel and click on the ”Edit” option next to your widget instead.
You can follow the steps in this article on how to set up and fully customize your widget in the first, ”Tab Design” step: https://premio.io/help/coupon-x/how-to-fully-customise-your-coupon-x-tab/
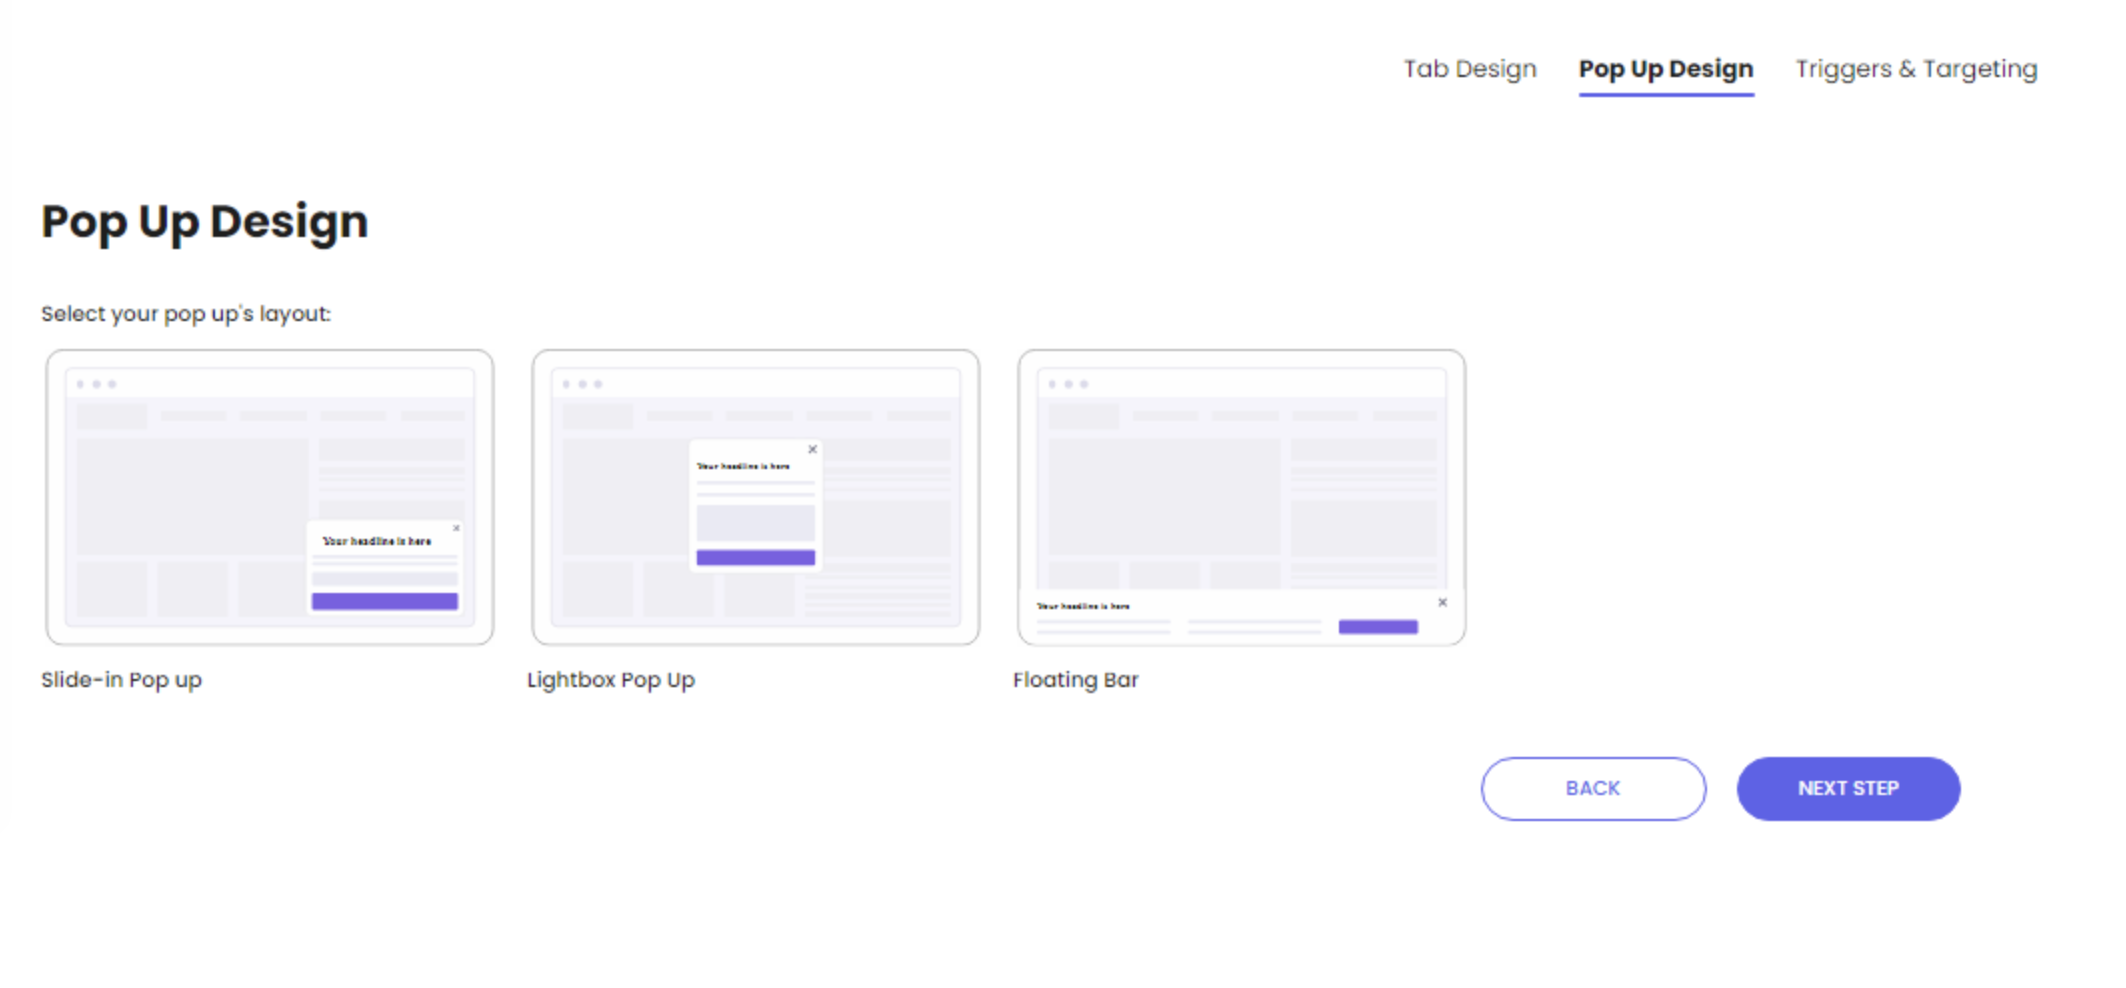
When you’re done setting up your tab design, click on the next step, ”Pop Up Design”. The first option you will see on this page is the pop up layout design. This is how your popup will look like after your website visitors click on your tab widget. You can choose between three options: Slide-in Pop up, Lightbox Pop up and Floating bar.
Slide-in Pop up
With the Slide-in Pop up option, your Coupon X widget will be displayed at the bottom right corner of your page. Depending on your settings and customisations, it should look something like this:

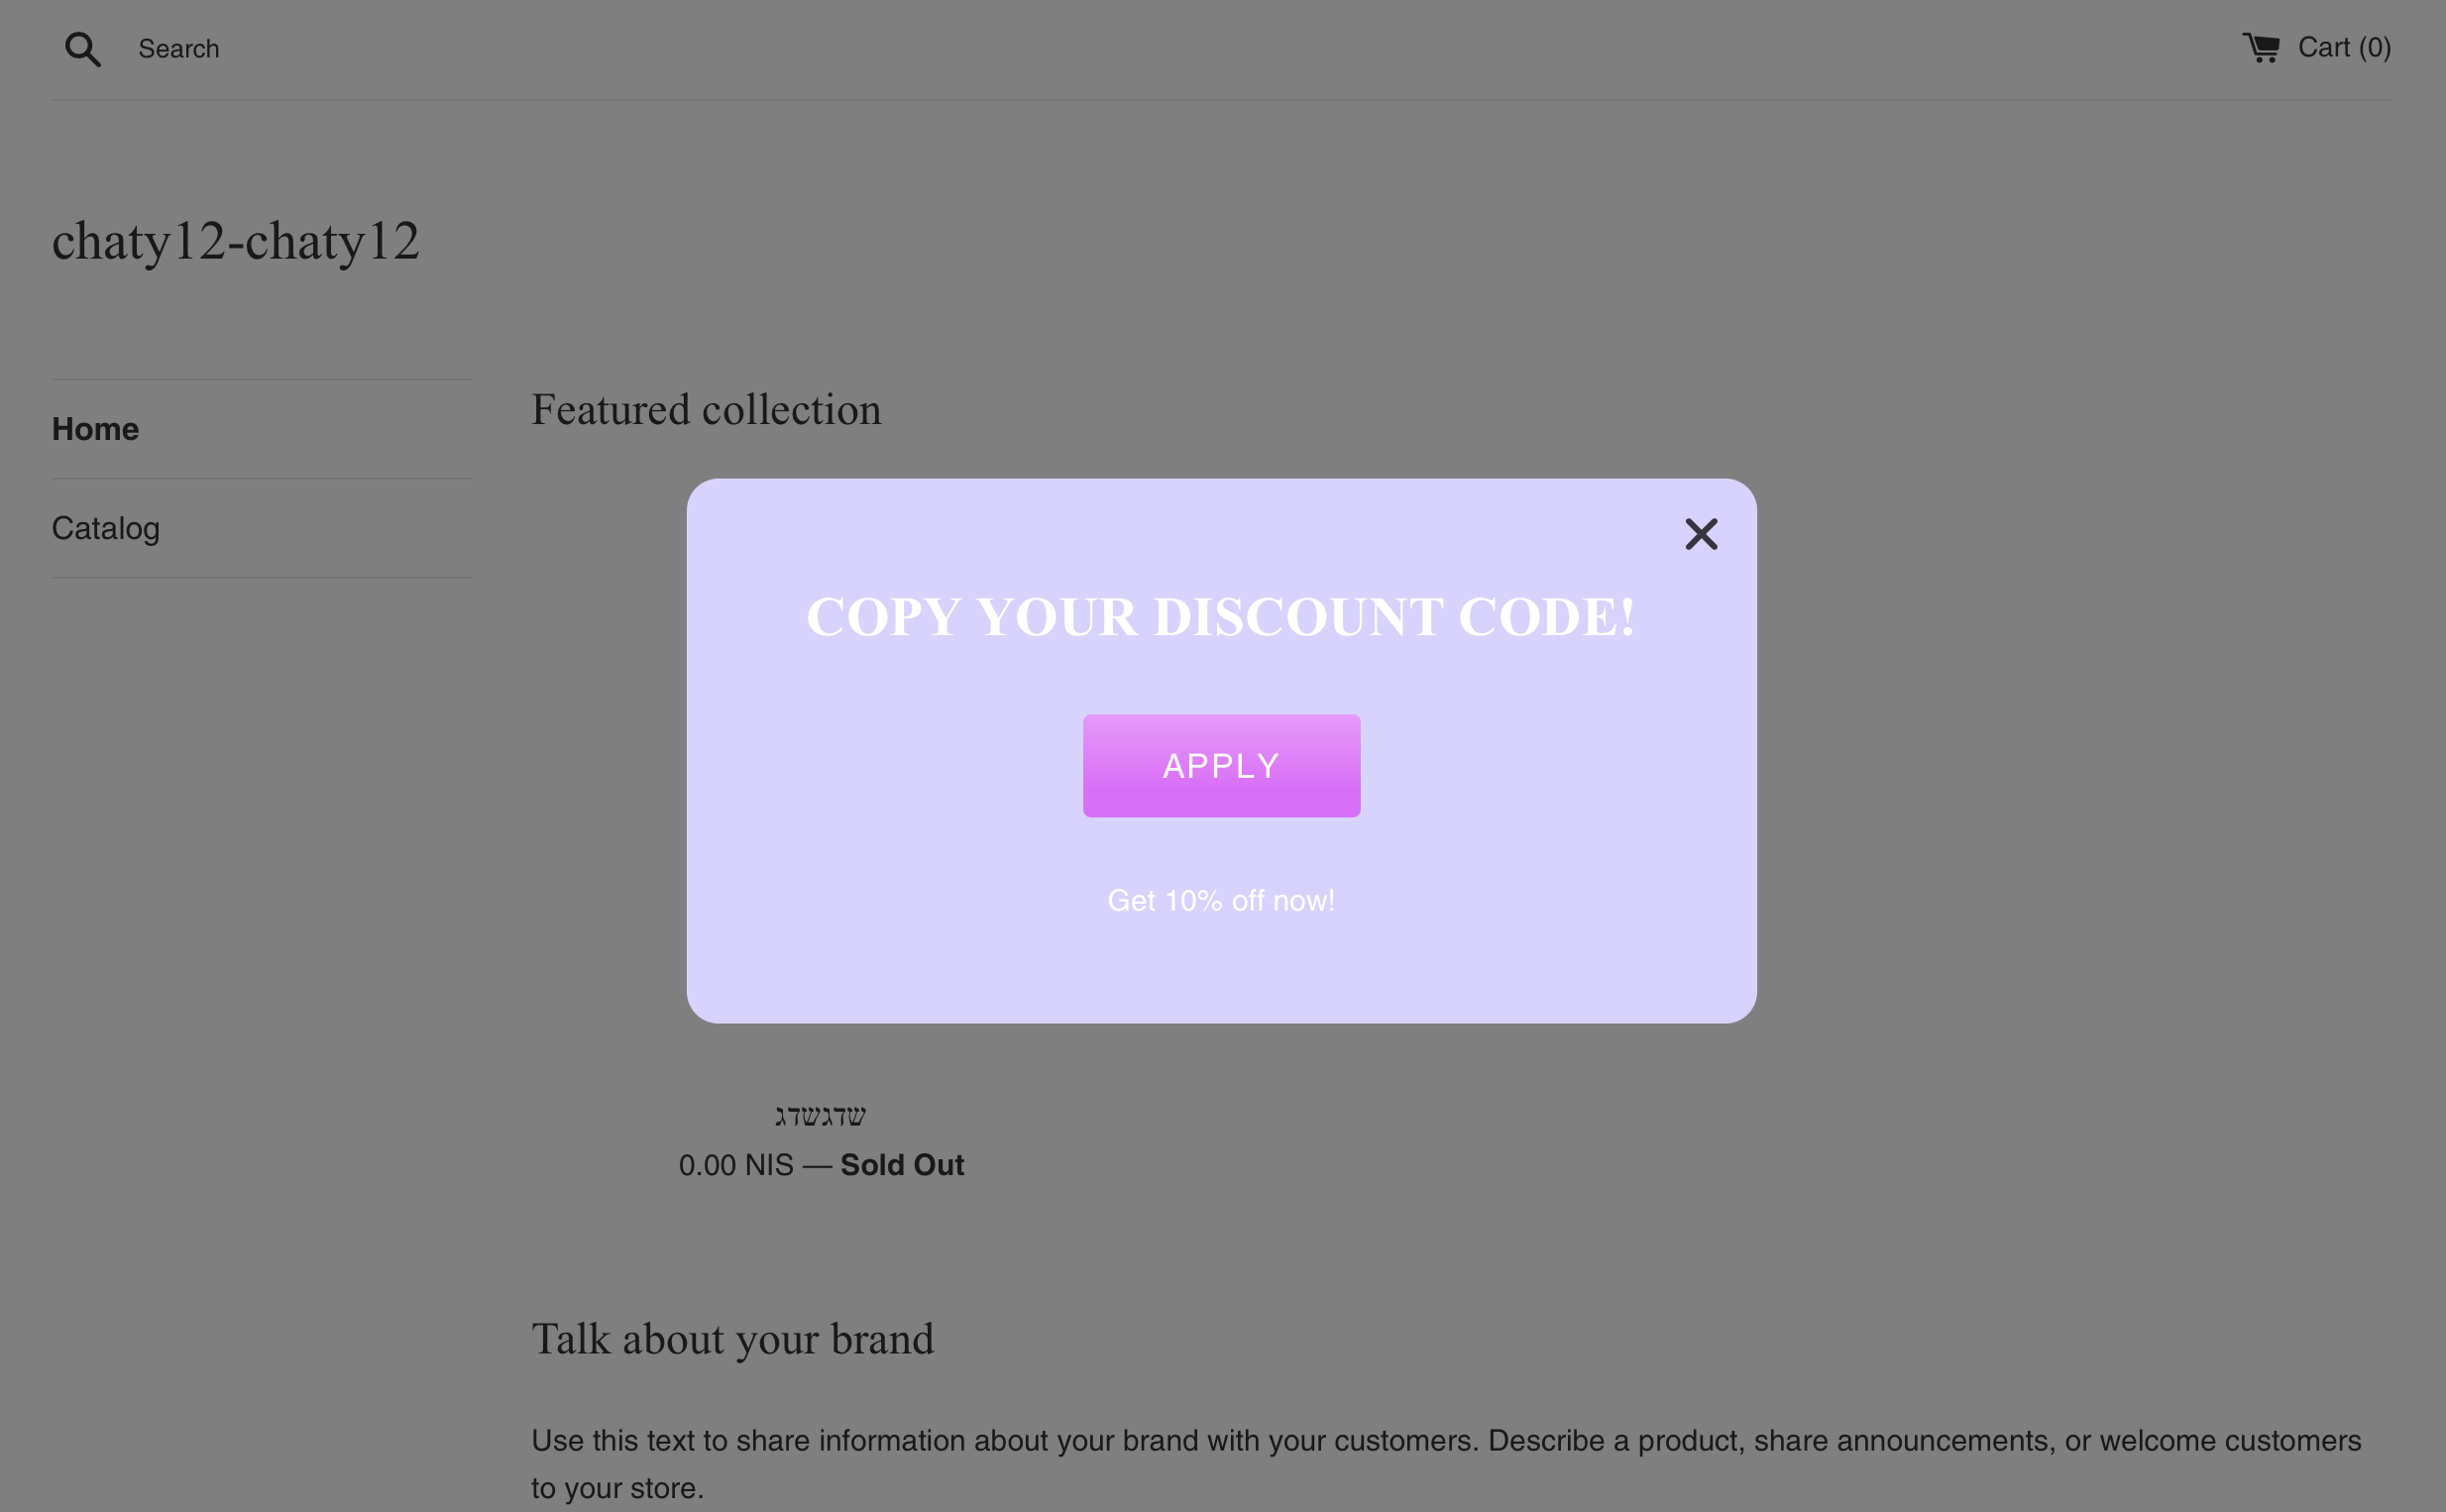
Lightbox Pop up
With the Lightbox Pop upoption, your Coupon X widget will be displayed at the bottom right corner of your page. Depending on your settings and customisations, it should look something like this:
Floating bar
With the Floating baroption, your Coupon X widget will be displayed at the top or bottom of your page. You can choose whether you want it to be displayed on the top or on the bottom of the page from this setting:

In the end, depending on your settings and customisations, it should look something like this:

Whichever option you choose, you can see how your selection will look in the live Preview to the right of the page. To change your current selection, simply click on ”Change layout” below your current selection.

That’s it! Easy as 1,2,3 If you’re done setting up and customizing your widget, simply click on ”Publish” at the bottom of the page. To continue customizing your widget by setting up various trigger and targeting rules, click on ”Next Step” and make sure you check our entire Coupon X app knowledgebase for more instructions and insight on how to make the best of the app.