In this guide we’ll show you how to assign tags to your customers through your Coupon X widget. Click to read more about how to use Coupon X for Shopify or Wix.
You can use this feature to assign any customer tags to customers that submit their email through the Coupon X popup.
Please note you need to select the ”Collect email first, then show the coupon” type of popup. You can read more about how to set it up and how to collect your customers’ emails using Coupon X here: https://premio.io/help/coupon-x/how-to-collect-e-mails-with-coupon-x-for-shopify/
So let’s dive in!
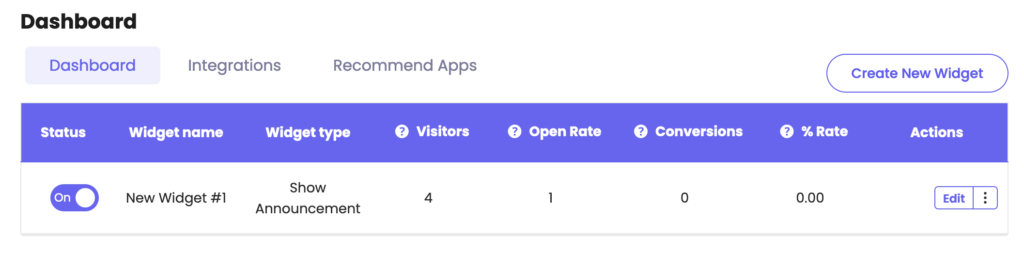
First, open the Coupon X app in your admin panel and click on the ”Edit” option next to your widget.
Click on ”Pop up Design” in the page that will open. Make sure you have selected the correct type of popup as mentioned above. It should be highlighted.

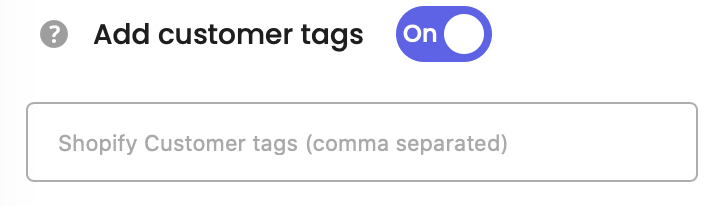
Then, scroll down and look for the ”Add customer tags” option, then simply turn the option on by toggling the button to the right.
As soon as you activate the option, you will be displayed a field in which you can type the tag(s), separated with a comma if more than one, that you would like all customers who give your email to be assigned to.
When you’re done, don’t forget to hit ”Publish” at the bottom of the page. That’s it! Easy as 1,2,3