In this guide we’ll show you how to add a countdown timer to your Coupon X widget. Click to read more about how to use Coupon X for Shopify or Wix.
You can enable this feature so that you can increase conversion rate by suggesting a time limit and exclusivity of your discount offer.
You can add a timer to a specific time and date, or just add count from the moment that the pop up appears, for example counting down from 5 minutes. You can choose your countdown timer to be for decorative purposes only, to create a sense of urgency, without disabling the code after the countdown expires, or you can choose to actually disable the code.
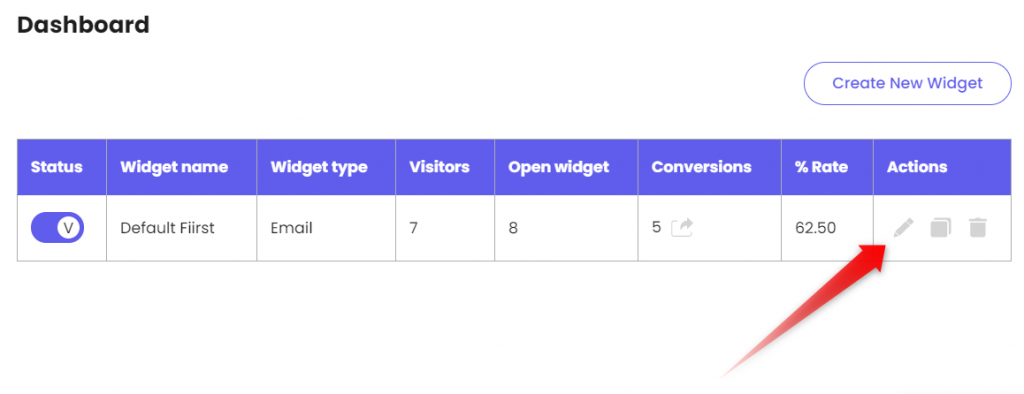
First, open the Coupon X app in your admin panel and click on the ”Edit” option next to your widget.
Click on ”Popup design” in the page that will open.
Scroll down and look for the ”Countdown timer” option, then simply turn the option on by toggling the button to the right.

Next, you will need to decide what type of countdown will work best for your needs – a popup appearance one or a specific date and time one.
Popup appearance countdown
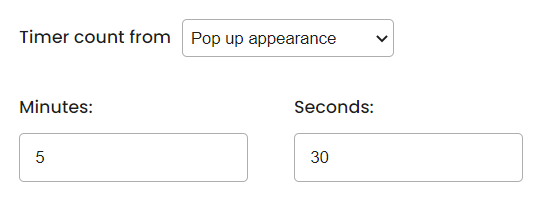
You can choose to display a popup appearance – a countdown that is triggered from the moment the Coupon X widget is opened. If you go for this option, you will need to add how many minutes and seconds you want the countdown to display, for example 5 minutes and 30 seconds.
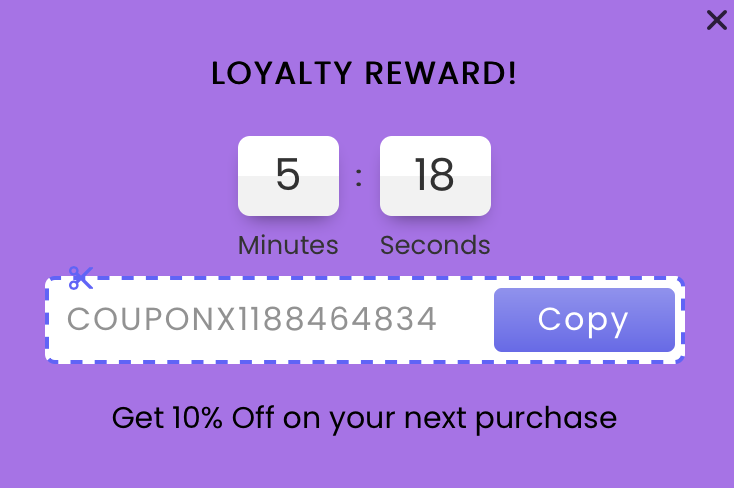
When the feature is active, it should look something like this to your visitors:

Specific date and time countdown
You can also choose to display a specific date and time countdown – a countdown that is triggered on a specific date and time in your desired timezone. If you go for this option, you will need to select the appropriate timezone from the dropdown menu and add the exact start date and time from the relevant fields.

When the feature is active, your website visitors will see the countdown until the date and time you set. For example if you set your countdown to expire on January 26th at 11:30 PM and someone opens the widget a little after 11:25 PM, it should look something like this:
If you wish to disable the discount code after the countdown expires, you can enable the option “Disable the coupon code after the specified time”:

Please keep in mind this means your visitor won’t be able to redeem the code once the time is up!
When you’re done, don’t forget to hit ”Publish” at the bottom of the page. That’s it! Easy as 1,2,3