In this guide we’ll show you how to install Chaty on a Site123 website.
So let’s dive in. First, you will need to install the Chaty app from the Site123 app store. Please note you will need to use a paid plan on Site123 in order to be allowed to add plug-ins.
If you need any assistance with this, please follow these instructions on how to add an app on your site.
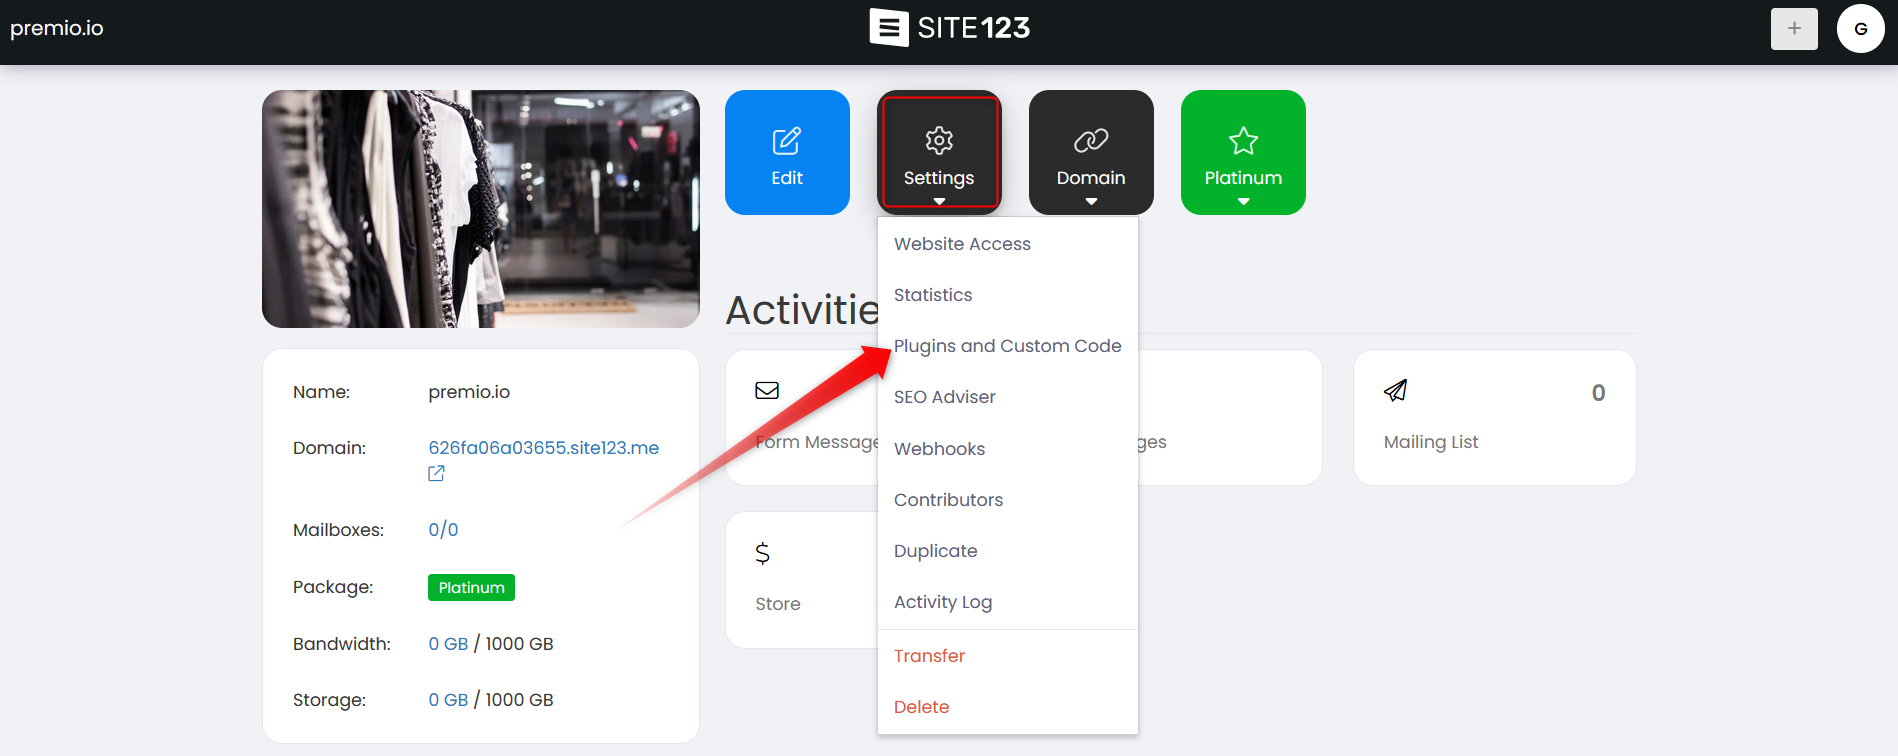
Next, go to your Site123 dashboard and click on Settings > Plugins and Custom code:
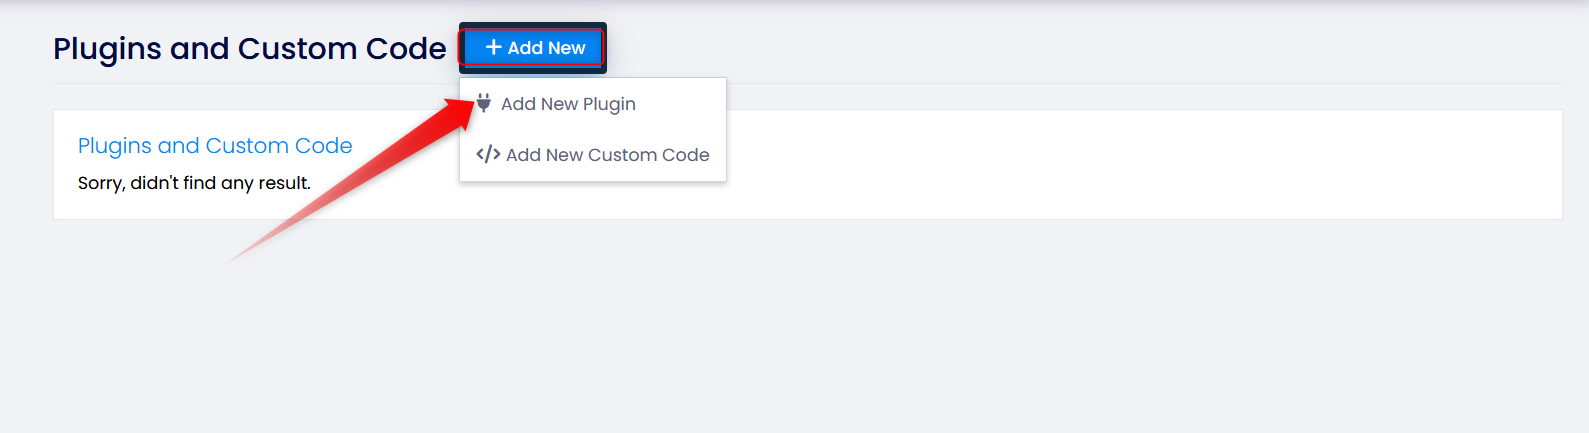
Next, click on Add new > Add new plugin:
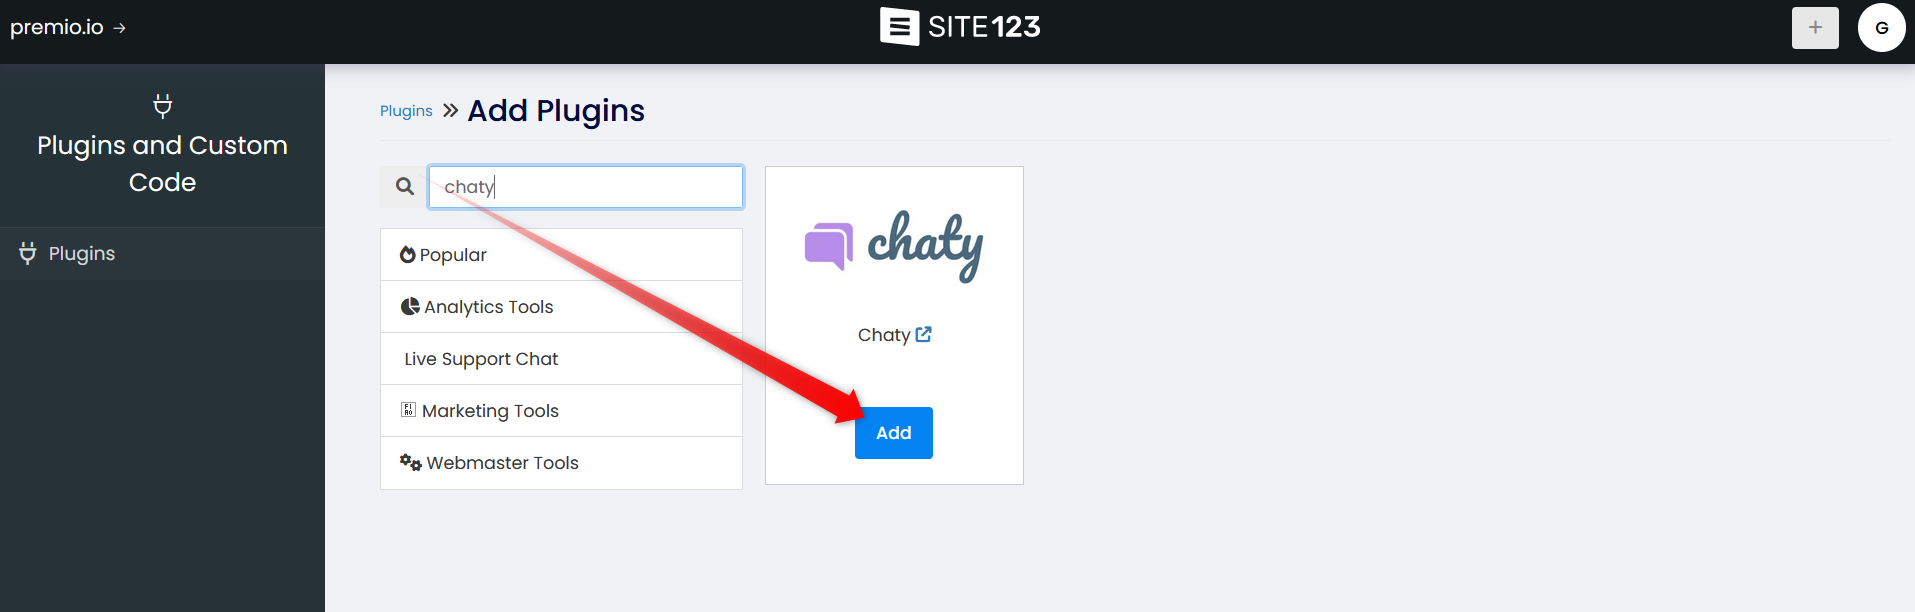
You will now enter the Site123 app market. Go and search for the Chaty app in the search bar. This is what you should see:
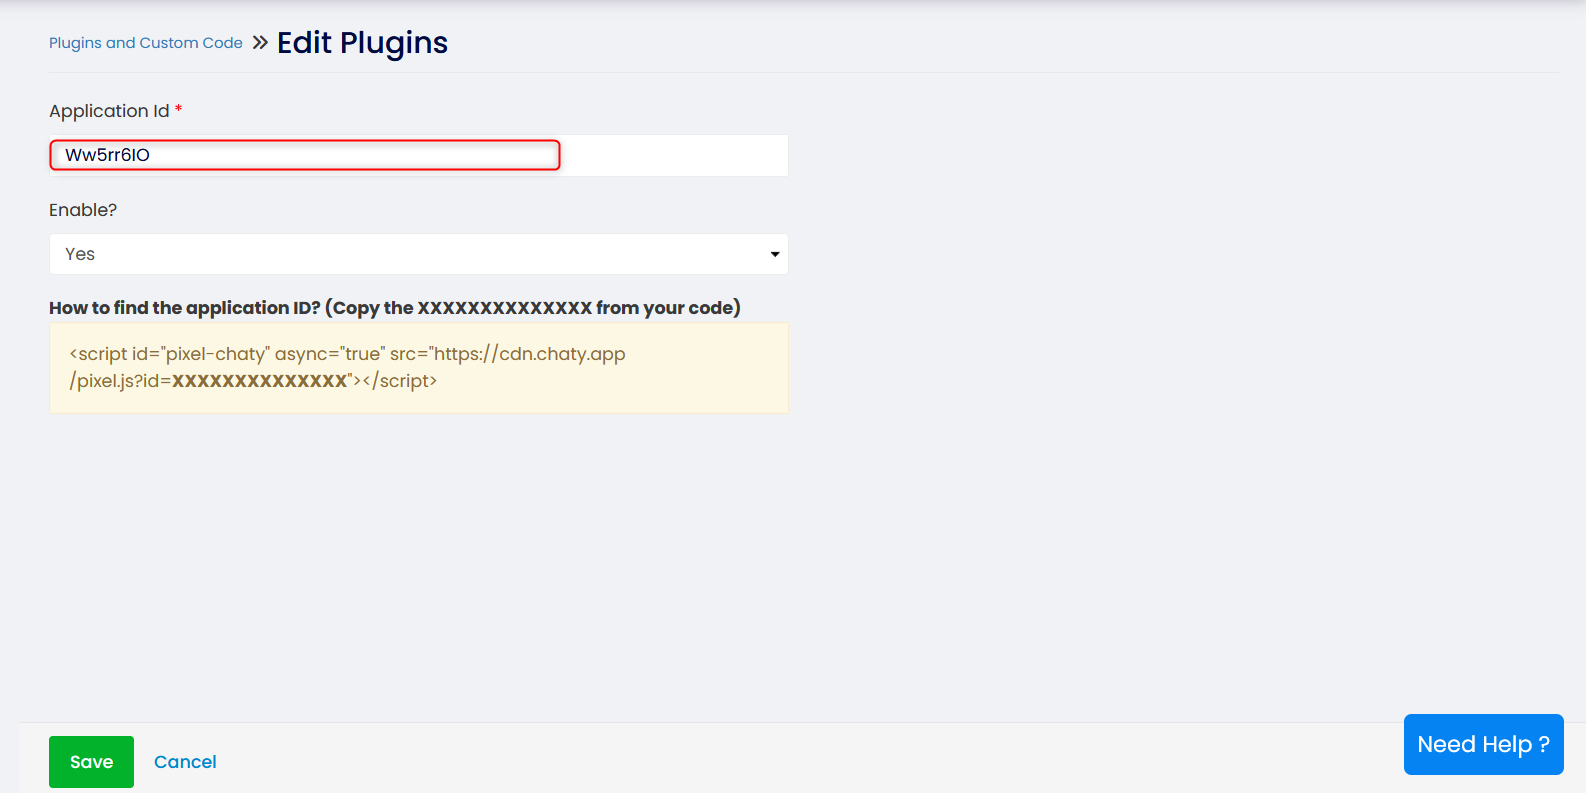
Next, open your Chaty dashboard, click on Settings > Profile and copy your user ID:

You will then have to paste your user ID in the application ID field and click on the Save button to save the changes.
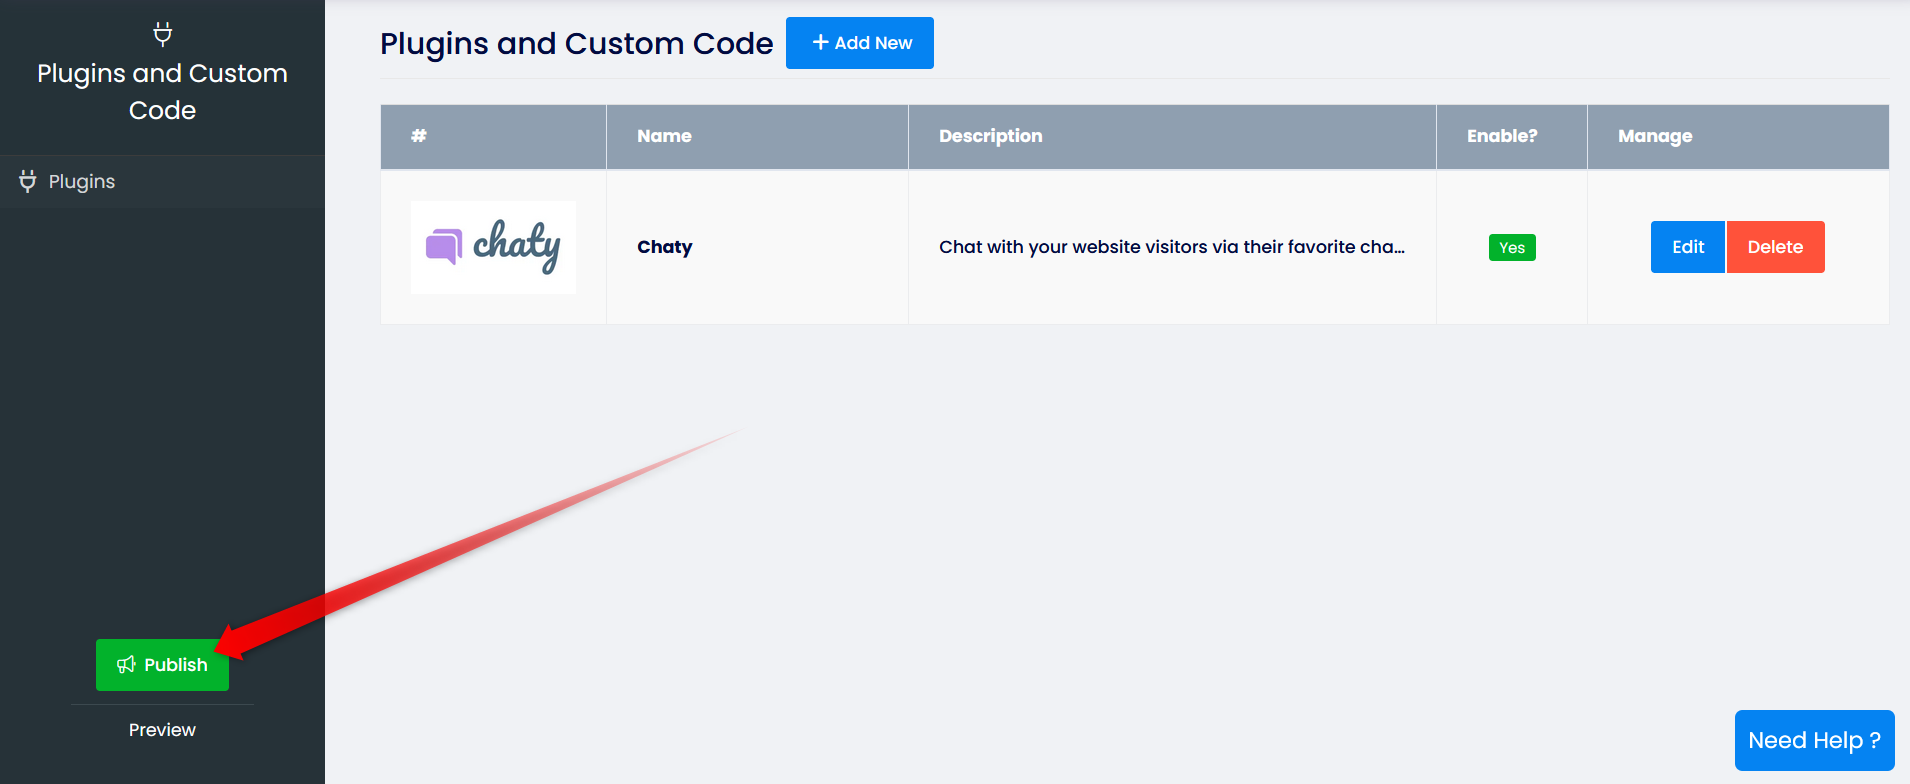
In the end, make sure you publish your changes with the Publish button to have everything you worked on updated accordingly.
That’s it – no need to install any code whatsoever. The Chaty widget(s) you create will appear on your Site123 website automatically, immediately! Next, you can proceed with setting up and custimising your Chaty widget as per your preference.
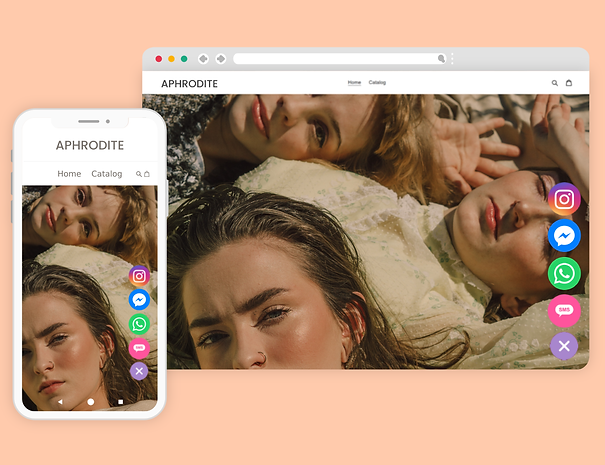
In the end, depending on your settings and customizations, it may look something like this with channels such as WhatsApp, Facebook Messenger, WhatsApp and so on:
In the end, don’t forget to check our entire Chaty knowledge base to make the most out of the product.
If you any assistance with configuring this, please don’t hesitate to reach out to our support team!