In this guide we’ll show you how to install Chaty on an OpenCart webstore.
But first – what exactly does Chaty do and how can it be helpful for your business?
The product provides your visitors with an easy click-to-chat access to all platforms that you’re available on.
Having a single widget with multiple channels can help you improve customer experience and increase your chances of conversion and sales.
You can use Chaty with more than 20 popular channels such as phone, email, WhatsApp, Facebook Messenger, Instagram, Telegram, Twitter, TikTok, Slack, Skype, Vkontakt, Viber, SMS, LinkedIn, Google Maps, Line, WeChat, Snapchat, Waze, Poptin and a contact form or even add a custom channel.
And don’t forget to check our entire Chaty knowledgebase to make the most out of the product.
So let’s dive in on how to install Chaty on OpenCart. First, create an account for the Chaty app here or if you already have an account, log in instead.
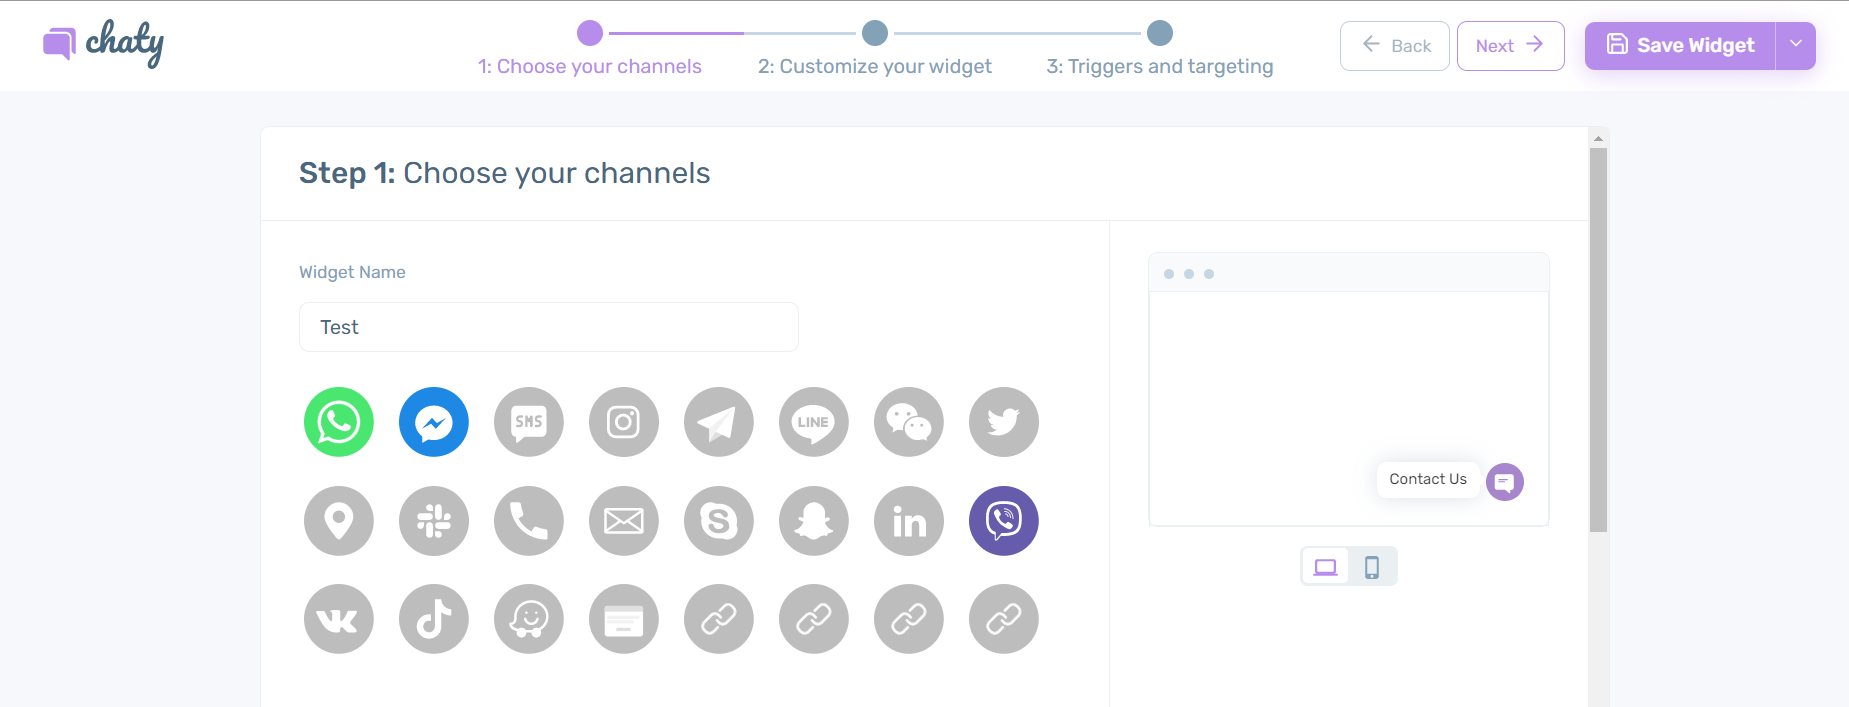
Next, create and customise your widget by adding your desired channels such as WhatsApp, Facebook Messenger, Instagram, Twitter and so on:
 After you are done, copy the installation code:
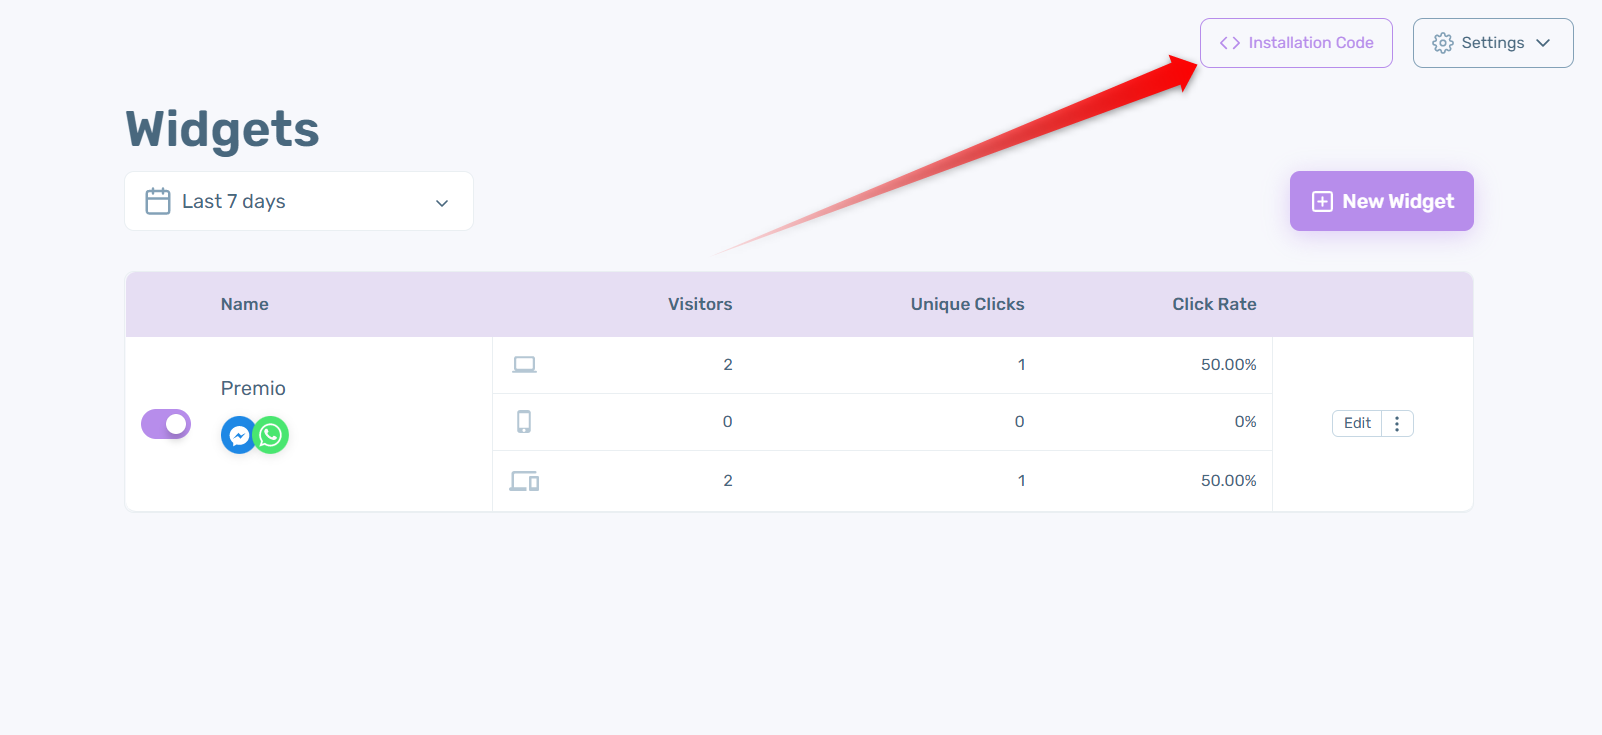
Now, let’s connect Chaty to your OpenCart webstore.
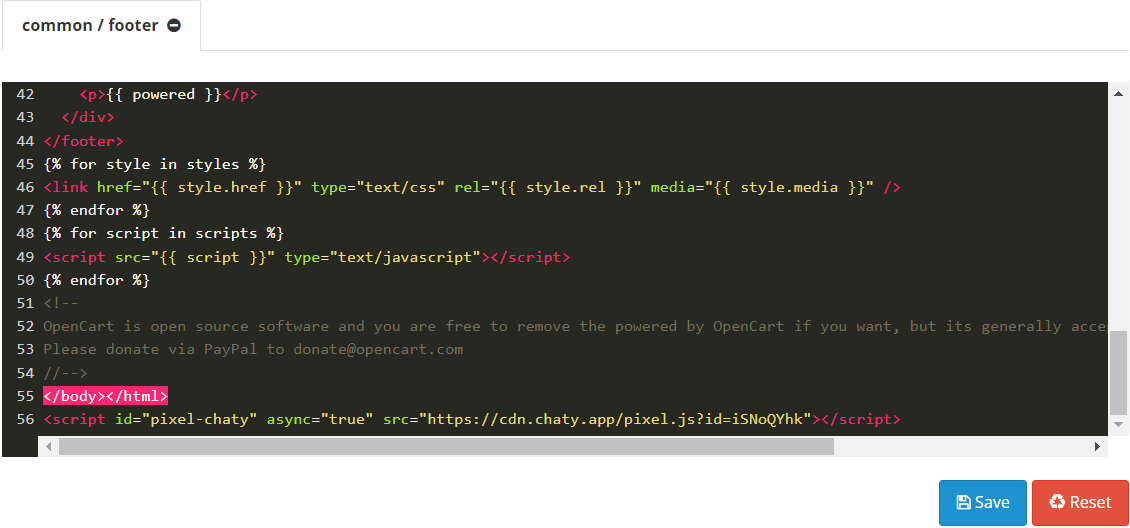
To install the Chaty code on the enitere site, go to your OpenCart dashboard, click on Design > Theme Editor in orderto open the theme editor. Once the theme editor is opened, go to common > footer.twig to edit your footer file.

In the footer.twig paste the Chaty installation code in the bottom right after the body and the html tags and click on Save changes.
And that’s it! Now you have the Chaty widget on the entire website. In the end, depending on your settings and customisations, it could look something like this:
If you any assistance with configuring this, please don’t hesitate to reach out to our support team!