In this guide we’ll show you how to push data from your Subscribe Forms plug-in to multiple integrations.
For example, you can integrate your form(s) with an e-mail marketing platform of your choice and also save the data locally to your WordPress database (as a downloadable backup) or if you work with various e-mail marketing platforms, you can also connect them both. You can check in detail how to connect your subscribe forms with MailChimp, ConvertKit, HubSpot CRM, SendInBlue, SendFox and Pipeline by clicking on each of the hyperlinks, as well as with GetResponse, ActiveCampaign, ConstantContact, iContact, mailerlite, MailPoet and GIST. To learn how to create an embedded subscribe form with the Subscribe Forms plug-in, click here.
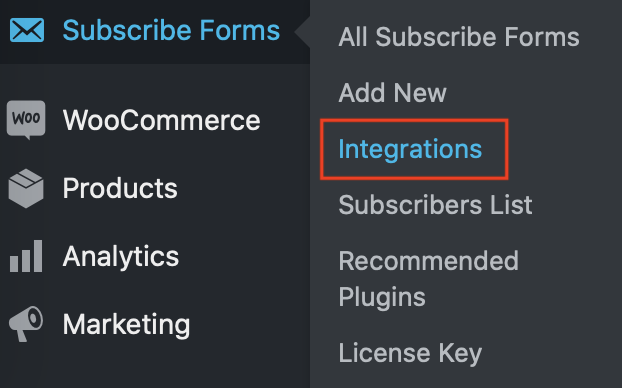
Tip: you can read more about how to find your unique API key/ token for each of these platforms by checking the ”Integrations” page from the Subscribe Forms settings.
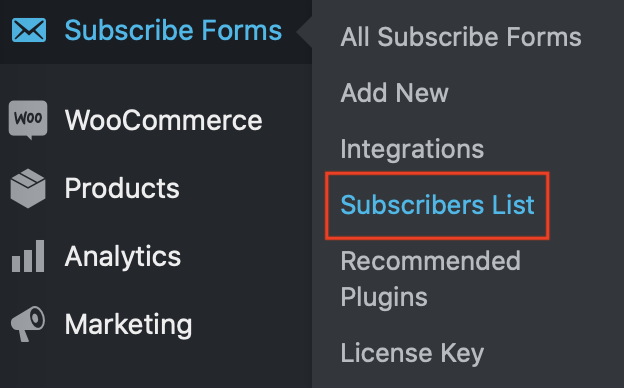
To view your local database where your subscribers are stores, go to your WordPress dashboard and click on Subscribe Forms, then ”Subscribers List”.
You will then see all your existing subscribers, if any, and you’ll be given the options to either download and export your subscribers to a CSV file or yo delete your subscribers. Please note if you delete them, this action cannot be undone.

If you want to connect your subscribe form(s) to more than one e-mail marketing platform, you can do this by simply adding the API keys of the respective platforms in the designed fields in your ”Integrations” page. For example, you can send data to both MailChimp and SendFox.
To do this, simply add your various API keys/ tokens in the respective fields as shown below:

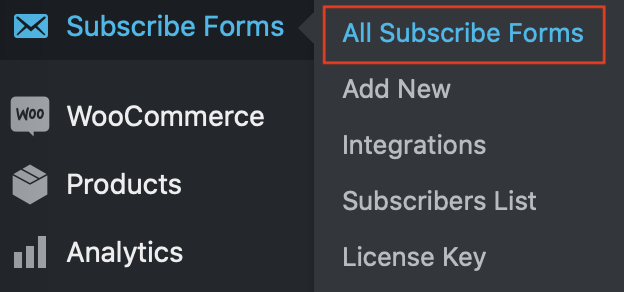
Then, to assign a specific subscribe form to a specific integration – or to more than one integration – go to ”Subscribe Forms” and then ”All Subscribe Forms”.
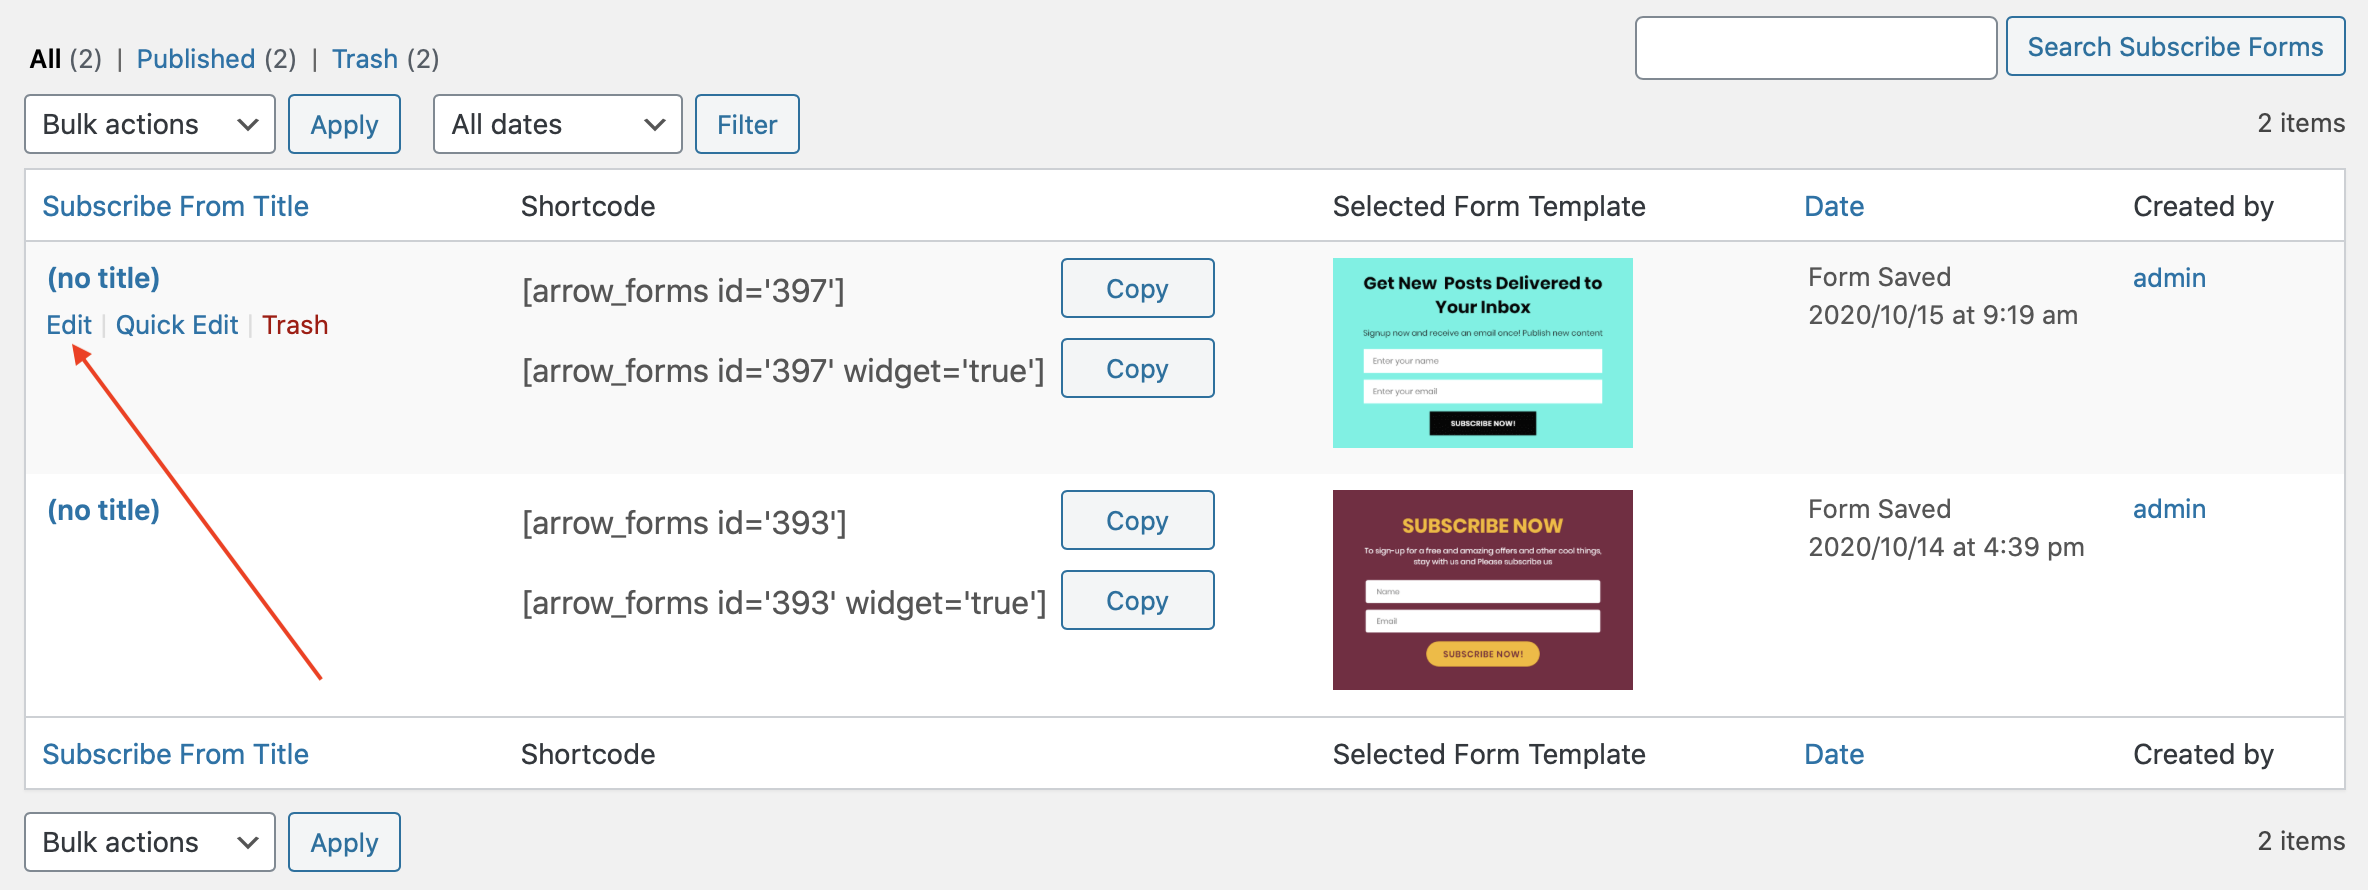
In the page that will open, click on ”Edit” to the subscribe form you want to push data from to more than one integration:
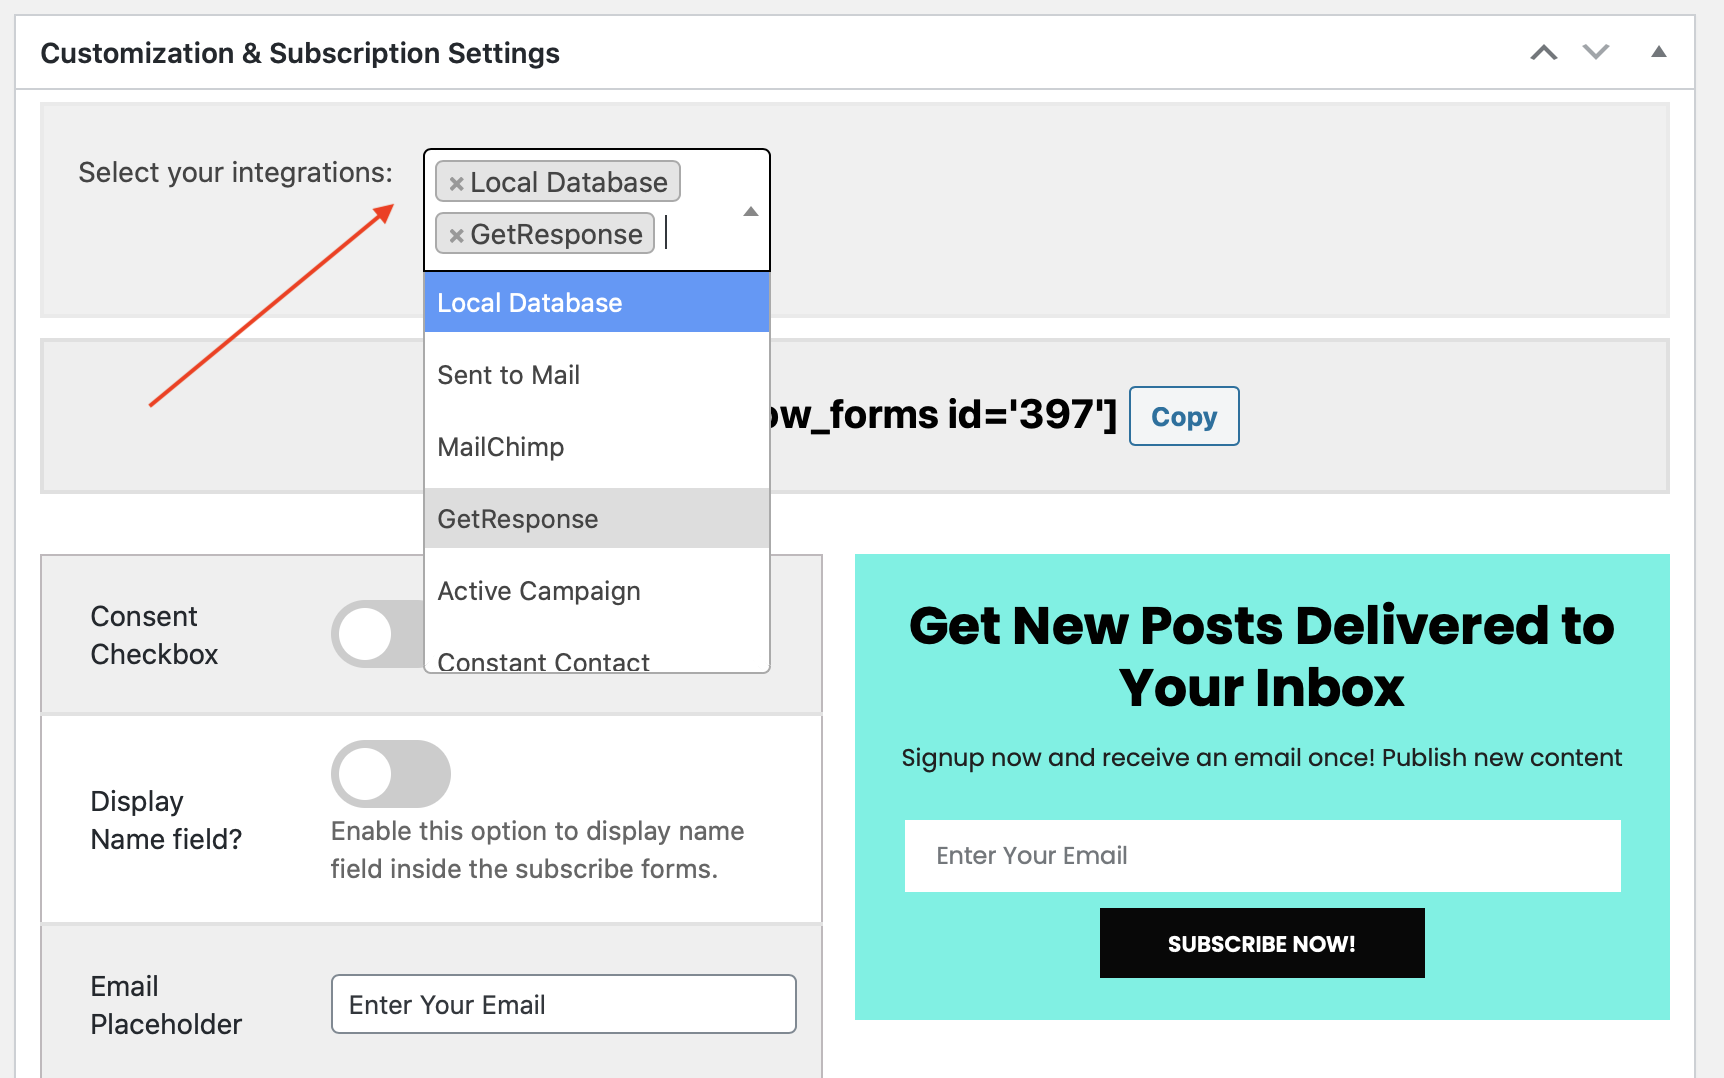
Scroll down past the ”Select Subscribe Forms Template” step and click on ”Customization & Subscription Settings”, then click on the ”Integrations list” button next to ”Select your integrations” and check the platforms you would like this particular subscribe form to be integrated with. You can choose from all of the previously mentioned platforms as well as ”local database” (your WordPress local database also discussed previously) and ”e-mail” (your email).
That’s it! Easy as 1,2,3 In the end, don’t forget to click on the ”Save changes” button to make sure you changes will be displayed accordingly.