In this guide, we will try to explain How to install Subscribe Forms and activate it on your website? Click here to learn how to change or translate your subscribe form placeholders.
Subscribe forms is a plugin that lets you design beautiful and eye-catching opt-in forms to collect emails from your visitors.
In case you are running an online business then E-mail marketing stands out to be the most popular and profitable mediums of online marketing.
Subscribe forms offers you several eye-catching and modern template options, different from what most e-mail content management systems provide today.
You can download our Free version from HERE
We also have a paid version with additional features that you can check out HERE
You can also check a live demo of the Subscribe forms plugin available on Premio’s demo site
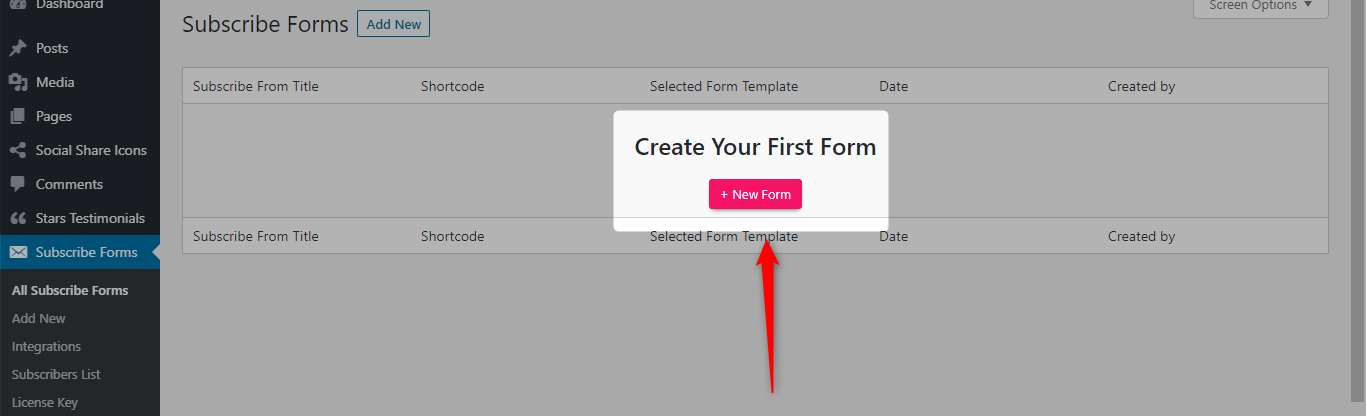
Once you download the plugin, you can instantly start editing your form on Subsribe Forms Plugin settings (for free version)
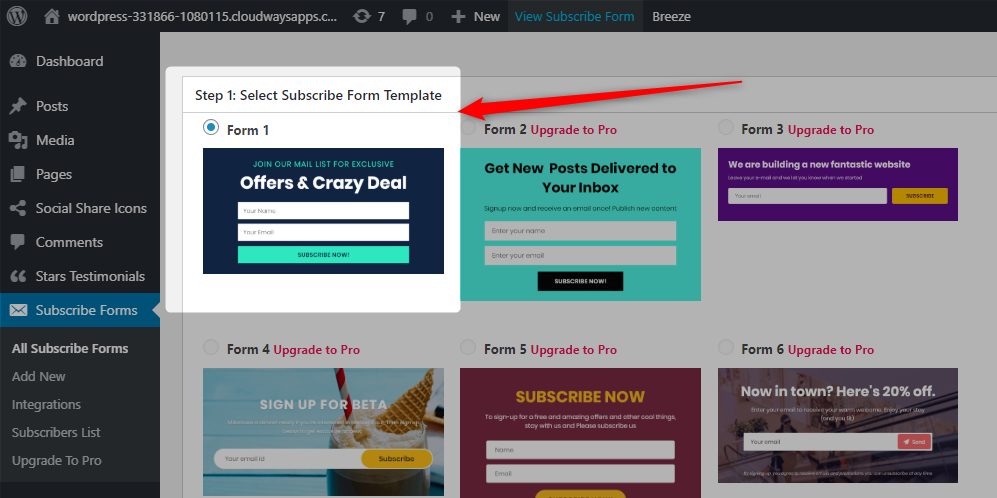
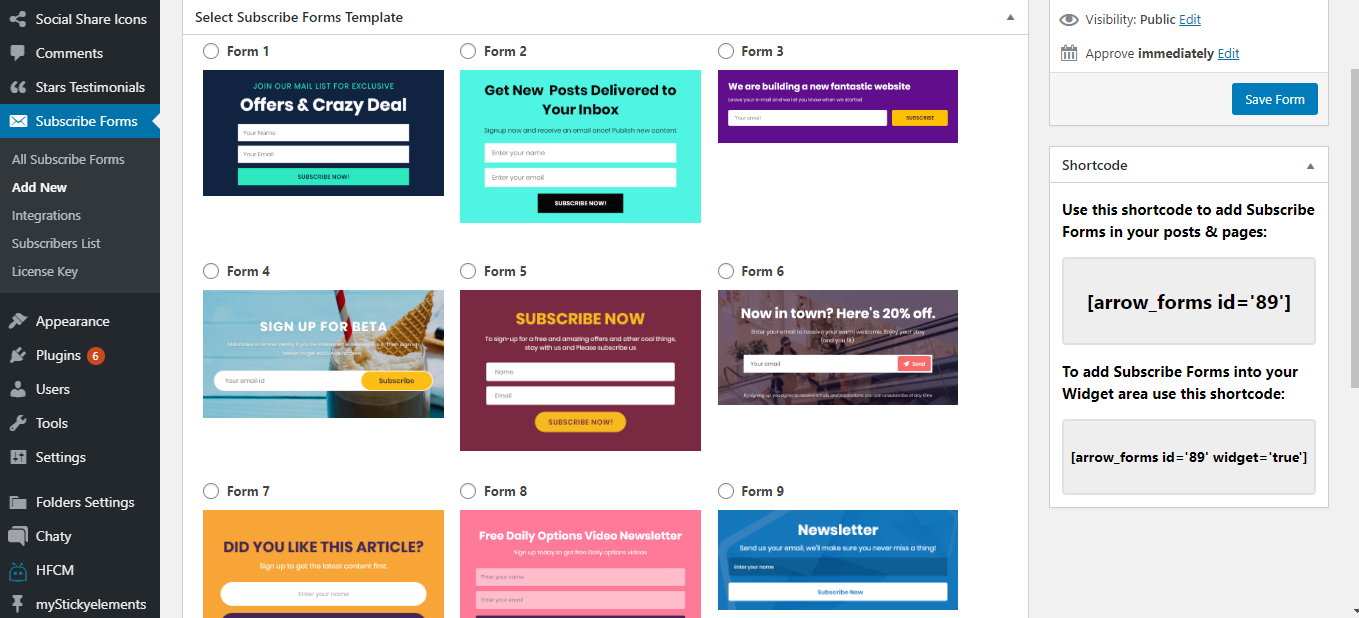
Step 1: Select your template.
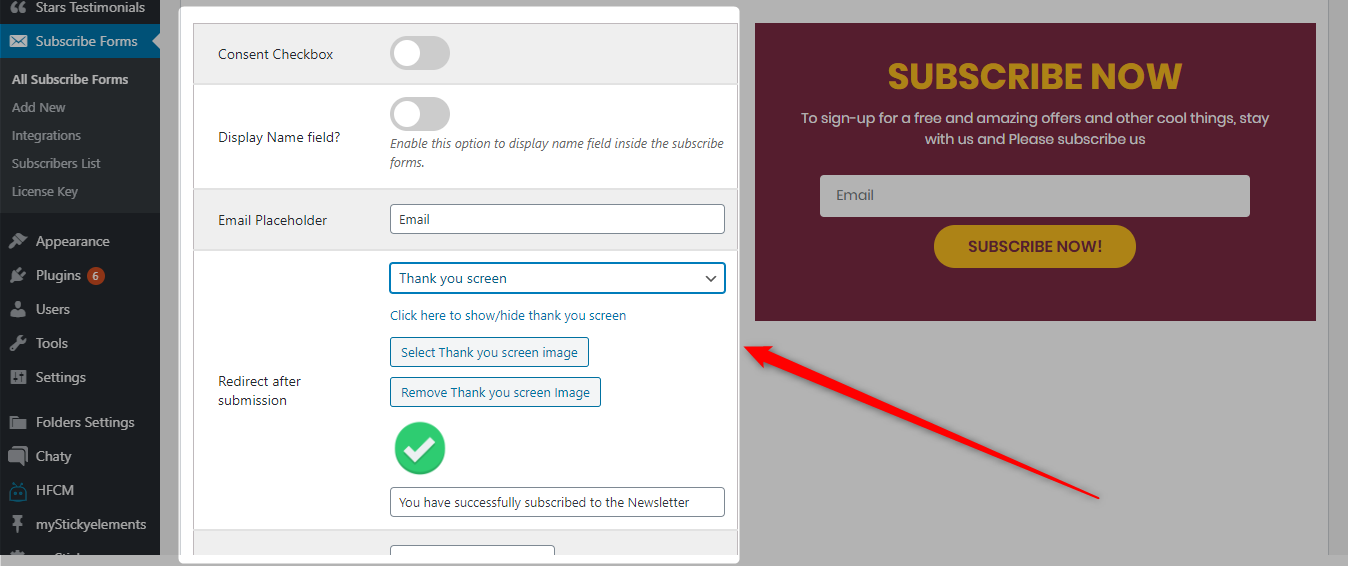
Step 2: Subscription settings.

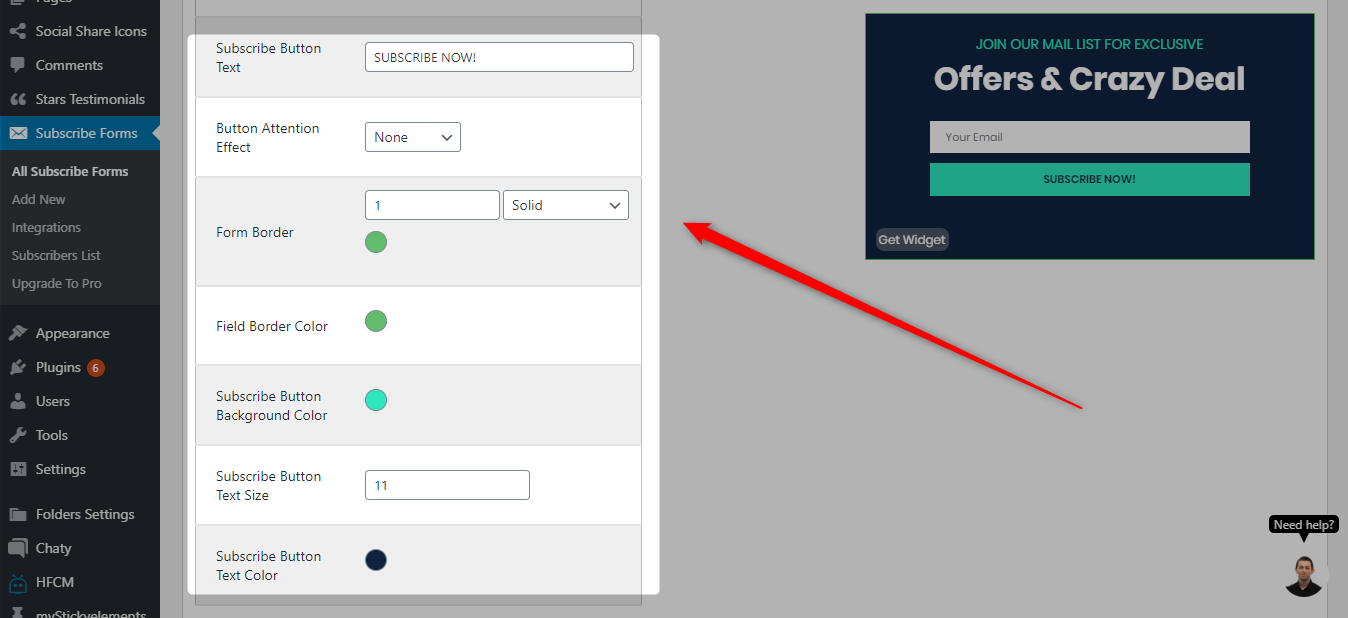
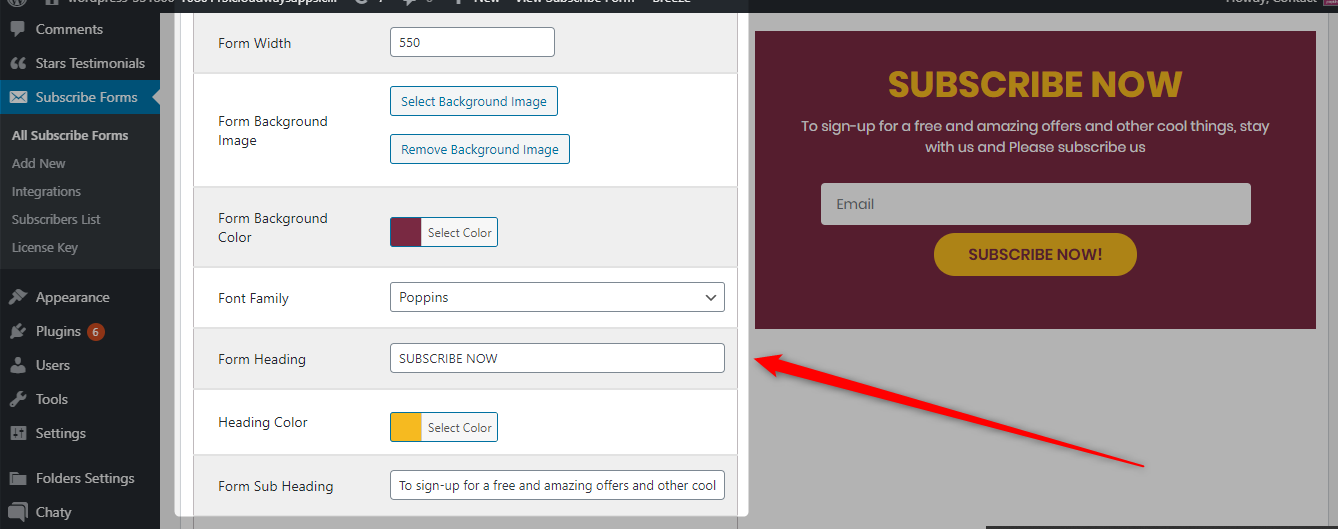
Step 3: Customization Settings and saving the form.


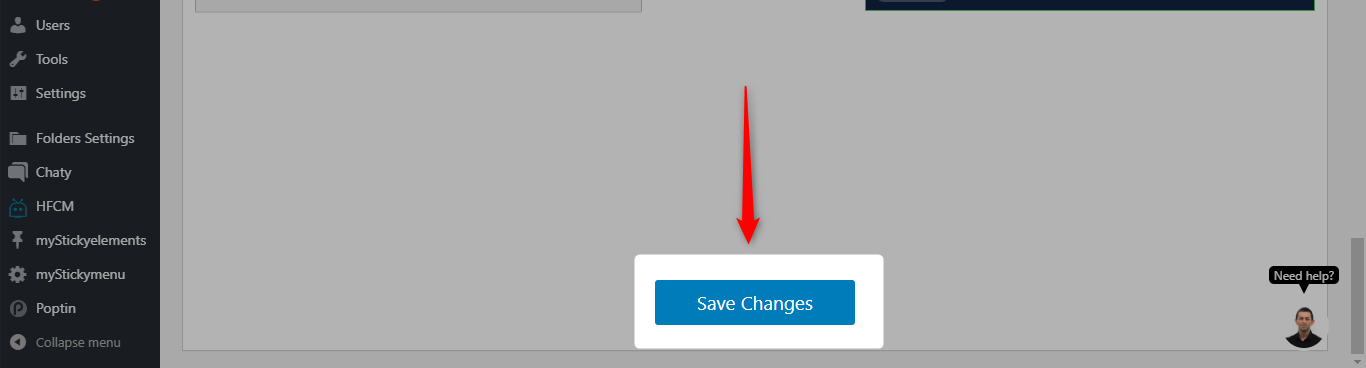
When you are satisfied with the changes, hit Save Changes.
For Paid Version
Our Paid Version comes with a lot of exciting options for templates and customizations. There are several template options and you can also freely use the customization settings to change as per requirements. With a paid version, you get to choose between a year and lifetime of updates and support for the plugin.
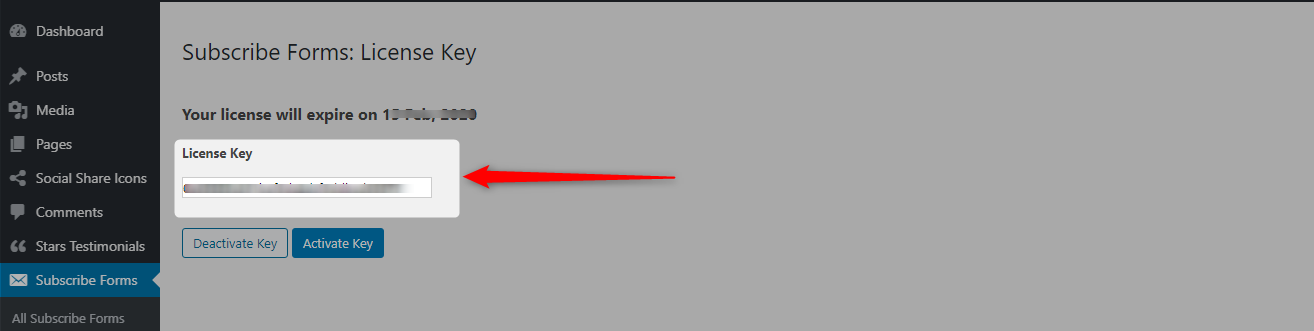
Once you purchase a plan from our Paid Version you will receive a license key on your registered email address, that you need to enter here in your Pugin Settings (image attached below)
Once you enter your license key, hit Activate Key at the bottom:
Once you have activated the plugin through license key, you can directly access the plugin through your Dashboard and start creating beautiful forms (image attached below for reference only) :
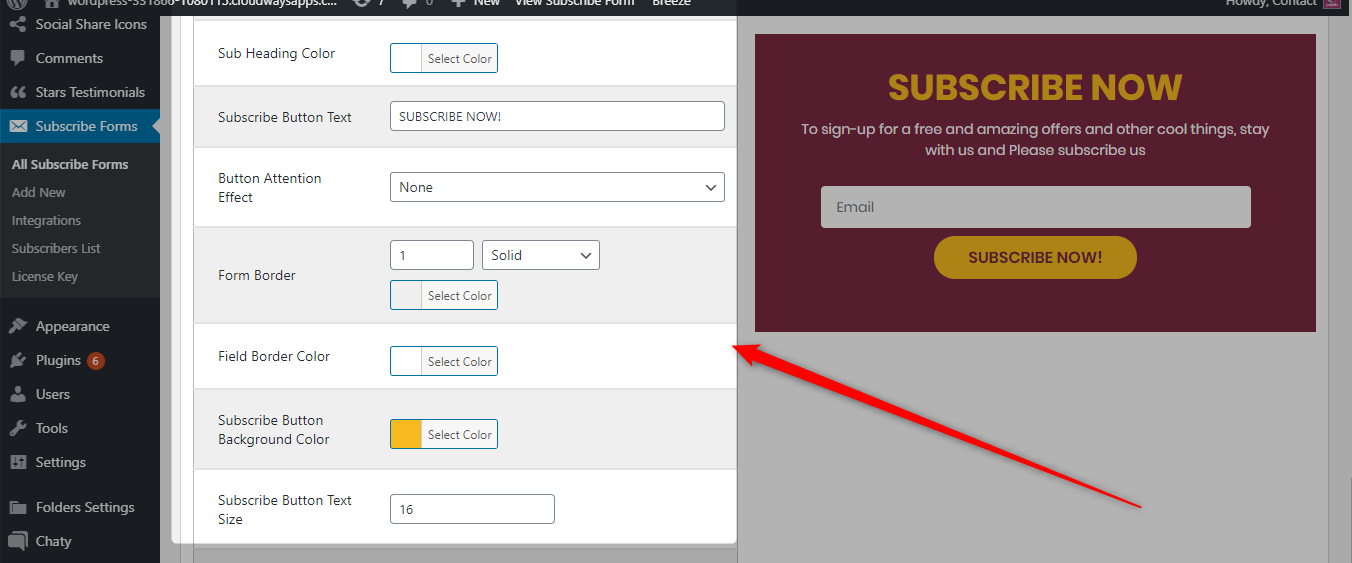
In the paid version of the plugin, you will get various options in templates and customization settings like changing the fonts and colours for the background, heading, button attention effect, sixe of Subscribe button, etc.
We also keep updating our features regularly.
Step 1: Select the Template Design.
Step 2: Select the location for saving subscriber data.
Paid version gives you various options to integrate and export your data to email automation platforms like Mailchimp, GetResponse, etc. In this guide, you can read where to find your subscribe form leads and here you can learn how you can send them to your email address. You can find all Subscribe Forms integrations here: https://premio.io/help/subscribe-forms and you can find out how to push data to more than one integration in this guide.

Step 3: Customization Settings

Once you are satisfied with the changes made, just hit Save Changes tab.
You will also keep on seeing a Preview of the Subscribe Form on the right while customizing the settings
How to Install the Subscribe Form to your Website?
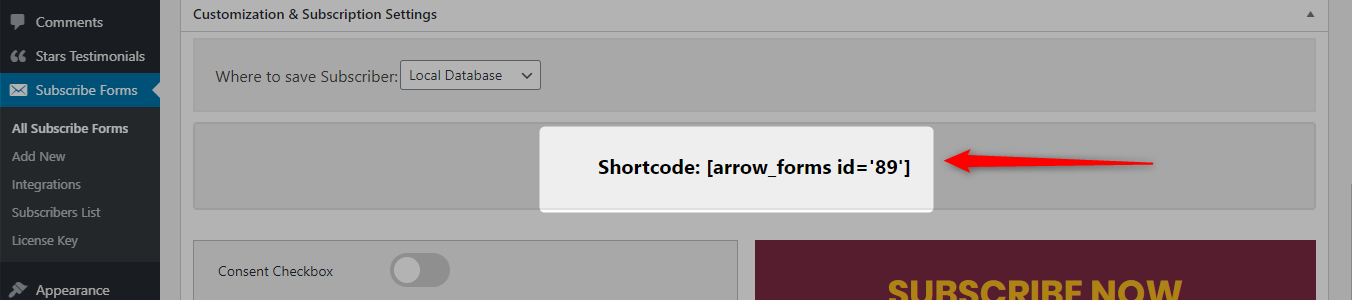
Once you save the Form, you can copy the Shortcode on the top of Customization settings and paste it to any page on your domain
Once a Subscribe form is published on a website, this is how it may look (image for reference) :
You can read how to put the Subscribe Forms widget on every page here: https://premio.io/help/subscribe-forms/how-to-add-your-subscribe-form-widget-on-every-page/
Get your Plugin from here Now:
FREE VERSION
PAID VERSION