In this guide we’ll show you how to connect your subscribe forms with your MailChimp tags or groups in a few super quick steps.
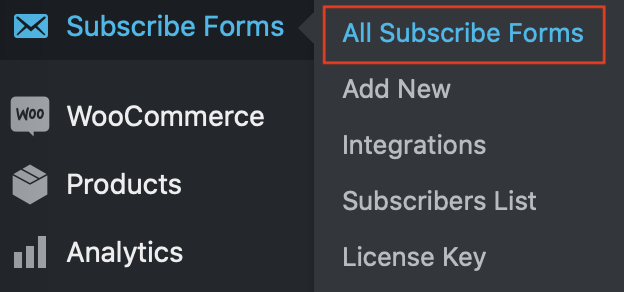
First, open the Subscribe Forms plug-in settings and click on ”All Subscribe Forms” to view your currently existing forms.
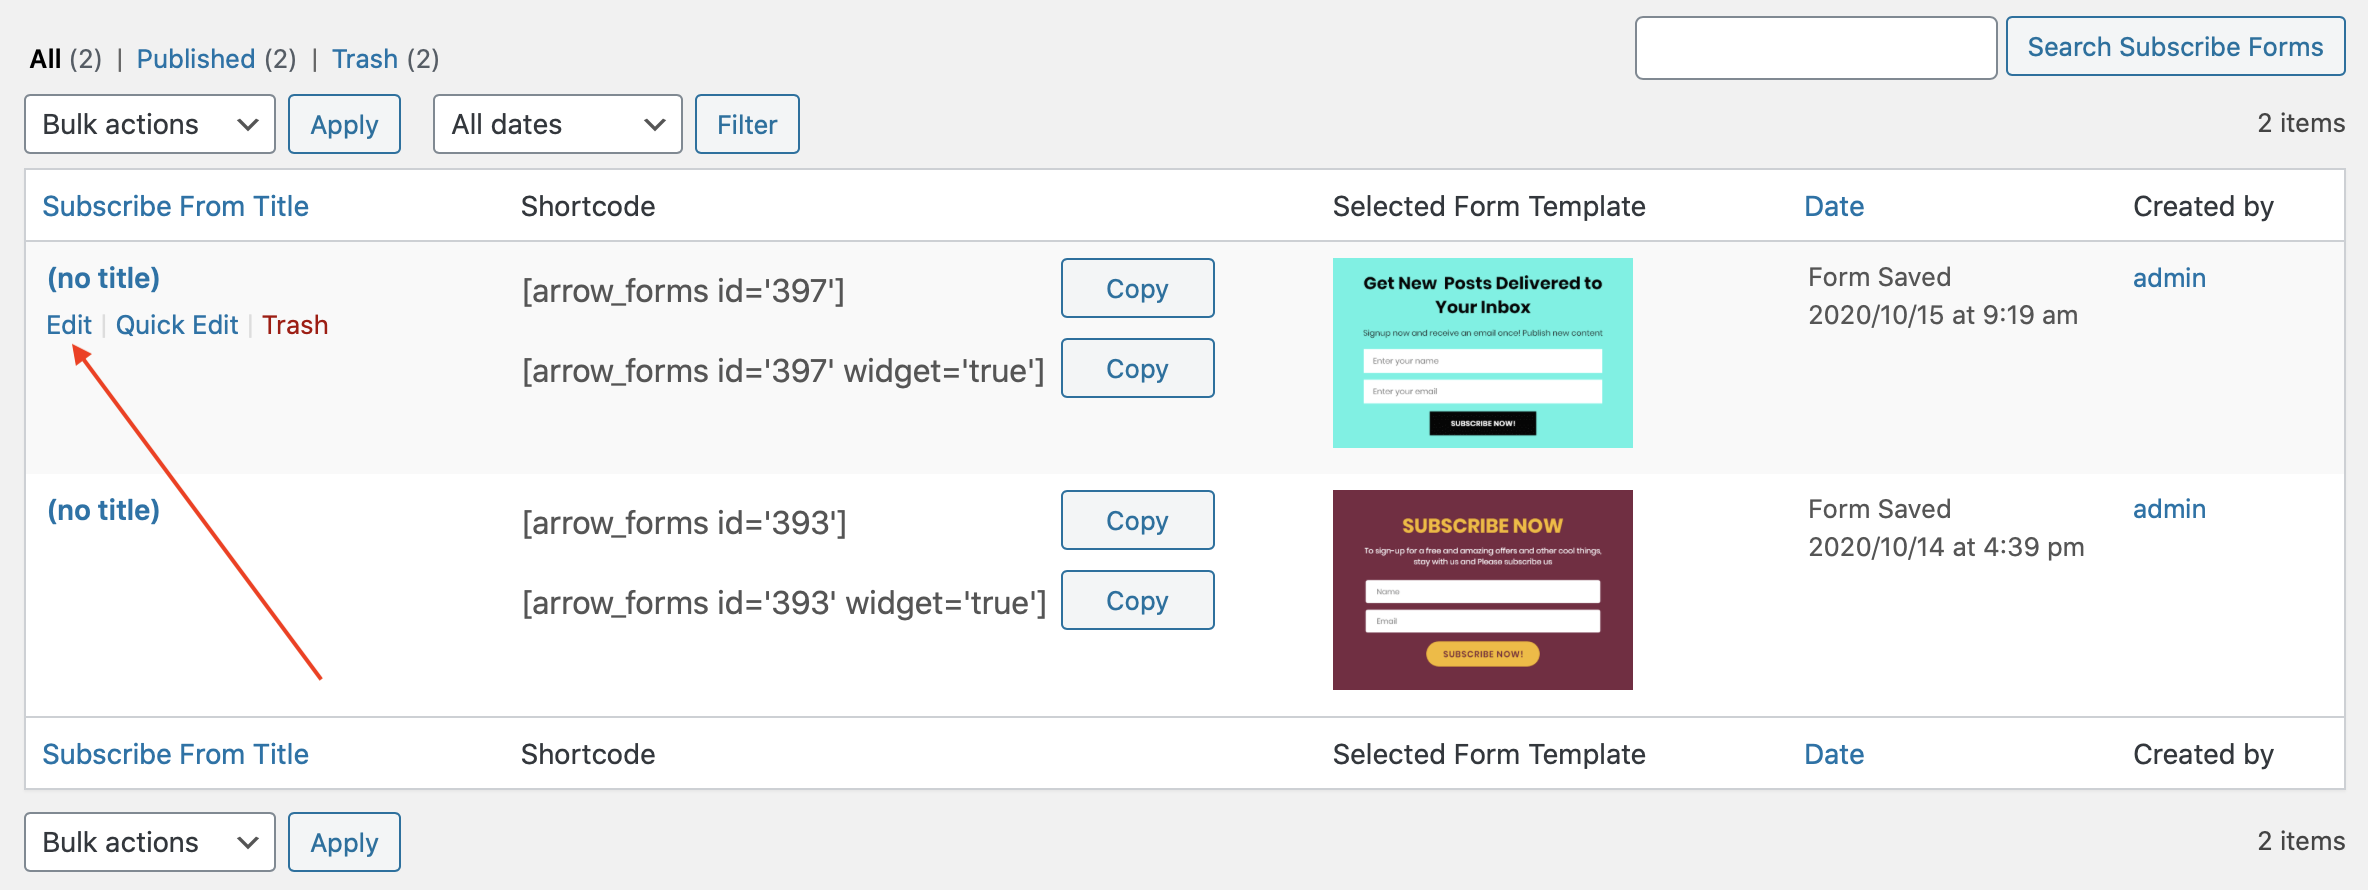
In the page that will open, click on ”Edit” to the subscribe form you want to connect to your MailChimp tags or groups.
Scroll down past the ”Select Subscribe Forms Template” step in the page that will open and click on ”Customization & Subscription Settings”, then click on the ”Integrations list” button next to ”Select your integrations” and check the MailChimp platform.
You will then be given the option to enable integration with one of your already existing MailChimp lists.
You will also be asked if you want to enable double opt-in. This is a setting within your MailChimp account that will let your subscribers confirm if they do or do not wish to receive marketing e-mails from you. Instead, they’ll receive an initial “opt-in email” asking them to confirm their subscription.
If you choose to enable tags, you’ll need to add your MailChimp tag(s), keeping in mind if you have multiple tags, you will need to separate them with a comma. The listed tags will be applied to all subscribers added to your list through this specific form.
If you choose to enable groups, you will be asked to select which of your currently existing MailChimp groups you would like to integrate this form with.

That’s it! Easy as 1,2,3! In the end, don’t forget to click on the ”Save changes” button to make sure you changes will be displayed accordingly.