In this guide we’ll show you how to set up and use the Sticky Floating Contact Form app for Shopify. Please check our entire help documentation here to make the most out of the app ☺️
With the Sticky Floating Contact Form app you can create personalised and attractive contact form and/ or social media and communication channels widget and allow your website visitors to contact you anytime, anywhere on your website, thus increasing your leads and sales.
You can configure and customize your contact form tab according to your needs and even create a custom contact form button using a link or a JavaScript function (more details on this here: https://premio.io/help/sticky-form-for-shopify/how-to-make-your-sticky-forms-contact-form-pop-up-automatically/).
Let’s get right into it! Start by opening the Sticky Floating Contact Form app in your Shopify admin panel. The app settings menu will open up.
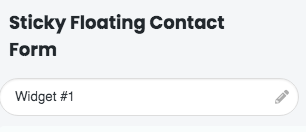
First, give your widget a name. It will be named ”Widget #” by default.
Then, proceed with setting up a contact form from Step 1: Add contact form. First, choose what fields you want to show on your contact form by clicking on the checkbox to the left of each option. For example, you can request that your visitors provide their name, phone number, e-mail address, and write a message. You can rearrange the order of the fields using the dots to the left.
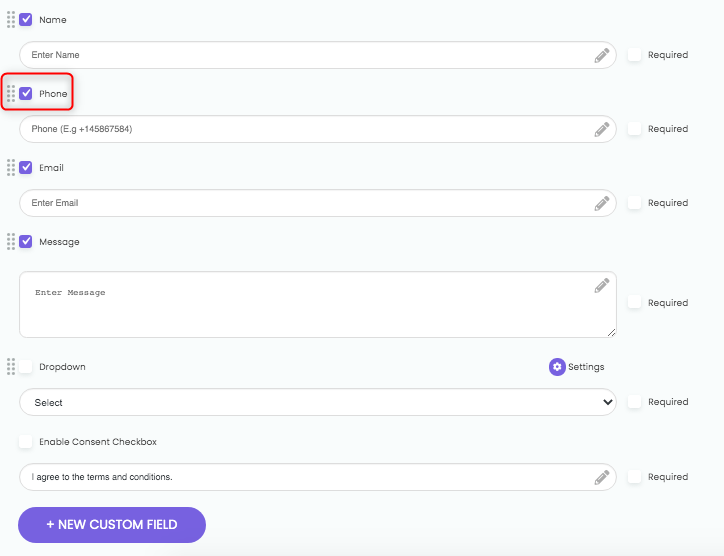
Note: you can change the placeholders for each of the fields, for example you can put an example email address in the relevant email field, instead of ”Enter email” as is by default.
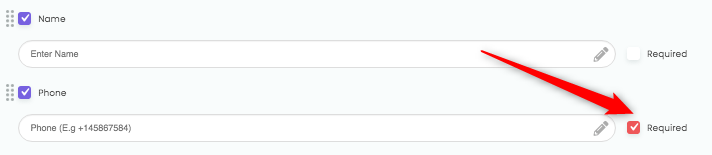
You can also choose whether the fields are compulsory or mandatory from the ”Required” checkbox option to the right of the field.
You can also add a dropdown menu with pre-set topics that your visitors can choose the topic of their message from. The options of the dropdown menu are totally up to you, for example ”general inquiries”, ”complaints”, etc.

You can also enable a consent checkbox, for example ”I agree to the terms and conditions”.

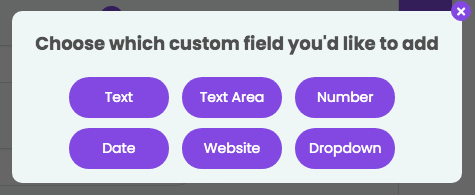
If you want extra fields in your contact form, you can add your own custom fields from the ”New Custom Field” button.
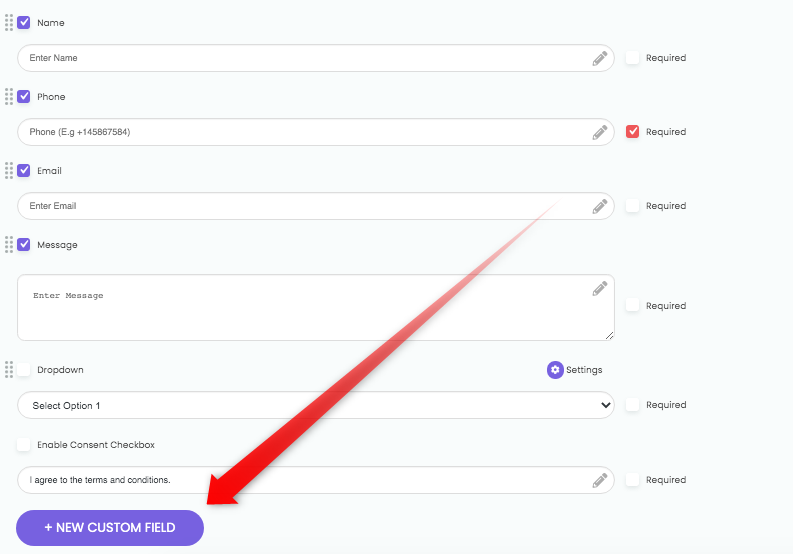
You can choose among several options such as text (a new field with an open option of your choice), a custom text area field (for a custom message), a custom number field, date field, website from. You can read more about custom fields here.
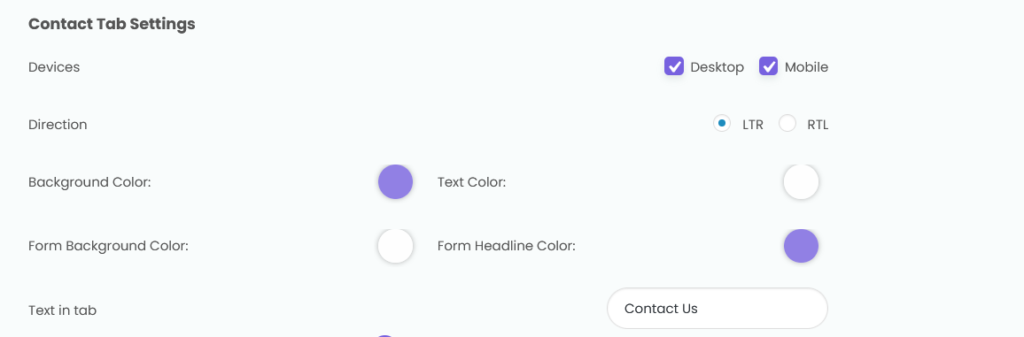
It’s time to configure your contact form tab settings from the ”Contact Tab Settings” menu. You can choose whether to display the contact form on desktop or mobile devices, or both, whether the contact form supports LRT or RTL writing systems and customize it in terms of colours and text in tab.
Next, select where you’d like to store your contact form leads. By default your contact form leads will be automatically sent to the Customers tab in your Shopify admin panel, with a ”Sticky Floating Contact Form” tag so you can easily find them. You can however opt to send your contact form leads to your e-mail as well by checking the ”Send leads to your email” checkbox. You can add one or more emails to which you want to receive your leads, just make sure you separate the email addresses with a comma. Sometimes the leads can be in your Spam or Promotions folder, so make sure you check these as well and create a rule so that they go to your main Inbox. You can also change the email subject line from the respective field. You can also choose to send your contact form leads to WhatsApp. Please note you can select one or more options in this step.
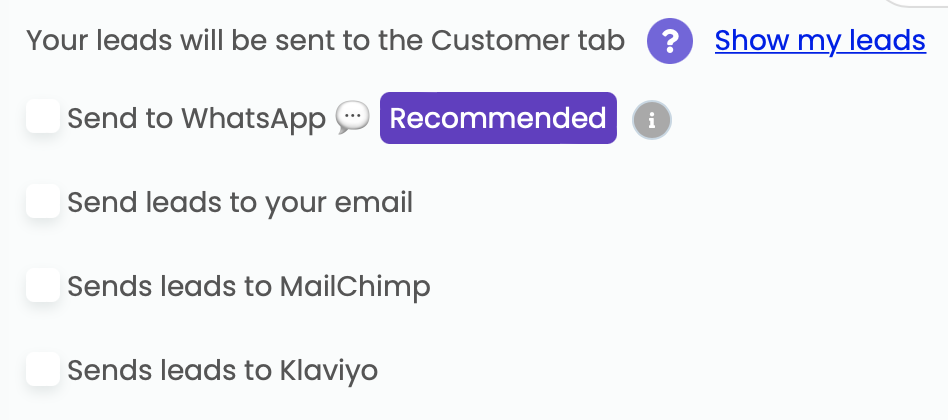
You can also select to push data to two email marketing platforms – MailChimp or Klaviyo.
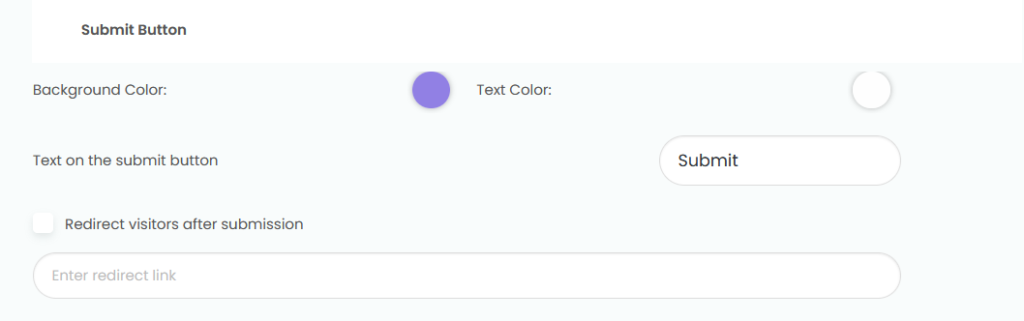
Finally, move on to customize your ”Submit button” appearance in terms of colour and text. You can also choose whether or not to redirect visitors after submission and if yes, to add a redirect link. You can also add a custom message to be displayed after submission, such as ”Your message was sent successfully”.
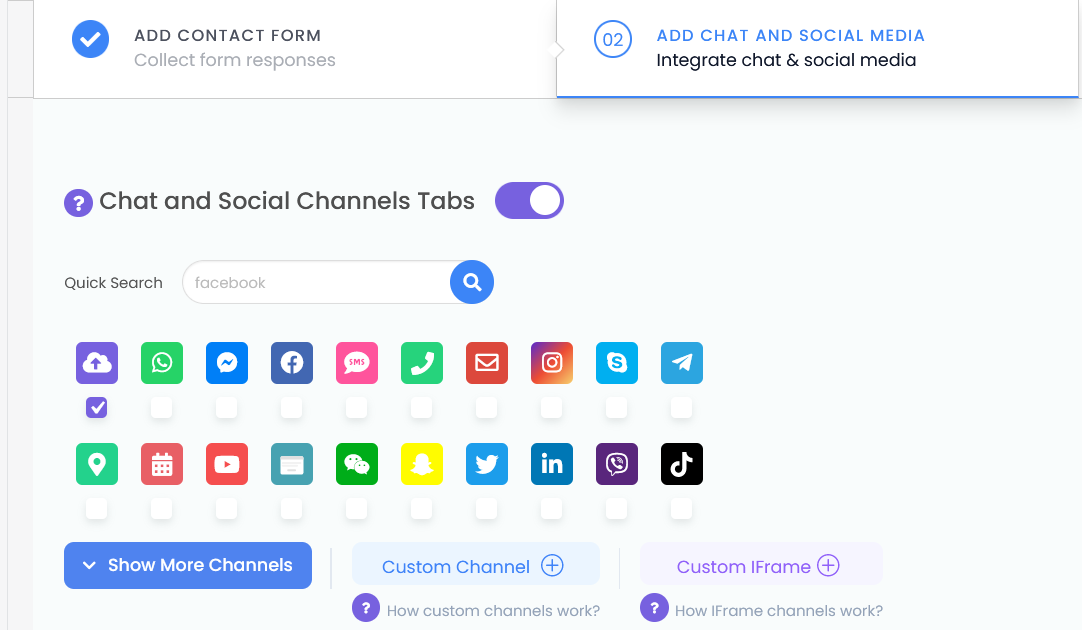
Let’s move on to Step 2: Add chat & social media. From this step, you’ll be able to add social buttons like WhatsApp, Facebook Messenger, Instagram, Telegram, and much more. Click here to learn more about chat and social channel, and click here to learn more about adding a custom iFrame/ shortcode channel.
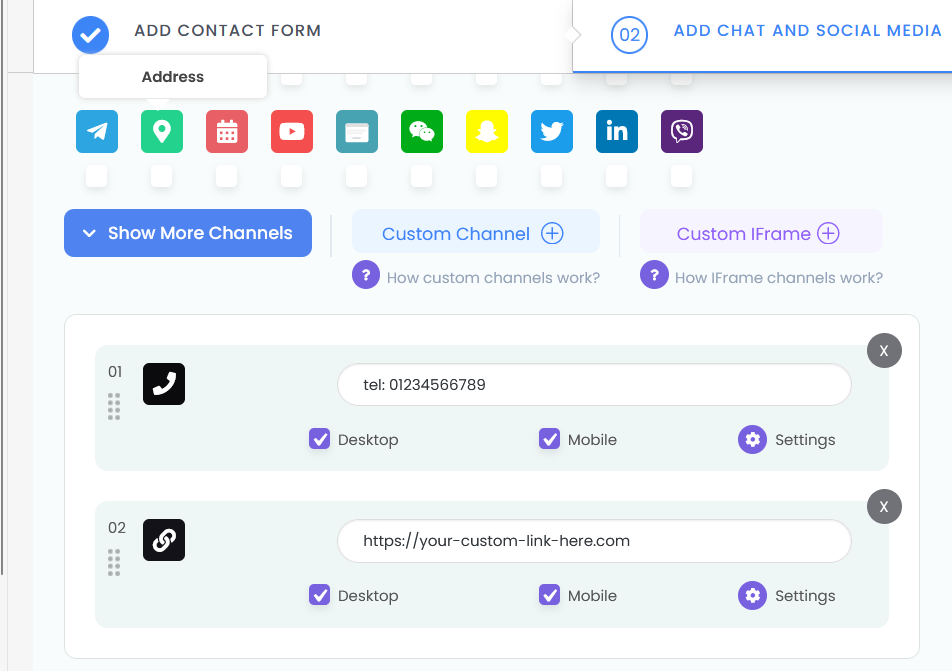
After adding a channel, you’ll need to fill in the channel details, e.g. your WhatsApp number, and choose whether you want to show the channel on desktop or mobile, or both.
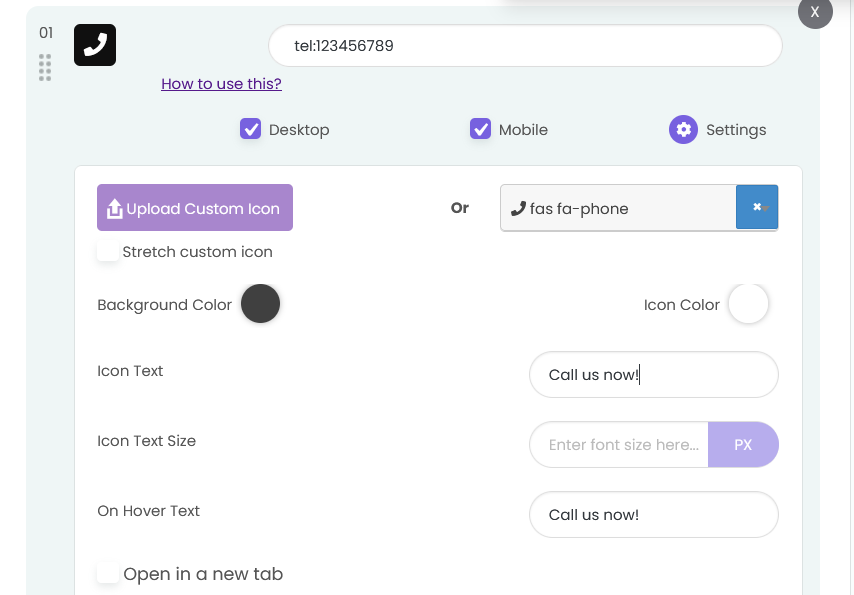
By clicking on the “Settings” button you’ll reveal extra channel customisation settings such as colours, icon text and size, on hover text and more.
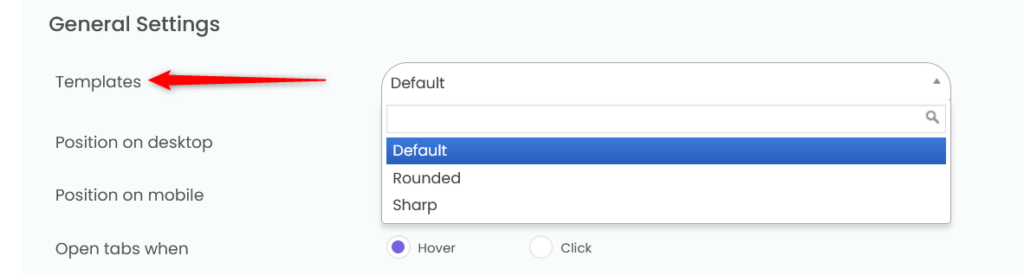
And finally, it’s time to move on to the last step, Step 3: Display & behavior settings. First, it’s time to select your contact form tab appearance. You can choose from our contact form templates – ”default”, ”rounded” or ”sharp”.
You can set different widget positions for desktop and mobile devices from ”left”, ”right”, ”bottom” or ”top”.
Note: if you select the ”bottom” position, you can also choose whether it will be centered or positioned to the left or right of the bottom screen.
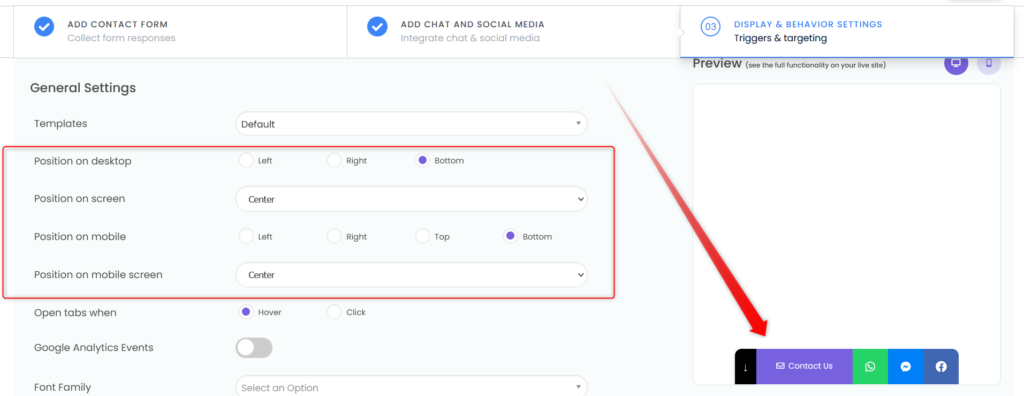
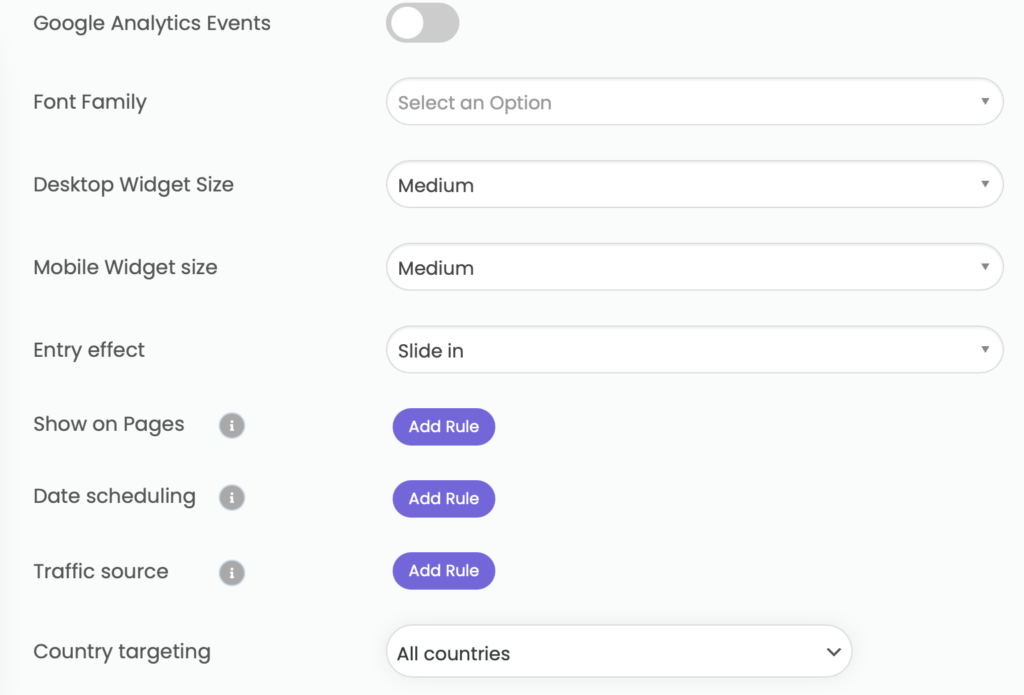
You can also enable tracking clicks with Google Analytics (available for Pro users only), font family and widget size for desktop and mobile separately. Proceed with adding an entry effect for the widget and add any targeting rules you want.
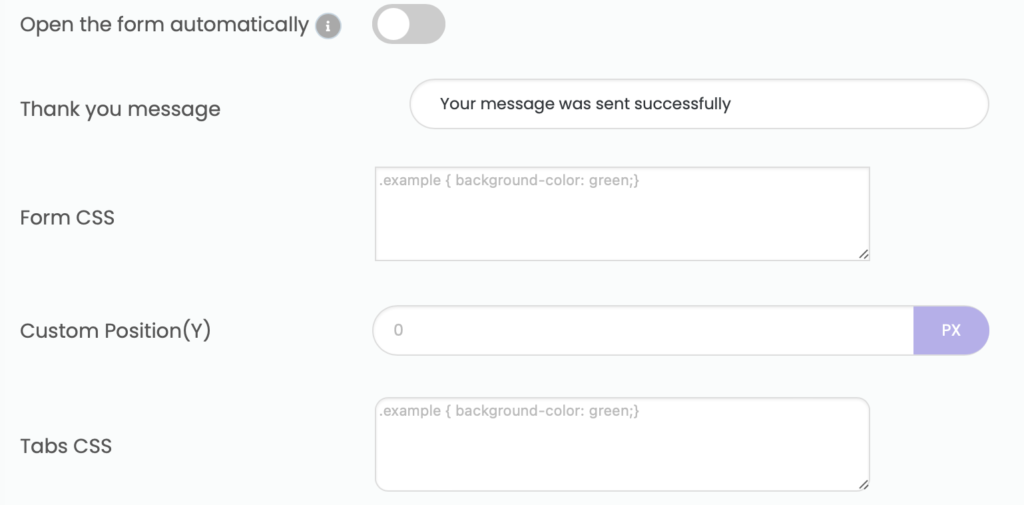
Click on the “More settings” button to reveal extra settings such as to have the form pop up automatically on page load by toggling the ”Open the form automatically” button. For this option, please note that if your visitors close the form or fill it in, it will not automatically open on the next page: they will have to click to open it if they want to fill it in. You can read more details about this feature here: https://premio.io/help/sticky-form-for-shopify/how-to-make-your-sticky-forms-contact-form-pop-up-automatically/
You can also choose whether or not to have a minimise button tab.
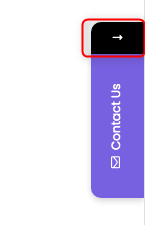
Note: if the minimise button tab is active, you can customize it in terms of colour and also choose whether your contact form tab will be minimised on page load or not. For example, if this option is checked, to open the contact form your visitors will need to click on the minimise tab button.
You can also add an optional thank you message in this step, as well as any custom CSS.
Finally, click on the Save button. That’s it! The final result may look something like this, depending on your custom settings:
