In this guide we’ll show you how to send your Sticky Floating Contact Form contact form leads to WhatsApp.
With this feature, the contact form content will be sent as pre-filled text to your WhatsApp number. This can be helpful in offering faster and easier communication to your website visitors. You can also choose to send desktop visitors to WhatsApp web automatically. So let’s get right into it.
Step 1: Open the Sticky Floating Contact Form app settings from your Shopify Apps panel and click on edit next to the widget you wish to edit.

Step 2: In Step 1: Add contact form, fill in your desired contact form fields. You can read more about each of them here.
Once you’re ready, move on to the part where you add where you wish your leads to be saved. By default your leads will be sent to the Shopify Customer tab. Click on the “Send to WhatsApp” checkbox to enable the feature and fill in your WhatsApp number. he contact form content would be sent as pre-filled text to the WhatsApp number added. You can combine this method with other ways of lead storage too, such as email.
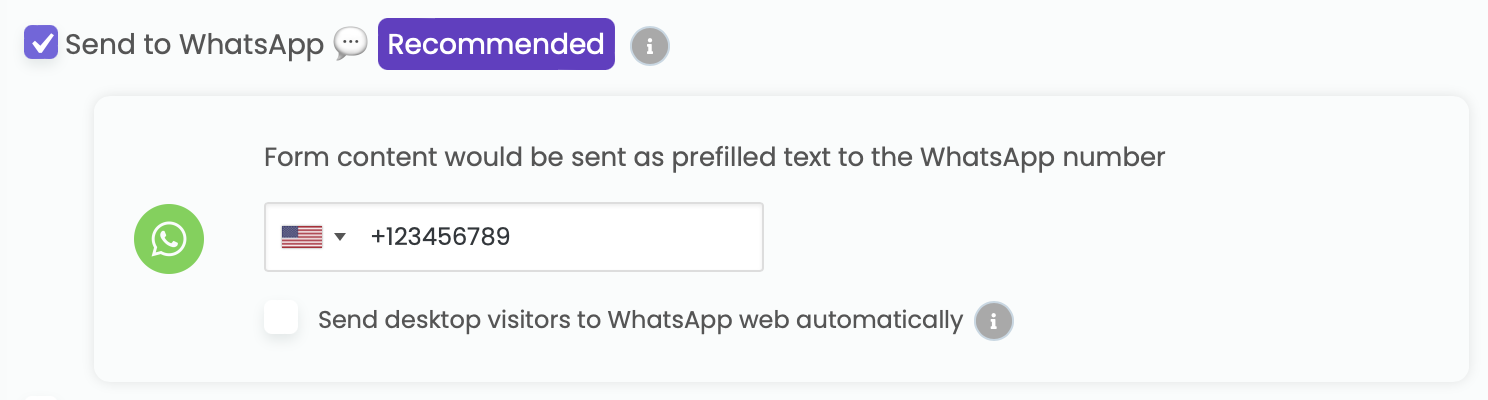
You can optionally choose to send desktop visitors to WhatsApp Web automatically instead of to the mobile “wa.me” WhatsApp link.
Once you’re ready, you can proceed with any further customisations you wish to make.
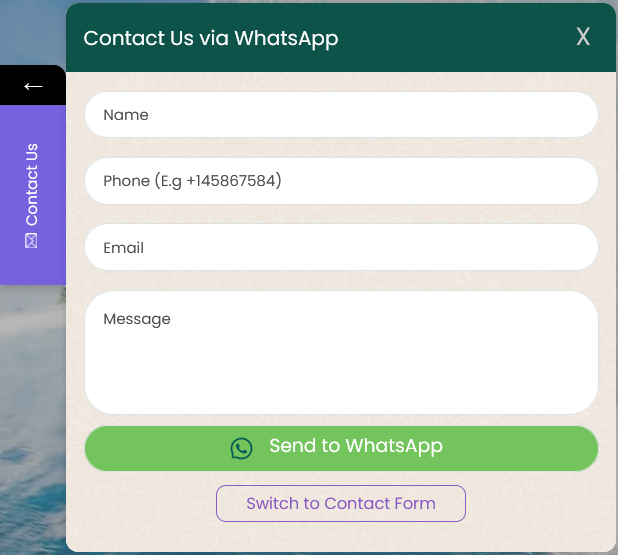
Finally, click on the Save button. In the end, depending on your custom settings, the final result may look something like this on your website:
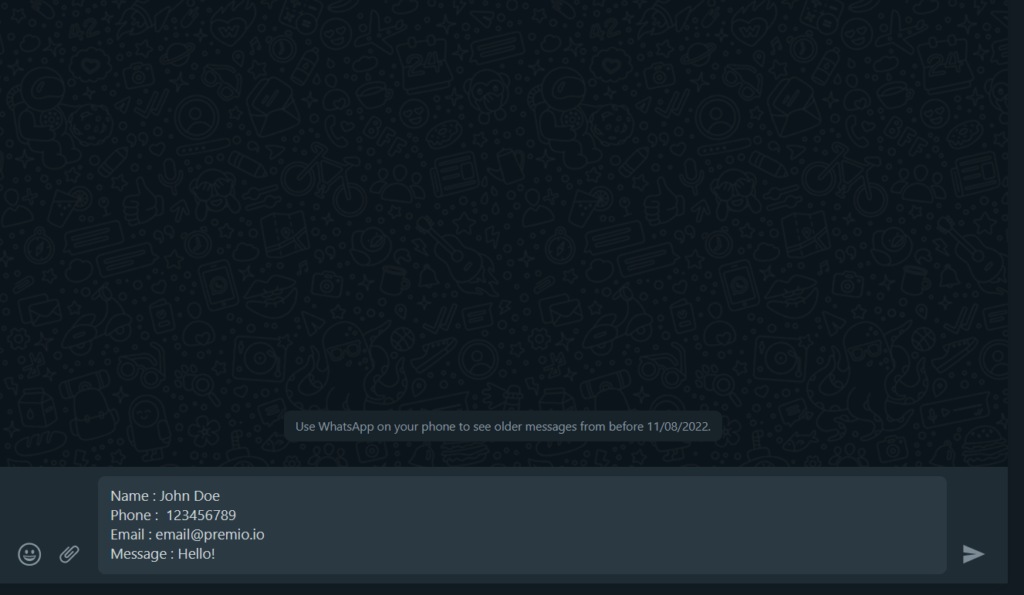
Once your visitors click on the “Send to WhatsApp” button, this is how it will look like:
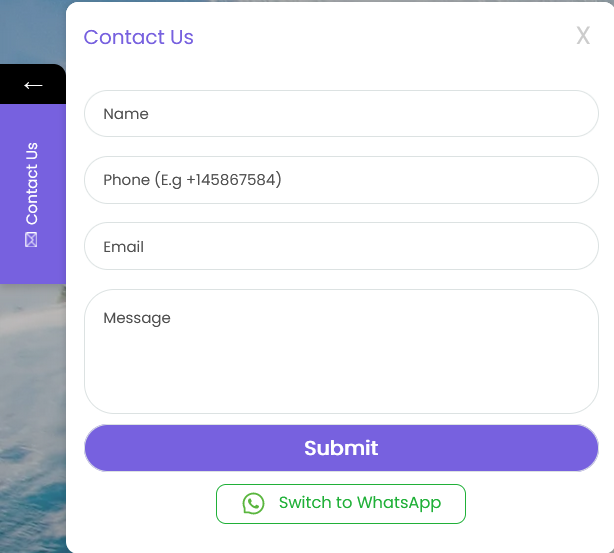
If your users prefer not to continue the chat via WhatsApp, they can easily switch to the classic contact form via the “Switch to contact form” button! It will look like this:
And that’s it! Easy as 1,2,3!