In this Help Guide, we will try to illustrate how to use the My Sticky Bar plugin.
My Sticky Bar is available as a WordPress Plugin that lets you turn your Header or Menu sticky as the visitors scroll up and down on your website. It is available as a free plugin but we also have paid plans with more features and allowing the users to use it on multiple domains.
You can Download the plugin for WordPress from here
Follow through the steps to understand how you can use the plugin :
Step 1: Login to your WordPress Admin Dashboard and go to My Sticky Bar > Settings
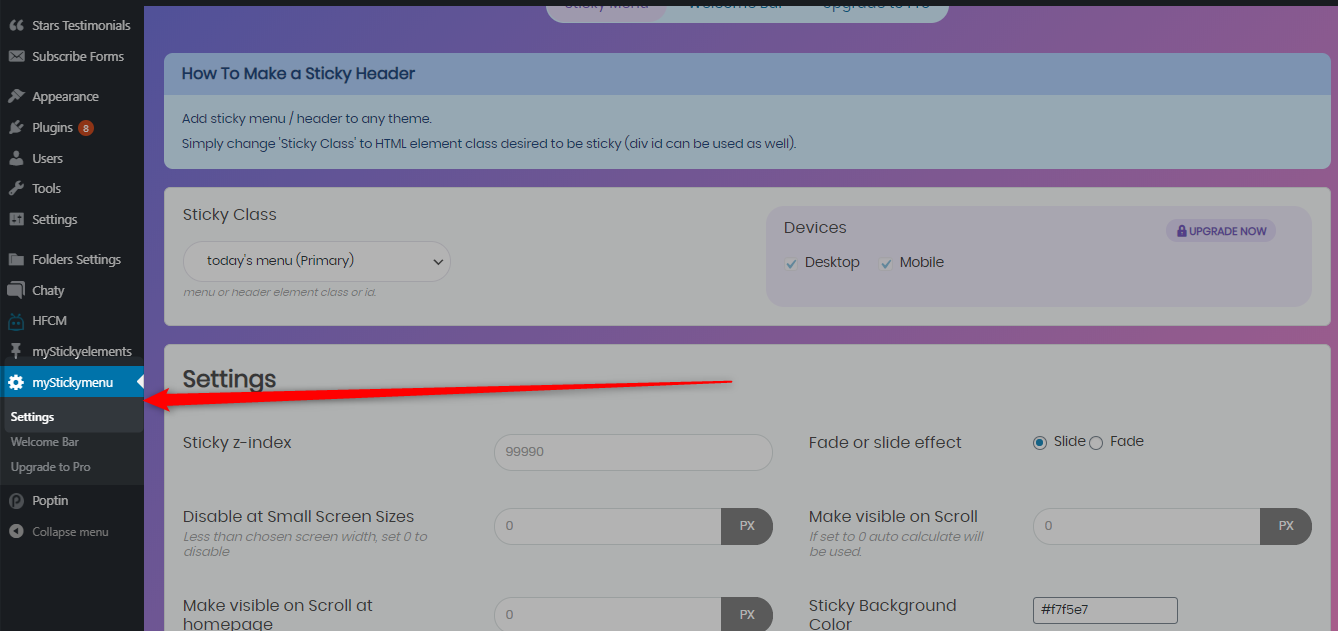
Step 2: Now you will get the option to select the Sticky Class where you can get option to select pre-defined class as per your website or create custom class
With Pre-Defined Class
With Custom Class
Usually, the plugin will identify the right class or id from the Dropdown Menu, but for some reason, if it doesn’t happen then you can use the custom class or id option from the dropdown menu.

Step 3: Now you will get to choose the settings of the sticky menu, like the option to disable on smaller screen sizes (you can define that in pixels), or to make it visible on scroll at homepage, fade or slide effect, background color of the sticky menu, etc.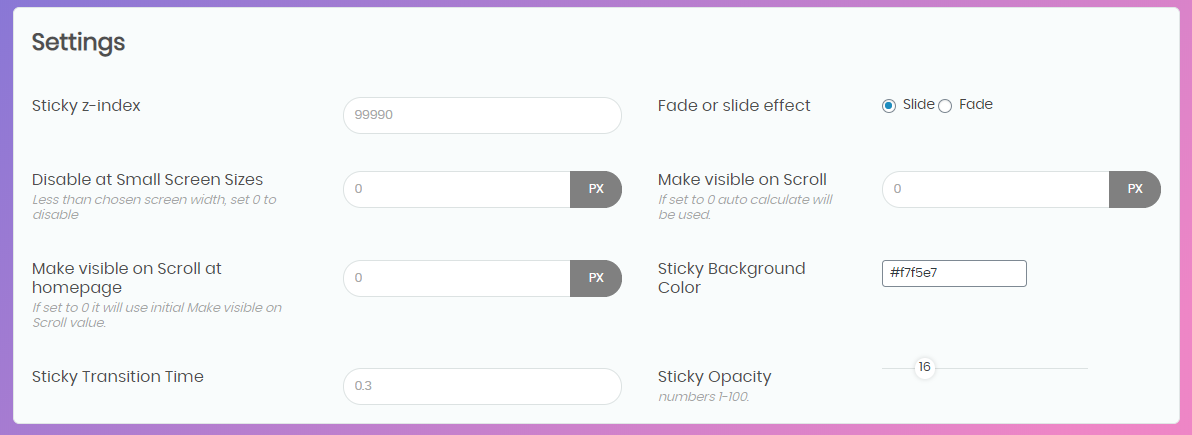
Step 4: Next step is to choose the settings like hide on scroll down, page targeting and CSS styles you may want to keep or exclude, etc. You can read more about how to use the sticky menu on specific pages only here.

Step 5: When you have made all the necessary changes in the settings, just click on the Save tab at the bottom
This is how a sticky menu created with My Sticky Bar might look on a real website (image for reference only) :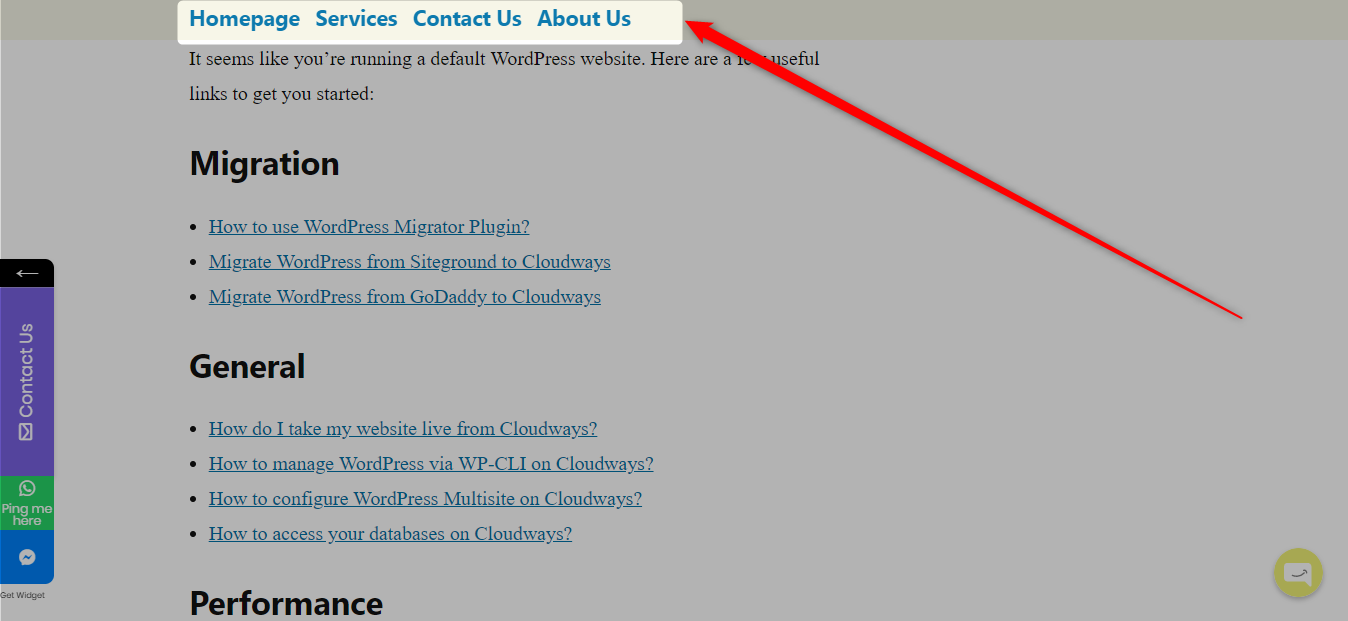
** Some of the features as shown above are available on the Paid Plans only.