In this guide we’ll show you how to create a new My Sticky Bar.
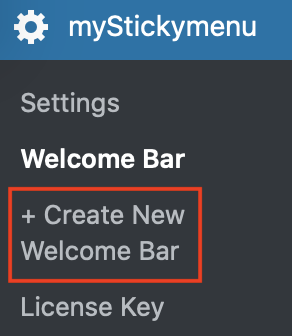
Start by creating a new welcome bar from your WordPress dashboard.
Now you will need to configure and personalise your welcome bar. First, you need to give your new bar a name. It will be named Welcome Bar# by default. Make sure you toggle the ”Welcome Bar” button below the welcome bar name in order to activate it, then move on to the configuration and customisation settings.
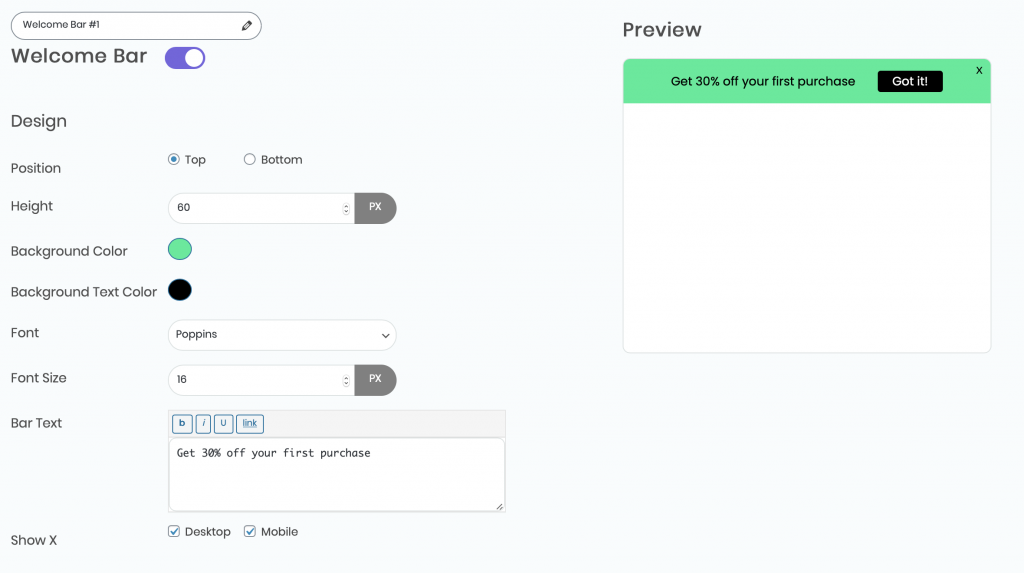 First, you need to choose the welcome bar position – whether you want it to be positioned at the top or at the bottom of your page, and its height (bar size). Please note you can monitor all changes in real time in the Preview window to the right of your screen. Move on to the colour and background colour of your bar, as well as font and font size settings. Then you need to set up your Welcome Bar text. You can either type your own text, for example: ”Get 30% off your next purchase!” (in standard, bold, italic or underlined font) in the box, or add a link. If you choose to add a link to your welcome bar, you will be asked to enter the destination URL (which can also be ”covered” by link text) or add a link to existing on your website content (e.g. another page).
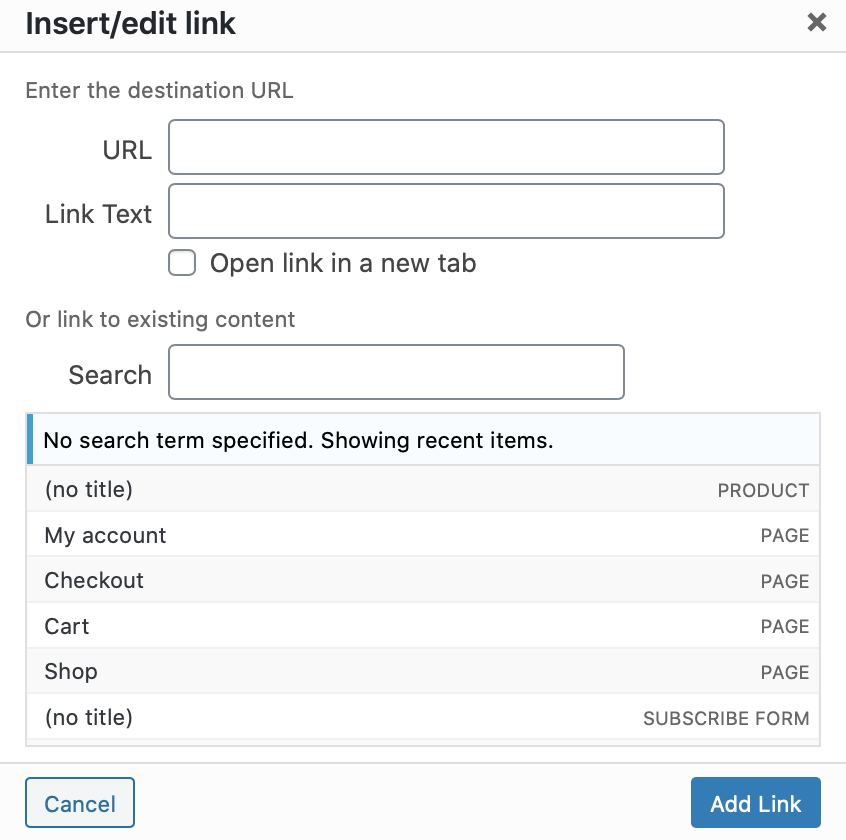 You can also choose whether you want the URL to open in a new tab or not, as well as whether you want your welcome bar to appear on desktop or mobile, or both. Moving on to the next step. By default you will have a button on your welcome bar – you can see it in the Preview window to the right of your screen. If you don’t want to have a button in your welcome bar, make sure you uncheck both desktop and mobile from the Button menu. If you want to keep the button, head over to the next steps to customize it to your preferences.
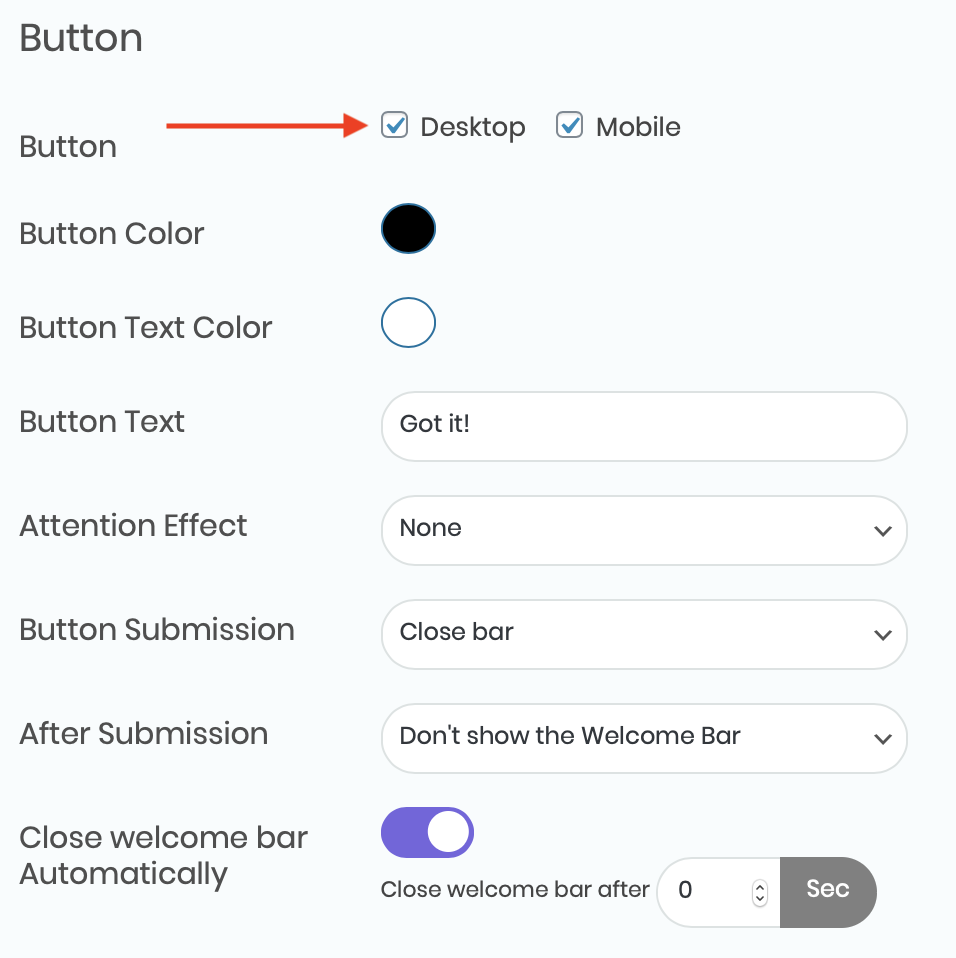 You can set your button’s colour and background colour and add a text, for example: ”Got it!”. You can also add an attention effect in order to attract your website visitors’ attention.
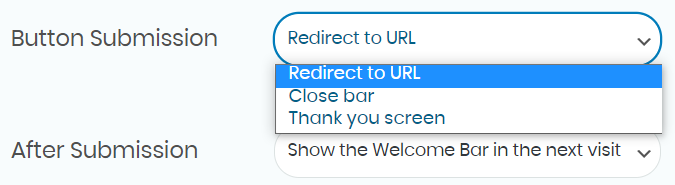
 Then, you need to choose what to show after visitors click on the button. You can have the bar close, write a message of your choice or redirect the visitors to another URL.
 If you want to display a thank you message, you can type your own text (in standard, bold, italic or underlined font) in the box, or add a link. You can customize your text font and colour. Again, if you choose to add a link to your welcome bar, you will be asked to enter the destination URL (which can also be ”covered” by link text) or add a link to existing on your website content (e.g. another page), just like in the previous step. If you choose to redirect visitors to another URL however, you will have to add your redirect URL and also choose whether you want to open the redirect link in a new tab or not.
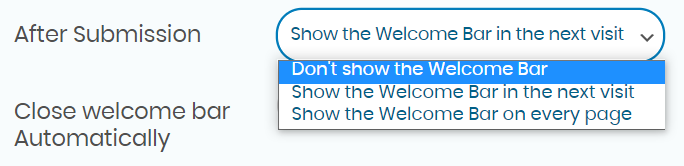
 You then need to choose your welcome bar behaviour after submission. You can choose not to show it anymore, to show it on every page or to show it on the next visit.
 You can also choose to close the bar automatically after a specific period of time of your choice.
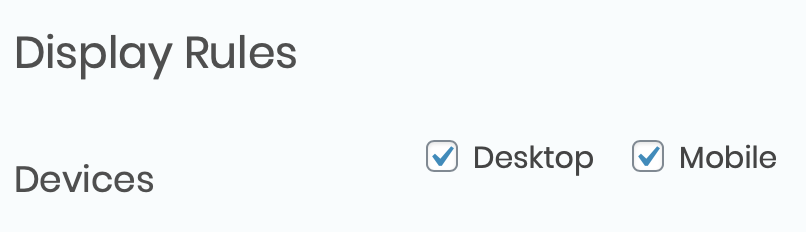
 Finally, it’s time to set your display rules. Start by selecting whether you want the whole welcome bar to be displayed on desktop or mobile, or both.
 Then, you can choose an entry effect (to have the bar slide in or fade)…
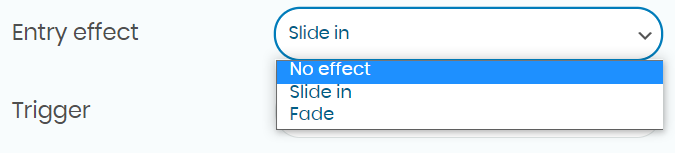 …a trigger, for example to display the welcome bar after scroll or after a specific period of time…
 … an expiry date for your welcome bar…
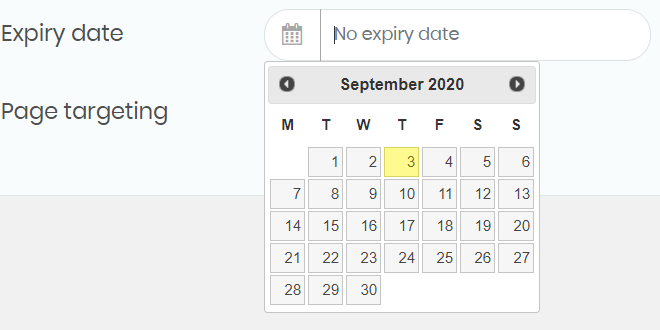 … and finally, page targeting – to show or not show the bar on specific pages.
 You can read more about how to set page targeting and even have separate welcome bars for different pages in this guide: https://premio.io/help/mystickymenu/how-to-create-a-separate-welcome-bar-for-different-pages/ You can also find more details about how to use REL in your welcome bar here. After you’re done setting up and personalising your new welcome bar, don’t forget to hit ”Save” at the bottom of the page. You will also have the option to ”Delete” your welcome bar (please note this is irreversible) or ”Reset” it (if you want to delete your settings).
 Below is an example of the final result. Here is how a Welcome Bar will look on your website.
 That’s it! Easy as 1,2,3 ☺️