In this guide we’ll show you how to add sliding texts to your My Sticky Bar welcome bar.
You can use this feature to announce multiple lines of content on your site that will appear on a rotatory basis: they will scroll automatically in your desired direction. This is useful for different businesses such as e-commerce – to display different offers such as free shipping options, discount codes or different offers, as well as for companies – to display multiple announcements, news or company updates. Please note the feature is available for Pro users only.
If you don’t have a welcome bar yet, you can read more about how to create one here: https://premio.io/help/mystickymenu/how-to-create-a-welcome-bar/
Let’s get right into it.
Step 1: To set up sliding texts, head over to the welcome bar settings from your WordPress admin panel > My Sticky Bar settings, and choose “Sliding texts” from the Bar Text settings.

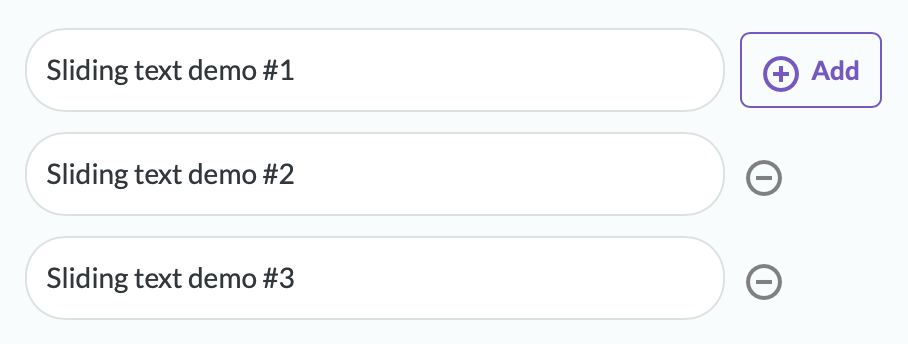
Step 2: You can add as many sliders as you want by clicking on the “+Add” button
Step 3: Moving on, choose a transition style for the sliding text: you can select from up, down, right and left sliding:

That’s it – you can proceed with customising the rest of your welcome bar.
When you’re done, make sure you hit the ”Save” button at the bottom of the page to make sure your settings will be displayed accordingly. Easy as 1,2,3 ☺️
In the end, based on your settings, the result may look like this:
