In this guide we’ll show you how to add a coupon code to your My Sticky Bar Welcome Bar.
With this feature, you have the ability to use coupon codes in the welcome bar. When enabled, your website visitors will be able to view a coupon after submission, hence after clicking the button in the welcome bar.
1. Start by navigating to your welcome bar settings from your WordPress dashboard. Click on “Edit” next to the welcome bar you want to edit or create a new one.
2. Scroll down to the “Show Coupon” setting. Next, just toggle the button to enable the feature.

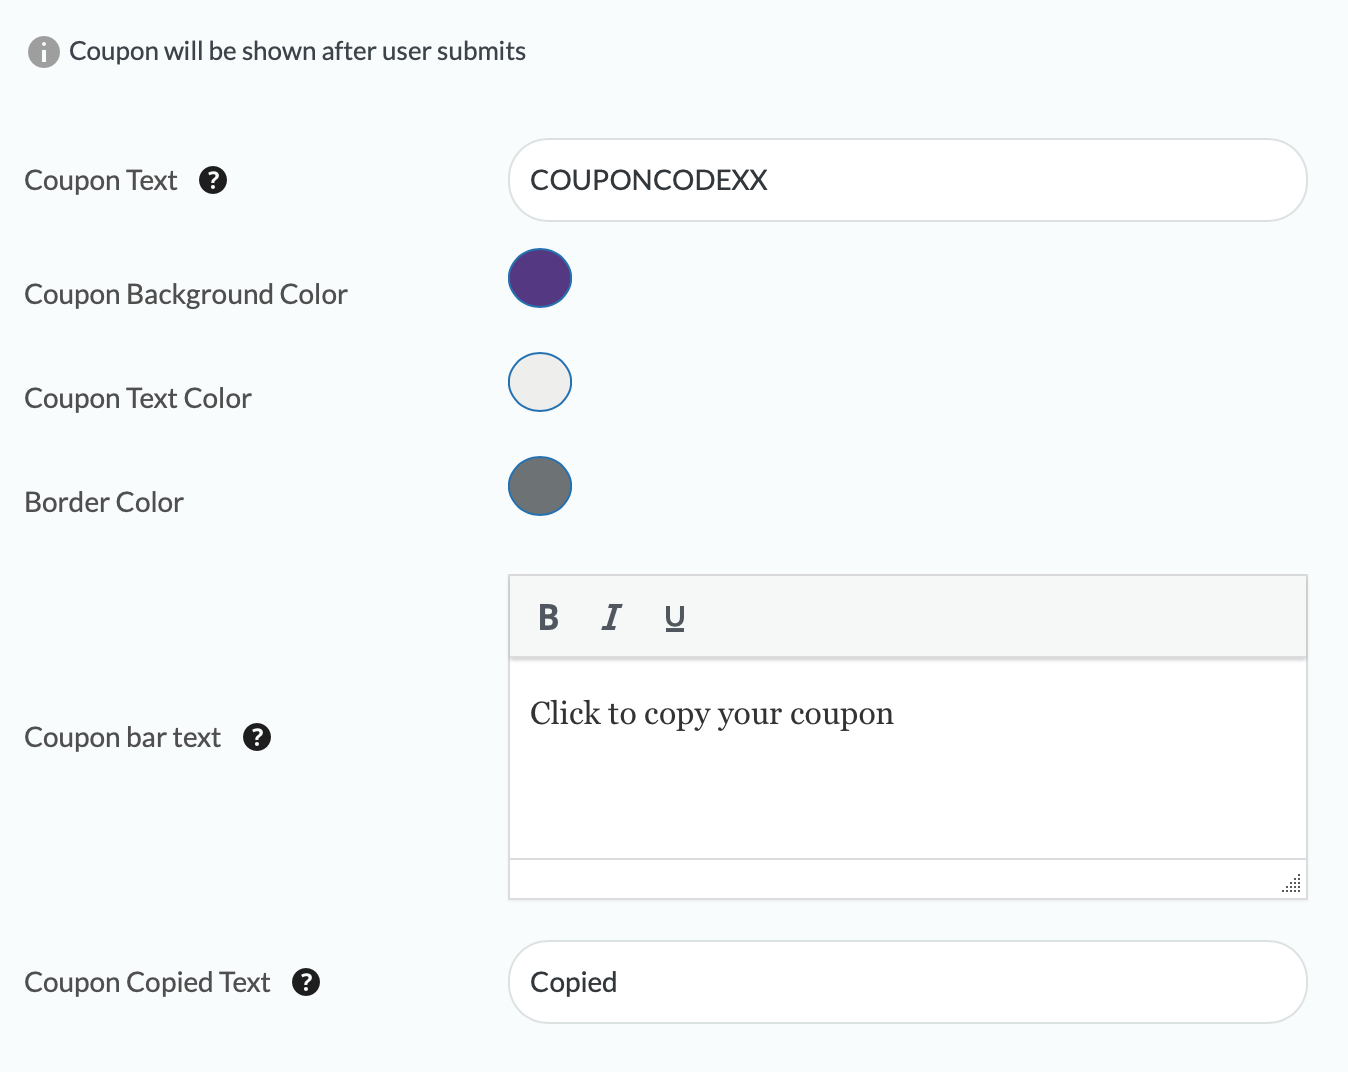
3. Proceed with customising your layout by adding coupon text (the actual coupon you want to show to your visitors), coupon bar text (it will be displayed on the left side of the coupon, e.g., “Congrats! You have revealed your coupon!”) and coupon copied text (a small tooltip text after copying the coupon code, e.g., “Copied!”). You can also choose the coupon background, text and border colours to match with your website.
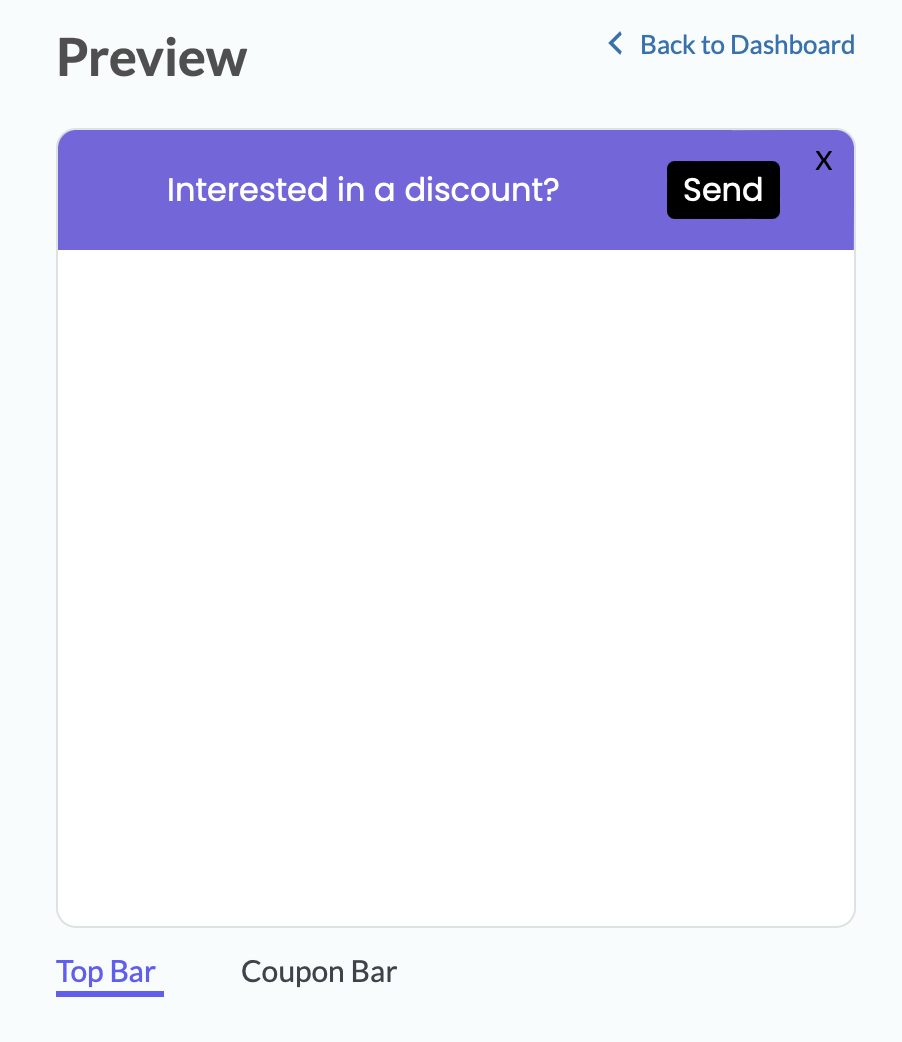
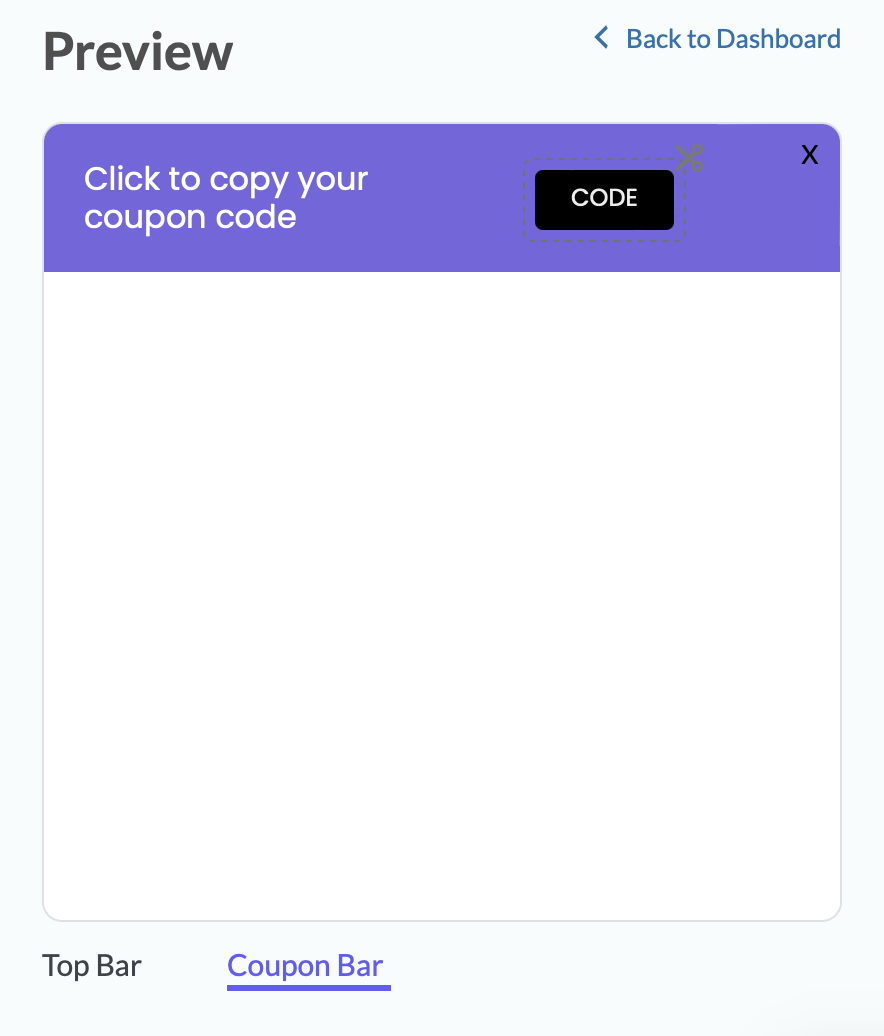
4. To view your changes in real time, refer to the Preview to the right of the screen. The “Top bar” tab shows the normal state of the welcome bar (before the user submits the button to reveal the coupon code) and the “Coupon bar” will visualise the welcome bar with code revealed.
5. Proceed with customising your welcome bar further. If you need any further assistance with this, check this guide.
And that’s in! In the end, it may look something like this: