In this guide we’ll show you how to launch HelpCrunch live chat through My Sticky Elements. HelpCrunch is a customer communication platform combining live chat software, email marketing, help desk, knowledge base, and more tools.
To learn more about how to use the My Sticky Elements plug-in click here, and don’t forget to check our entire My Sticky Elements knowledgebase to make the most out of it.
So let’s dive in. First, install the HelpCrunch plug-in for WordPress here: https://wordpress.org/plugins/helpcrunch-live-chat/
To complete the installation, you need a snippet of the HelpCrunch installation code. You can find it in the Setup Wizard right after you sign up for HelpCrunch or if you already have an account, in your account in Settings > Set up & Customize > Website Widgets > Your Website. Simply copy the code snippet from the ”CMS / E-commerce” column.
Then, go back to WordPress and paste the code right into to the field called ”HelpCrunch API code’‘ in the HelpCrunch plug-in settings and save.
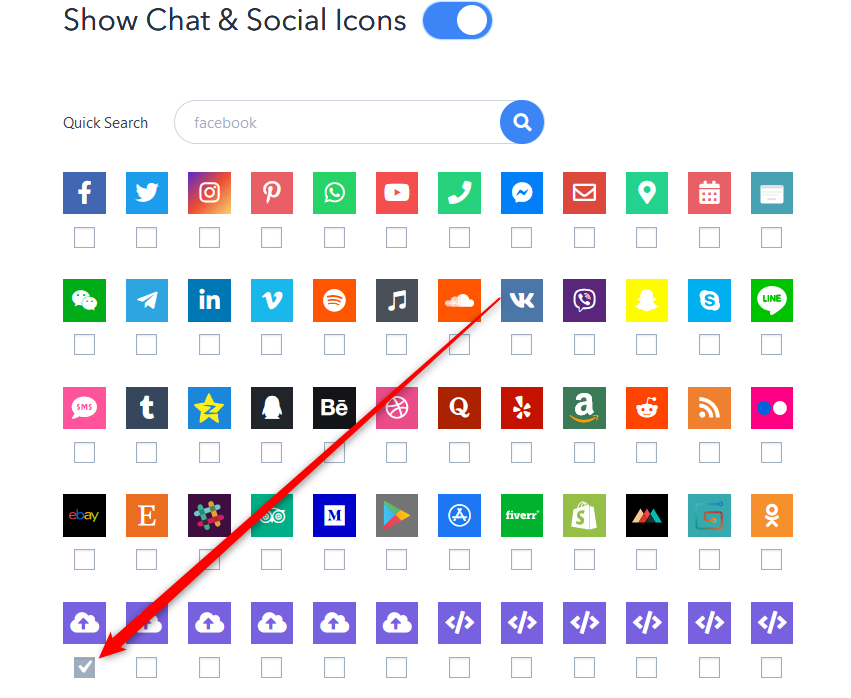
Now, open the My Sticky Elements settings from your WordPress dashboard, then go to section 2 – “Add chat and social media” and from the Chat & social icons add a new custom link channel:

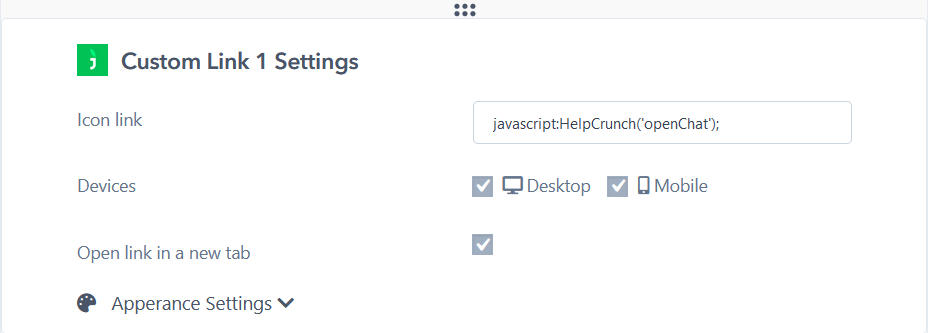
In the field that will show up below, add this code:
javascript:HelpCrunch(‘openChat’);

Select whether you want your HelpCrunch live chat to be displayed on desktop or mobile devices, or both. You can customize the channel appearance by expanding the “Apperance settings”. You can then customize the channel appearance by uploading a custom icon – for example the HelpCrunch logo – or choosing one from the Font Awesome directory. If you select an icon from the Font Awesome directory, you can change its background colour and colour. You can also add an icon text (the text that will appear under the icon in the My Sticky Elements widget), for example ”HelpCrunch”, as well as your icon text size and on hover text, for example ”Chat with us!”.
Note: if you want to hide HelpCrunch live chat on load so that the widget is launched through Chaty, you need to untick the “Show chat widget” option in the HelpCrunch plug-in settings.
That’s it! When you’re done, don’t forget to hit the ”Save changes” button to make sure your settings will be displayed accordingly. In the end, depending on your settings and customisations, it should look something like this:
