In this guide we’ll show you how to launch a Poptin popup form from the My Sticky Elements widget. Poptin is a smart website popups and forms platform designed to engage your website visitors and convert them into customers.
To learn more about how to use the My Sticky Elements plug-in click here, and don’t forget to check our entire My Sticky Elements knowledgebase to make the most out of it.
With Poptin you can increase engagement by offering your website visitors content they may be interested in or getting feedback, capture more leads or sales by serving your website visitors relevant offers based on their unique behaviour, reduce shopping cart abandonment by displaying your customers an offer they can’t resist right when they’re about to ditch their shopping cart, as well as get more e-mail subscribers by displaying your pop-up at the right moment.
So let’s dive in. First, if you need to download the Poptin plug-in from the WordPress repository:
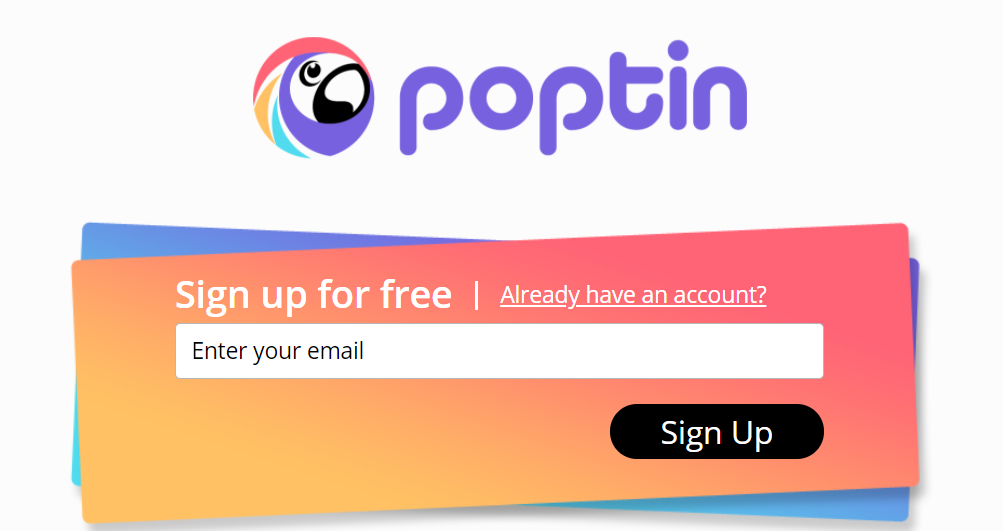
You can create a free account and the Poptin JavaScript snippet of your new account will be added automatically to your website:
Оr if you already have a Poptin account, click on ”already have an account” and enter your Poptin User ID:
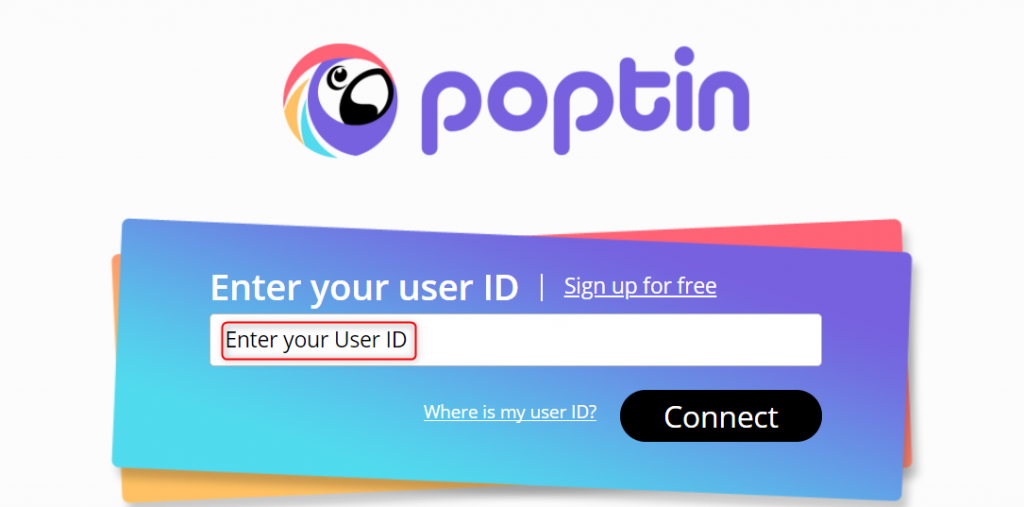
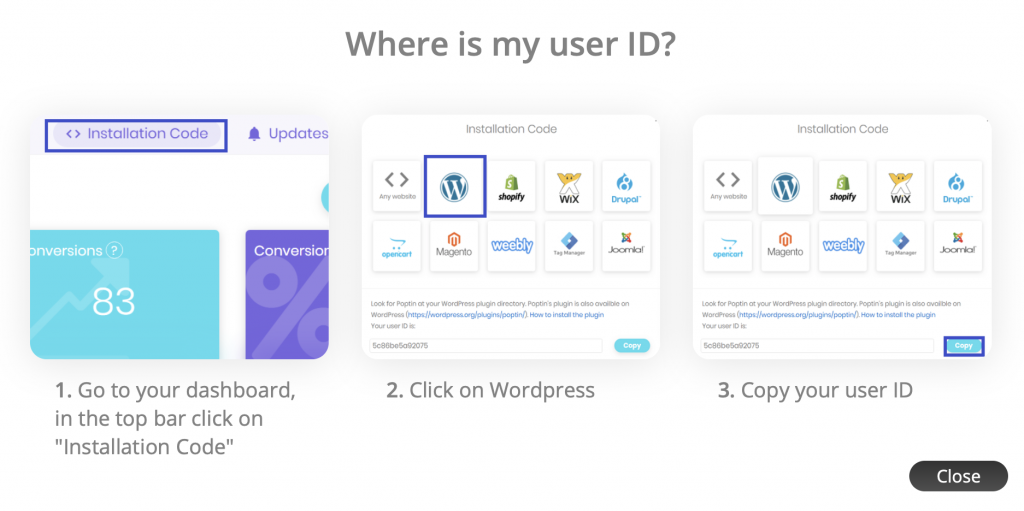
If you don’t know where your User ID is, go to your Poptin dashboard and click on ”Installation code” in the top. Then, click on WordPress and copy your unique User ID. Paste it in the ”Enter your User ID” field and hit ”Connect”.
This feature is available in the Pro version of My Sticky Elements
https://www.youtube.com/watch?v=uvTw_mmA32QWhen you’re done setting up your first website popup, go to the ”Popups” menu in your Poptin dashboard. You’ll see your existing popups there, as well as their statistics (name, visitors, device, views, conversions) and an actions menu. Click on ”Edit” and select ”Edit display rules”.
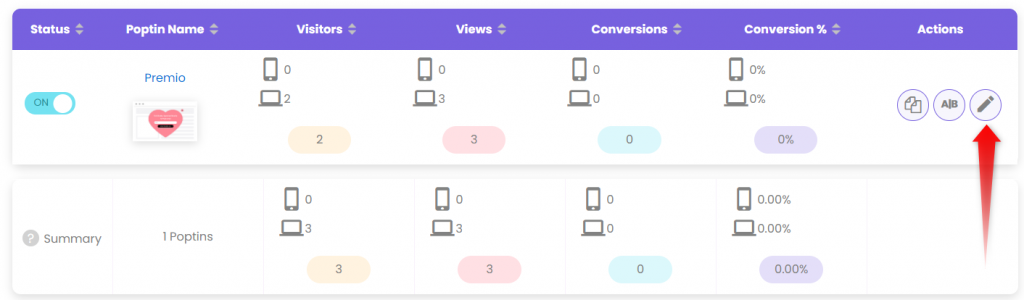
Scroll down the Display triggers menu. You will see the direct link to launch your Poptin popup in the ”On-click” menu. You can also see your direct link in the ”Summary” box to the right of the screen. Click on the ”Copy link” button in the ”On-click” menu.

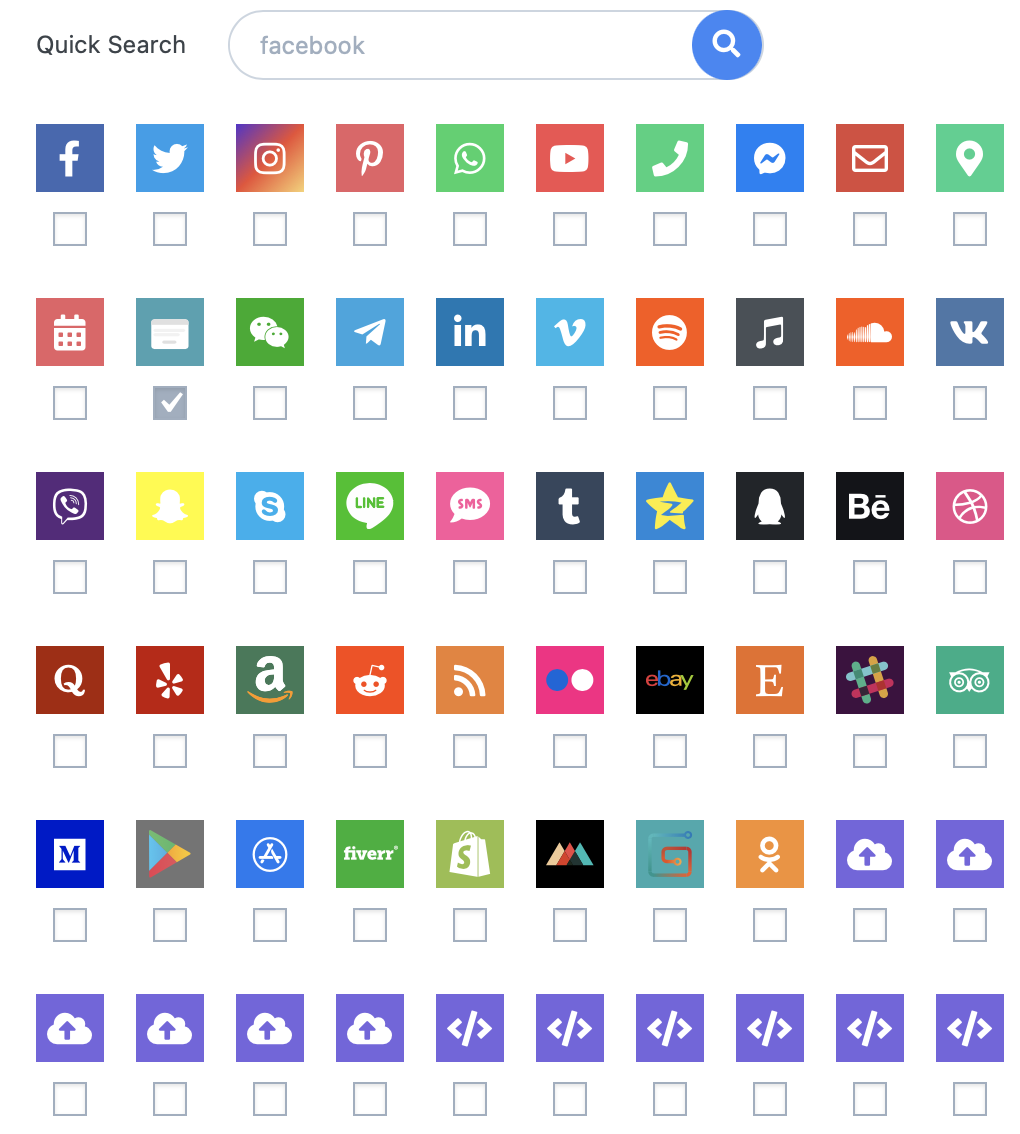
Now, after copying the link, go to your My Sticky Elements settings and in the Social channels tab settings, click on the Poptin icon.
You will then be asked to paste the Poptin popup link that you just copied in the previous step. You can then choose whether you want the channel to be displayed on desktop or mobile, or both, as well as choose an icon colour/ or upload your own image, as well as the on hover text, for example: ”Poptin popup”.
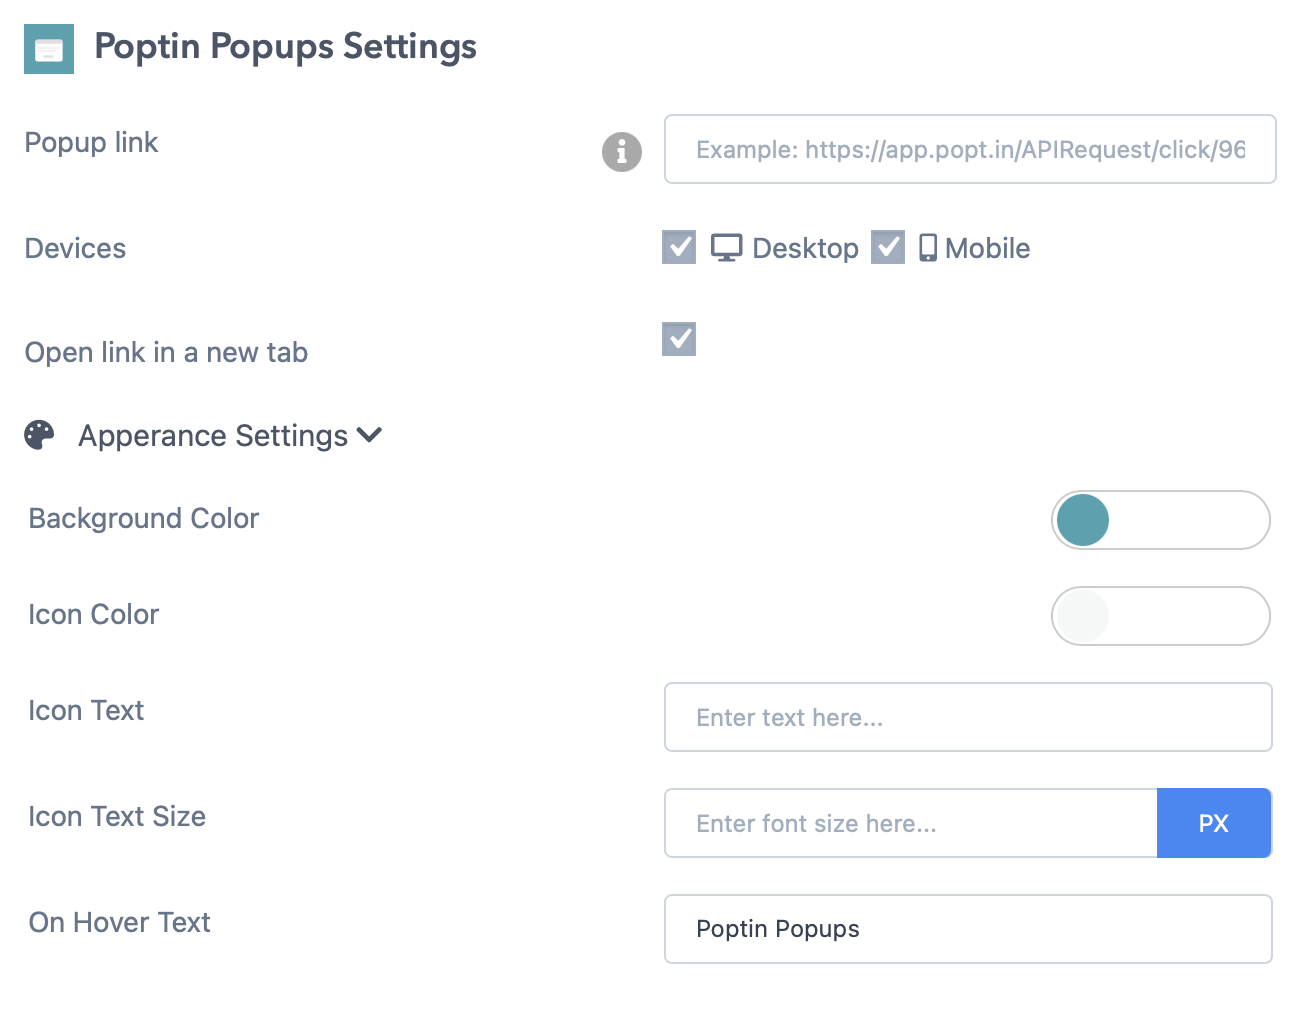
When you are done, don’t forget to hit the ”Save changes” button at the bottom of the page. Your new Poptin popup should look something like this, depending on your settings and personalisation: