In this guide we’ll show you how to add custom fields to your My Sticky Elements contact form in order to personalise it and get as much information as possible from your customers when they contact you. Click here to read more about how to activate the contact form.
To learn more about how to use the My Sticky Elements plug-in click here, and don’t forget to check our entire My Sticky Elements knowledgebase to make the most out of it.
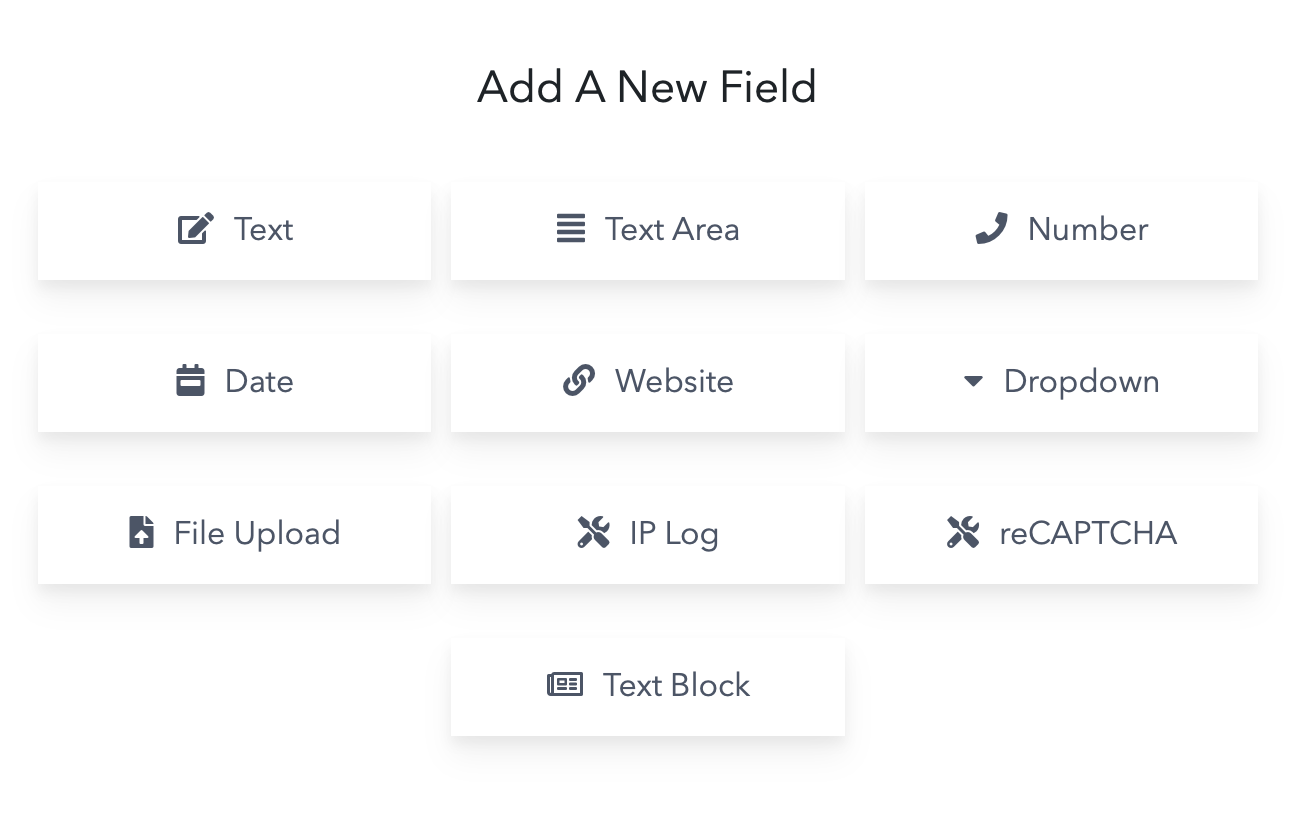
You can choose from the following options: text, text area, text block, number, date, website, custom dropdown, file upload, IP log (available back-end only) and reCAPTCHA.
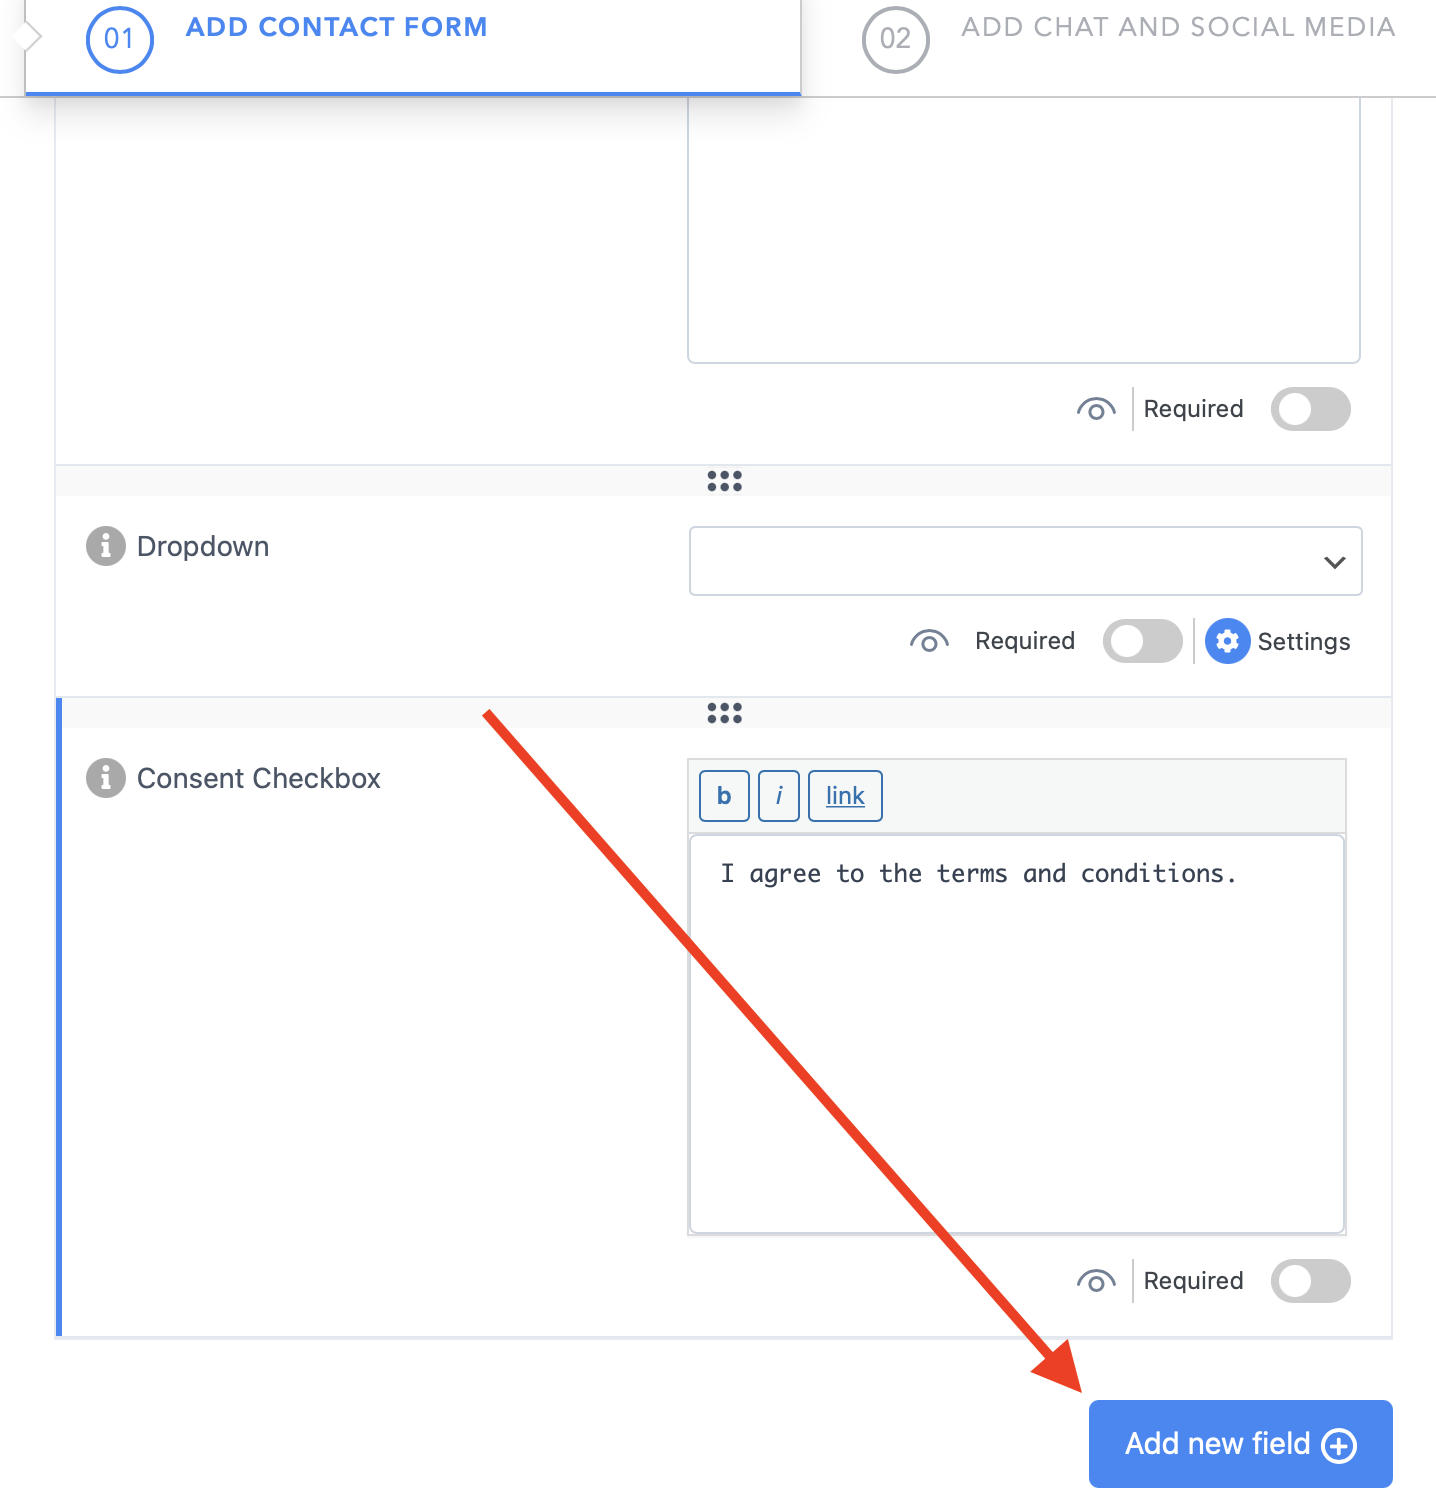
Let’s get right into it. First, open the My Sticky Elements plug-in from your WordPress dashboard and in step 1: ”Add contact form”, scroll down and click on the ”Add new field” button.
Now, let’s cover each of these options and mention why and how they can be helpful for your business. For example, if you have a travel agency website, you may want to get as many details as possible from your customers’ inquiries, so that you can get back to them with the best possible offer or solution.
Please note each option will have two names. The first (above) name is for internal reference only, hence your website visitors will see the text in the second (bottom) field only. To edit each of them, click on the pencil icon.
Let’s get right into it.
Text
The ”text” option allows you to add a text field of your choice in your contact form. For example, you can ask for your visitors’ location by writing ”Where are you located?” in the field that will be displayed in the contact form, and write ”Location” in the custom text field placeholder for internal reference, as explained above.

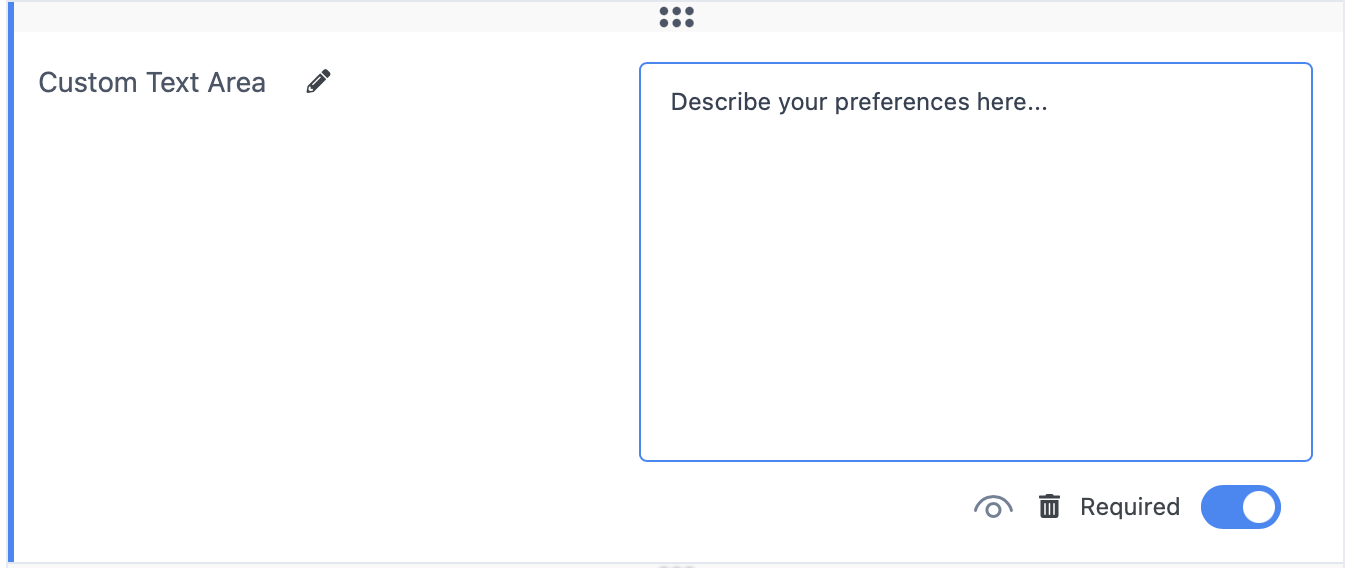
Text Area
Moving on to the ”text area” option, you can use this as a custom text box where visitors write in more detail about something you request, for example you can ask for more information on your customers’ vacation preferences.
Number
Moving on to the ”number” custom field, following the travel agency website example, you can ask for something like number of guest.

Your visitors can either type a number or choose from the arrows at the right of the field that will be displayed in your contact form.

Date
You can add a ”date” field, but please note you can’t select a ”to” and ”from” period, only a specific date (today’s date or some other).

Website
You can ask for your visitors’ website via the custom ”website” field.

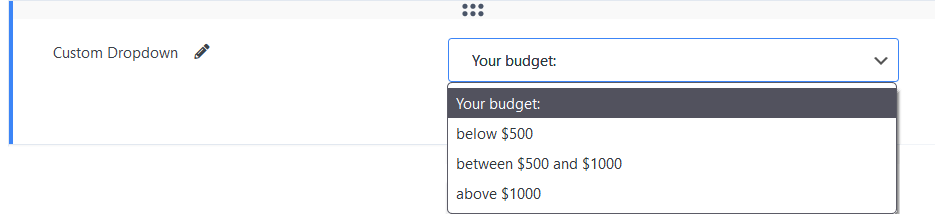
Custom Dropdown
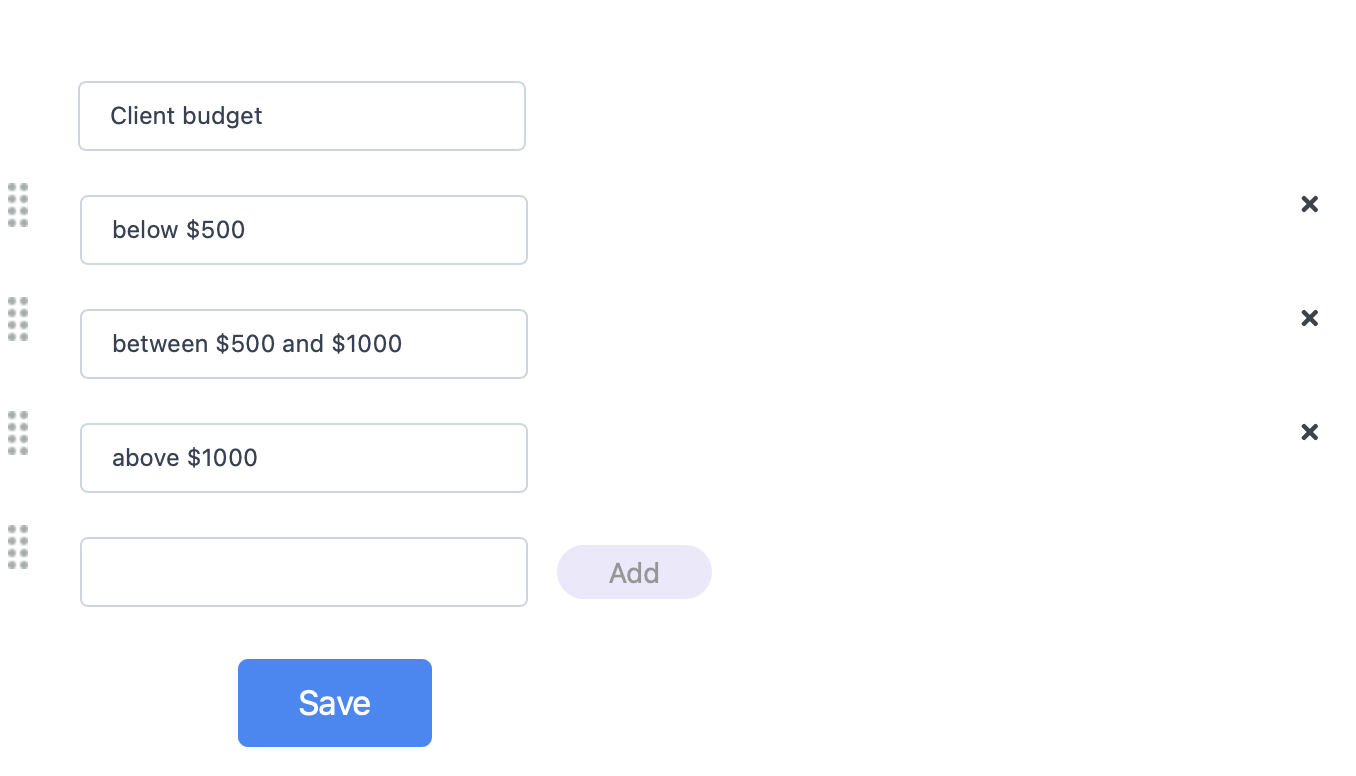
You can add a custom dropdown menu from the ”dropdown” option, for example for your customers’ budget limit with as many options as you want.
To add, edit or delete dropdown options, click on the ”Settings” icon. You can then add your dropdown topic and each of the fields below using the ”Add” button or delete any fields you no longer wish to have with the ”X” button. In the end, don’t forget to hit ”Save” to make sure your changes will be displayed accordingly.
Tip: type your dropdown name placeholder in place of ”Select” in the ”Settings” tab, for example ”Client budget”.
File Upload
You can ask your visitors to upload a file through the ”file upload” field. Following the example above, if a customer has a confirmed reservation with your agency, he/ she can upload their booking confirmation or other documents/ data through this field. Please note this field won’t have a specific name in your contact form.

IP log
You can activate the ”IP log” option to collect your visitors’ IP address, which is good for GDPR purposes
.

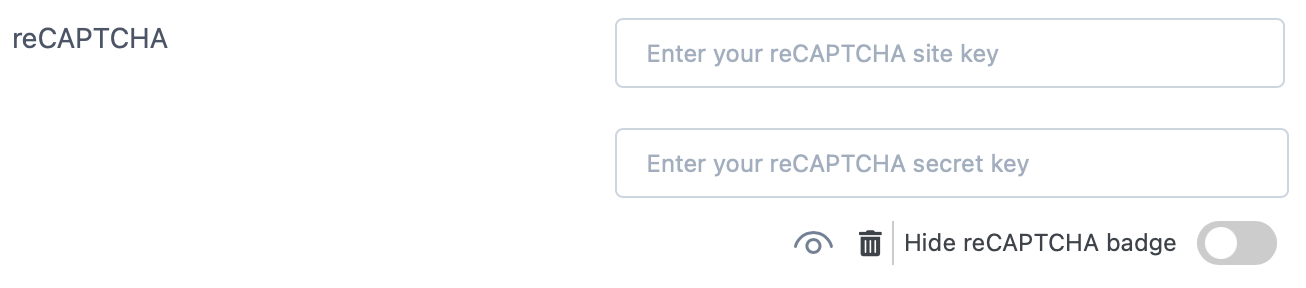
reCAPTCHA
You can add reCAPTCHA – a service that protects your website from spam. You can read in more detail how to set up and add reCAPTCHA here: https://premio.io/help/mystickyelements/how-to-add-recaptcha/
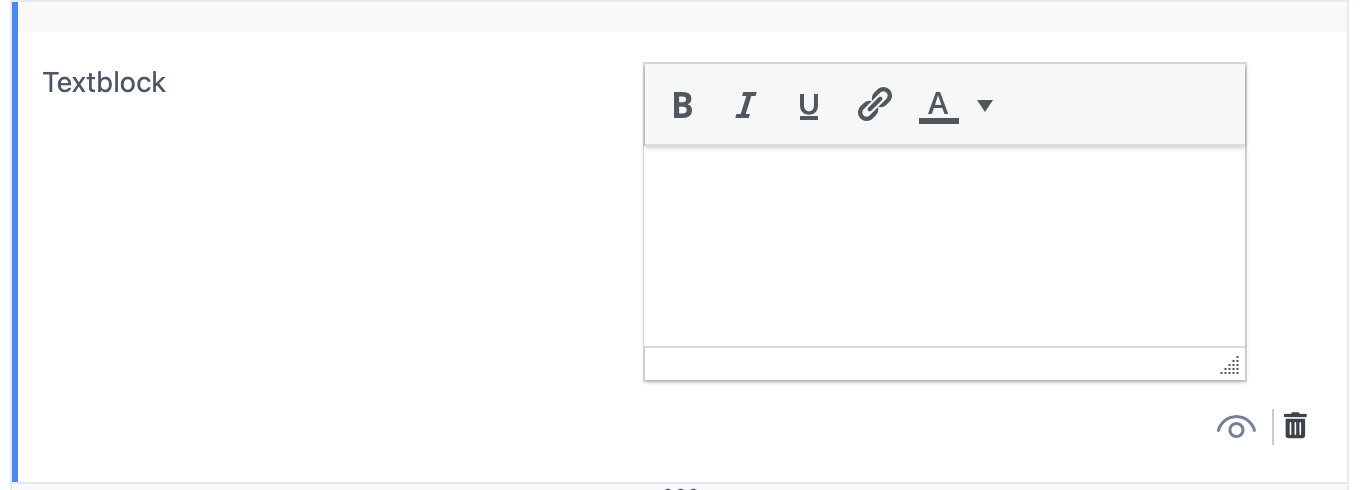
Text Block
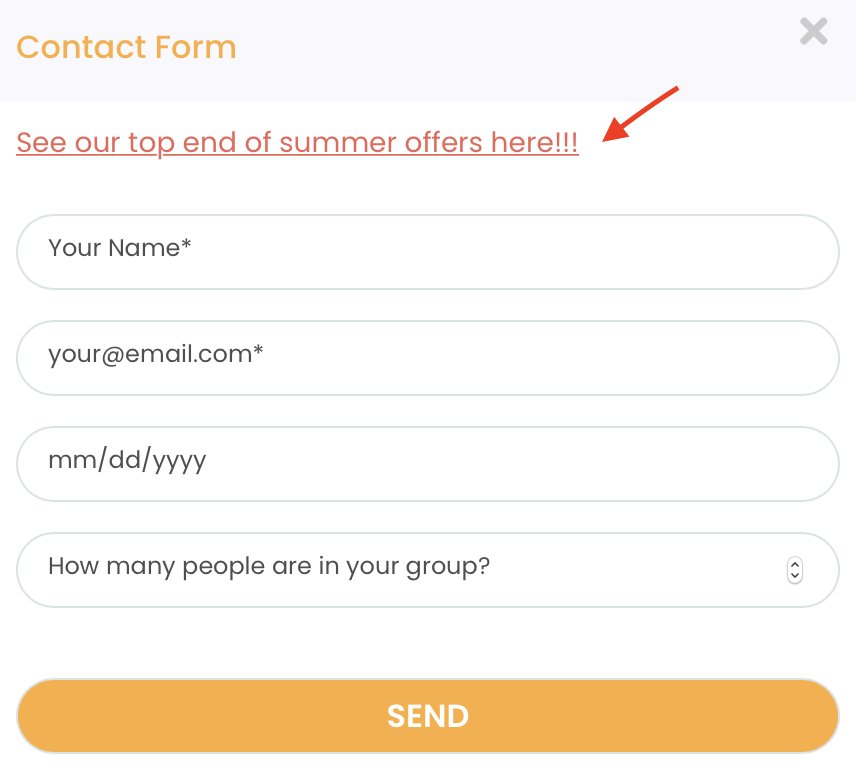
The ”text block” field is meant to give your contact form a little personalised message or title, for example ”Looking for your next getaway? Get in touch now!”. Your text will appear at the top of your contact form, on top of all fields, and you can customise it in terms of appearance (in standard, bold, italic or underlined font), or even add a clickable link. You can read more about adding a text block to your contact form here.
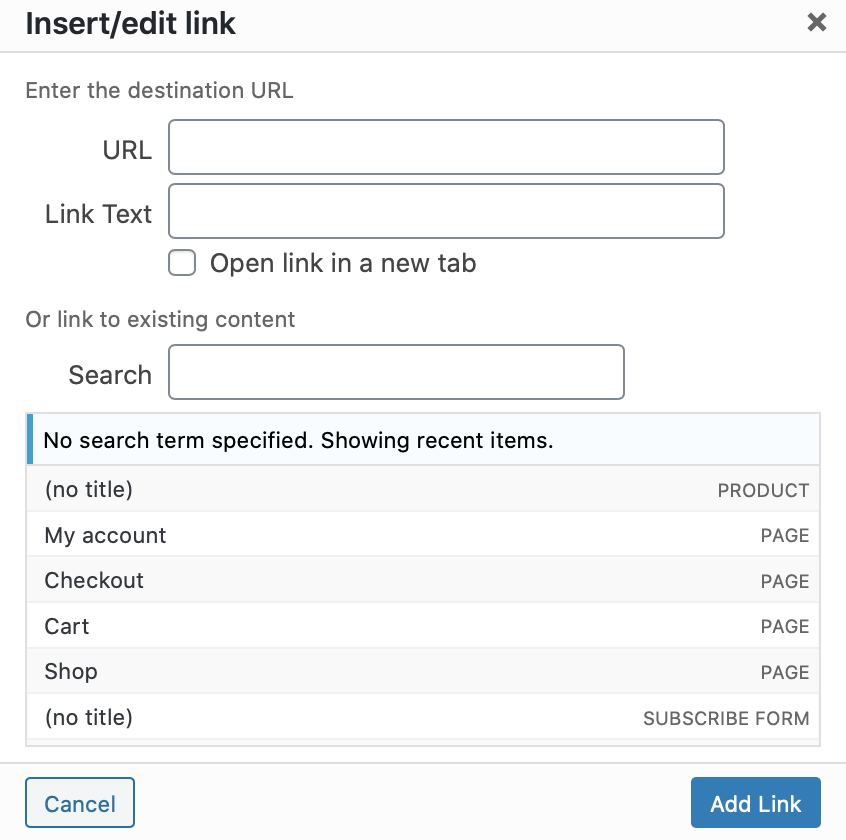
If you choose to add a link to your text block, you will be asked to enter the destination URL (which can also be ”covered” by link text) or add a link to existing on your website content (e.g. another page).
And this is what it may look like on your website, depending on your settings and personalisation:
Finally, please note you can make each of these custom options required by toggling the ”Required” button to the bottom right of each field.
That’s it! In the end, depending on your settings and customisation, your custom field personalised contact form can look something like this:

This feature is available in the Pro version of My Sticky Elements
You can read how to add a GDPR consent checkbox here.