In this guide we’ll show you how to add a custom shortcode/HTML to your My Sticky Elements widget. Click here to learn more about how to create a custom link or JavaScript channel.
To learn more about how to use the My Sticky Elements plug-in click here, and don’t forget to check our entire My Sticky Elements knowledgebase to make the most out of it.
You can do this to display an embed YouTube video or a custom image, for example a Google Maps iFrame or a QR code through your widget. You can use this custom channel to show any embedded content with shortcodes, iFrame or any custom HTML code.
Tip: you can read in detail how to show a QR code in your widget here: https://premio.io/help/mystickyelements/how-to-add-a-qr-code-to-your-my-sticky-elements-widget/
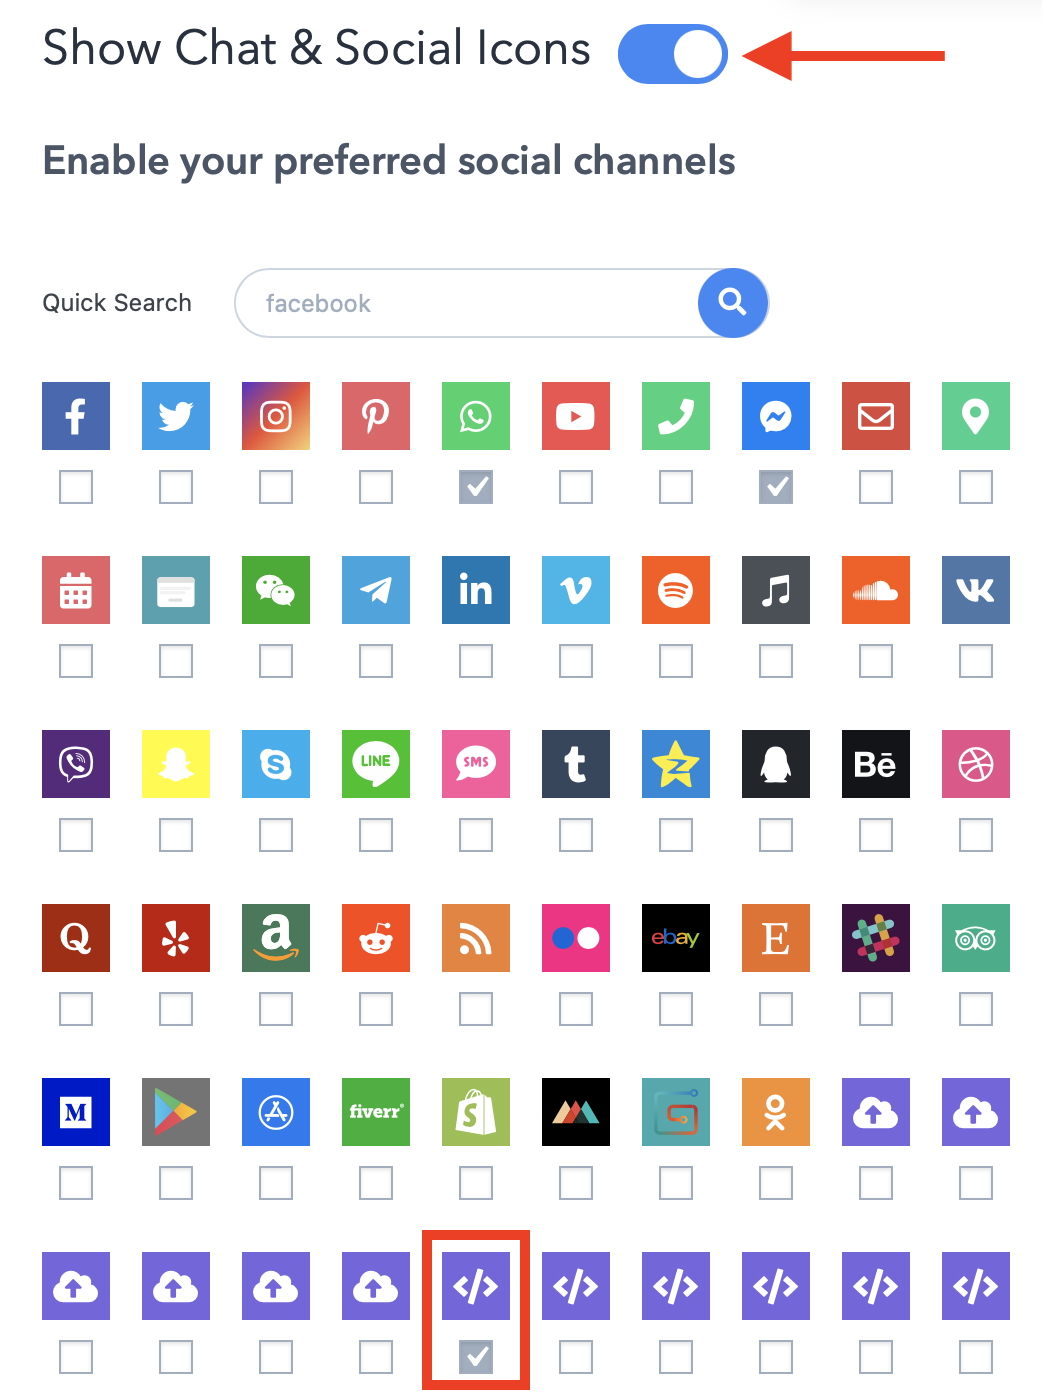
So let’s dive in. First, open the My Sticky Elements plug-in settings and click on step 3: ”Add chat and social media” and make sure you activate the by toggling the button. Then, click to add a custom shortcode channel:
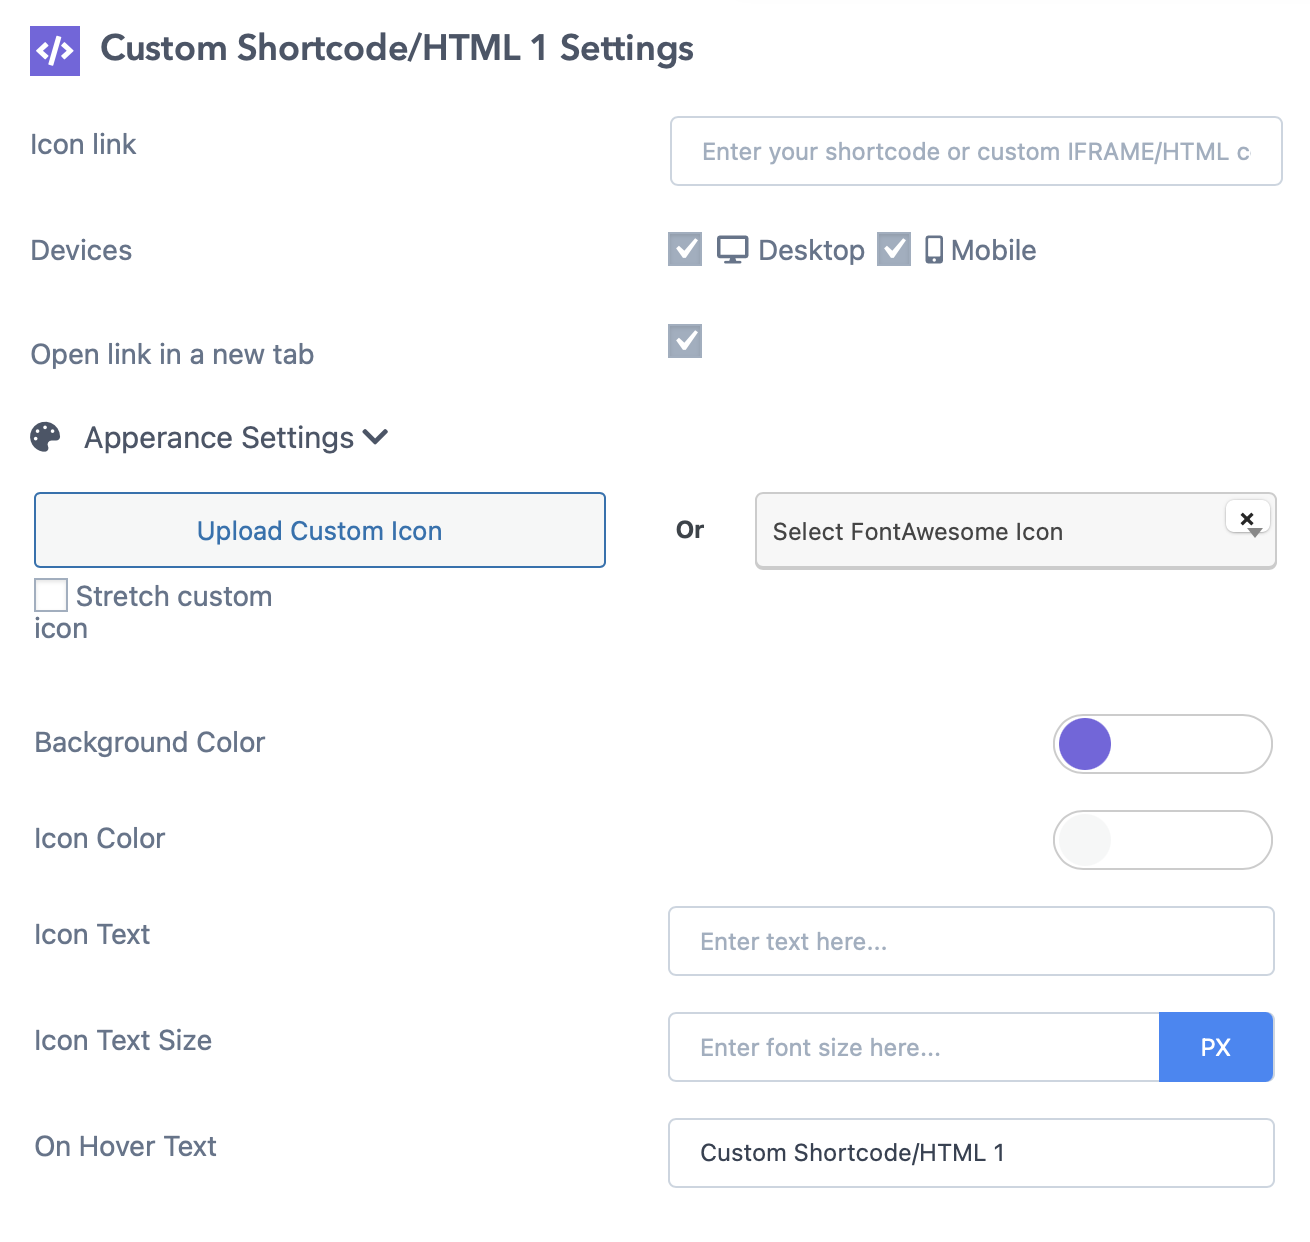
In the field that will open, enter your custom iFrame/HTML code.
To further personalise your new custom channel, select whether you want it to be displayed on desktop or mobile devices, or both. You can then customize the channel appearance by uploading a custom icon or choosing one from the Font Awesome directory. If you select an icon from the Font Awesome directory, you can change its background colour and colour. You can also add an icon text (the text that will appear under the icon in the My Sticky Elements widget) as well as your icon text size.
If you want to embed a YouTube video, open the video on YouTube, click on ”Share” > ”Embed”. You can even select what second/minute from the video you want your embed video to begin at. Then, simply copy the code and paste it in the ”Enter your custom iFrame/HTML code” field in the Sticky Floating Contact Form app settings.

In the end, depending on your settings and personalisation, your widget may look something like this:

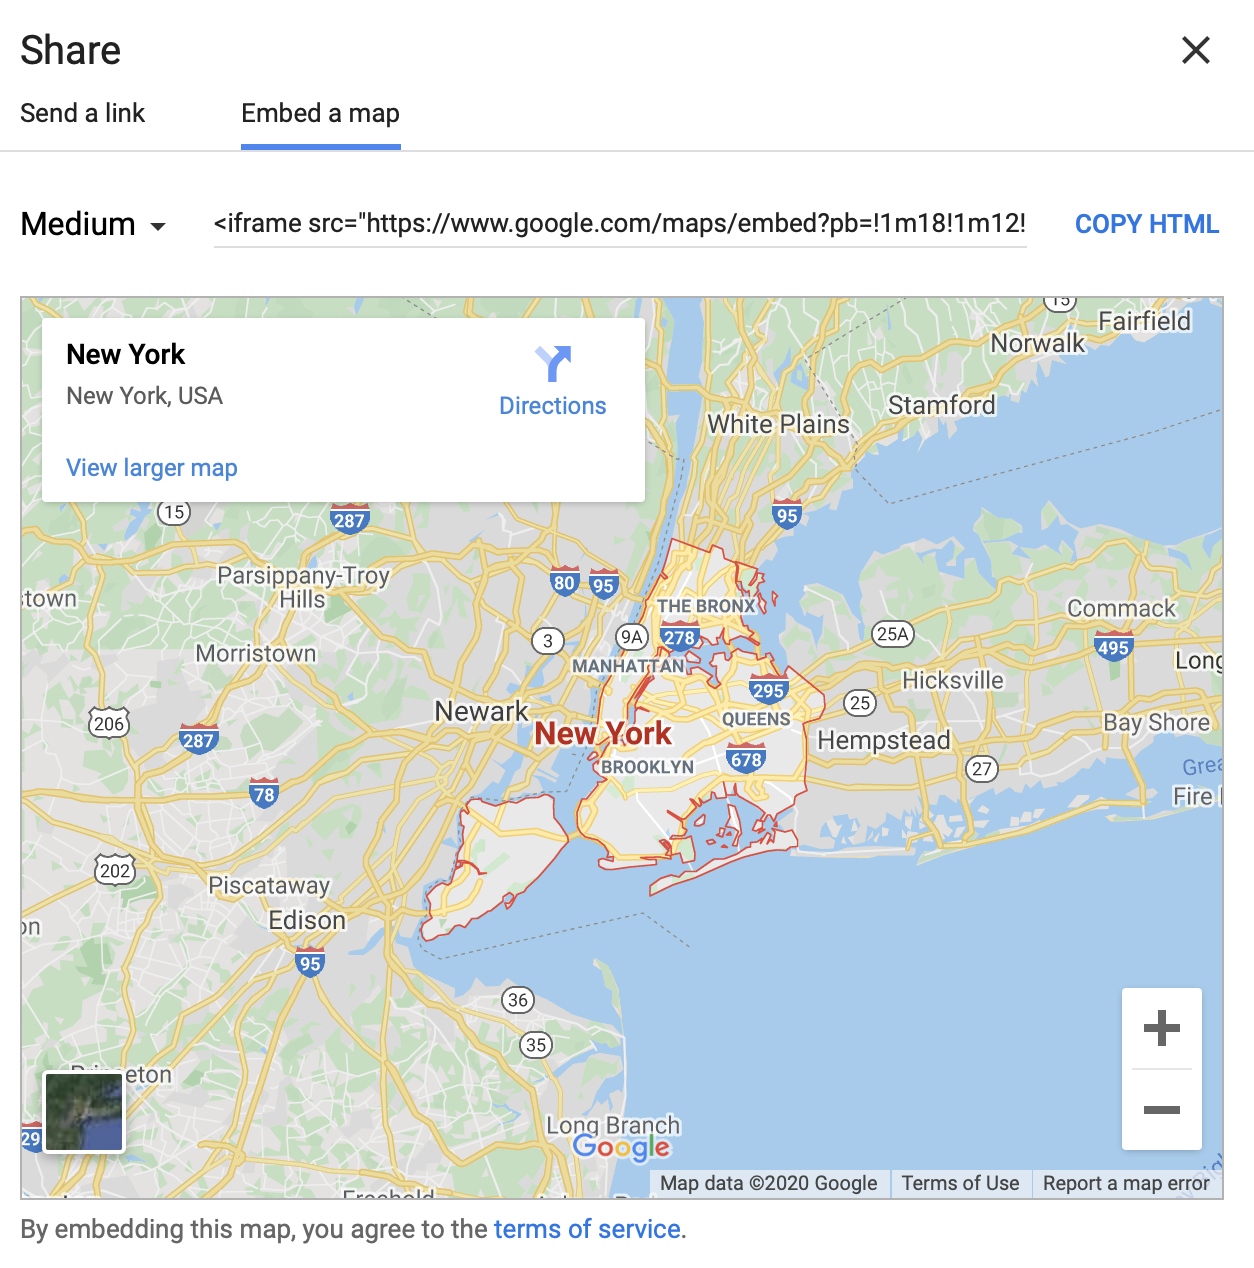
If you want to embed a Google Maps location, for example your business location, go to your address on Google Maps, click on ”Share” > ”Embed a map” (you can even choose the embedded map size). Then, simply copy the code and paste it in the ”Enter your custom iFrame/HTML code” field in the Sticky Floating Contact Form app settings.
In the end, depending on your settings and personalisation, your widget may look something like this:

If you want to embed a custom image, for example a photo or a QR code, paste this code in the ”Enter your custom iFrame/HTML code” field in the Sticky Floating Contact Form app settings, making sure you add your link address in place of (add your link here). You can of course change the width and height according to your preferences.
If you also want to add a text, you need to add this code between the HTML and BODY tags in the code above. Just make sure you add your text in place of (your text here):
(your text here)
In the end, it should look something like this:
your text here
In the end, depending on your settings and personalisation, your widget may look something like this:

You can also embed media, for example, the latest news on a subject. To do that, copy a link to an article/ piece of news you want to embed and paste it here: https://iframely.com/embed. Then, simply copy the code you’ll get and paste it in the ”Enter your custom iFrame/HTML code” field in the Sticky Floating Contact Form app settings.
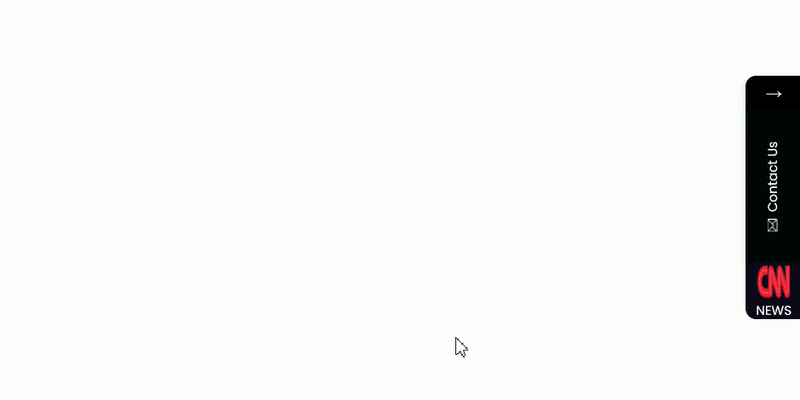
In the end, depending on your settings and personalisation, your widget may look something like this:
When you’re done, don’t forget to click on ”Publish” at the bottom of the page. That’s it! Easy as 1,2,3 ☺️
To learn how to launch a QR code through your My Sticky Elements widget, click here.