In this guide we’ll show you how to use the trash Folders feature.
With this feature, similar to the flow on a personal computer, any files that you delete will be temporarily moved to trash to prevent unfixable mistakes. If deleting a file hasn’t been a mistake, then you can of course delete it permanently from the trash.
To learn more about how to use the plug-in click here, and don’t forget to check our entire Folders knowledgebase to make the most out of it.
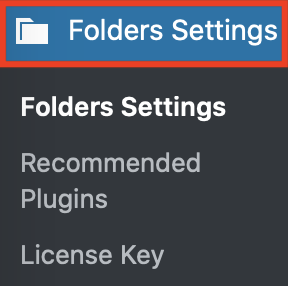
So let’s get right into it. To enable the Trash feature, first, open your WordPress dashboard and click on the Folders settings in your admin panel.
Scroll down in the page that will open and click on the “Move files to trash by default before deleting” checkbox to enable the feature.
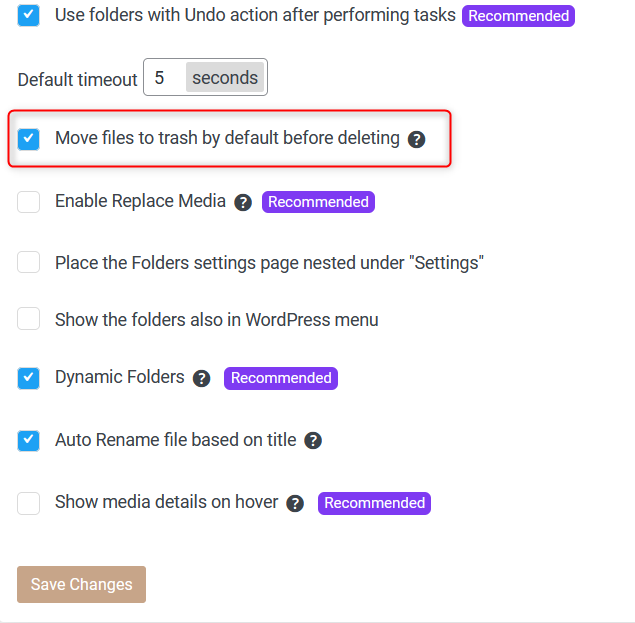
Don’t forget to hit ”Save Changes” at the bottom of the page.
After saving, you will be asked to enable this additional access from your wp-config.php:

Click on the ”Automatically write this line” button to confirm or if you prefer, you can also add it manually just before the line that says /* That’s all, stop editing! Happy publishing. */
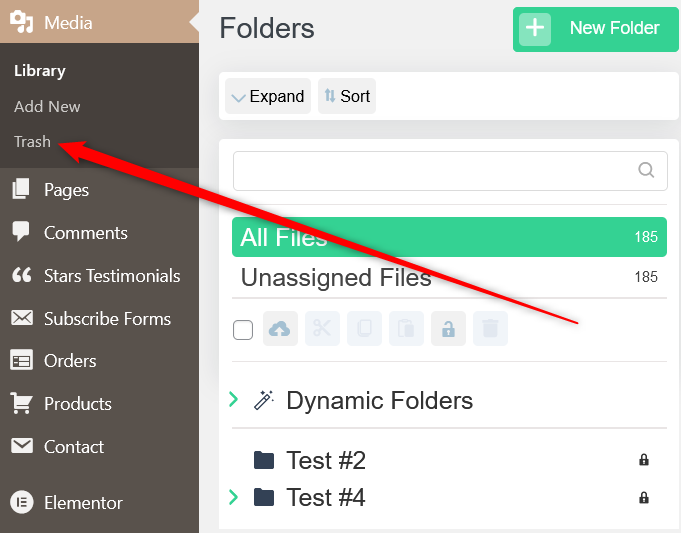
Now if you go to your Media, you will see the Trash option in the Media settings.
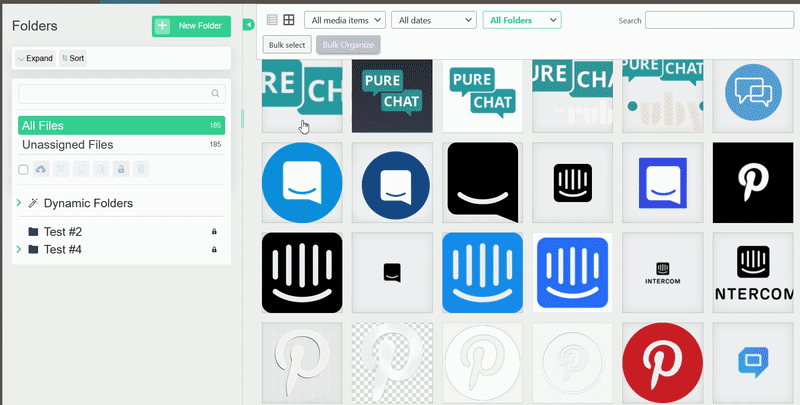
To test out how the new feature works, you can select an image and move it to trash.
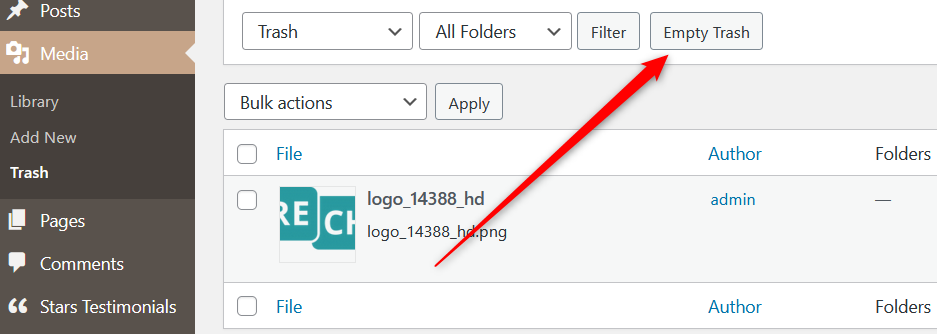
Next, just like you would do on your computer, go to Media > Trash and click on the ”Empty trash” button to permanently erase the files in the trash.
You can also delete files permanently by clicking on the “Delete permanentely” button.
Voilà! Easy as 1,2,3 We’ve got you covered so that you never lose your media files again and avoid wasted time while working on your project!