In this guide we’ll show you how you can add cart targeting to your Coupon X widget in a few super simple and quick clicks. Click to read more about how to use Coupon X for Shopify or Wix.
With this feature you can customise your widget so that it is displayed only to visitors who meet a certain condition/ criteria. For example, you can choose to show your discount code only to visitors who have more than 10 items in their cart, to visitors who have items for more than $200 in their cart or to visitors who have a specific item in their cart.
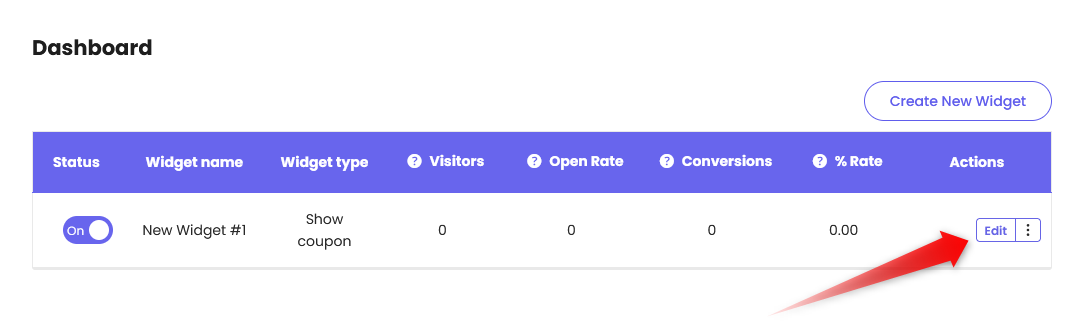
Step 1: Open the Coupon X app in your Shopify admin panel and click on the “Edit” option next to your widget.
Step 2: Click “Triggers & Targeting”.

Step 3: Scroll down the page and look for the “Cart targeting” option. Please note it’s available on Paid plans only. Then, click on the “Add rule” button and select “Show” or “Don’t show” the coupon code based on the targeting you’ll be adding.

Step 4: Then you need to select your Cart type.

You can choose among the below four cart type conditions: cart money value, number of cart items, products added in the cart, and products removed from the cart. If your store is on Shopify, you can choose from these 4 options. For Wix websites, you can only choose from “products added in cart” and “products removed from the cart“.
cart money value
With this targeting option activated, the coupon code will be shown / not be shown depending on the final amount in your customer’s shopping cart. Moving on to the condition option – this is whether you want the criteria set to be “Over or equal“, “Equal“, “Under” or “Between” a specific amount.
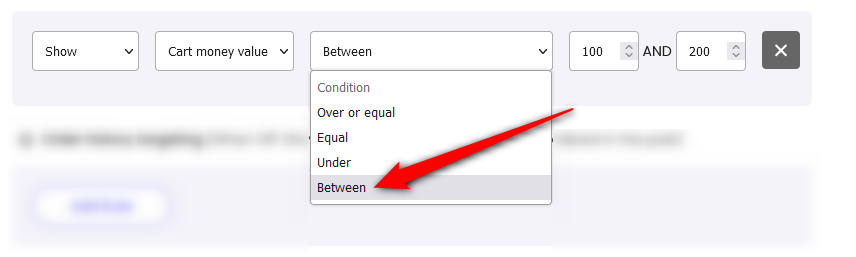
From the sample screenshot above, you are showing the discount code if the shopping cart total is $101 to $199.
If you have more than one Coupon X, you need to make sure the rules aren’t contradictory.
number of cart items
With this targeting option activated, the coupon code will be shown / not be shown depending on the number of items your customers have in their shopping cart. Moving on to the condition option – this is whether you want the criteria set to be “Over or equal“, “Equal“, “Under” or “Between” a specific number of items, just like in the previous option.
For example, you can choose to show your discount code only if your customer has more than 3 items in their cart, or you can choose not to show your code if the number of items is under 2.
If you have more than one Coupon X, you need to make sure the rules aren’t contradictory.
products added to the cart
With this targeting option activated, the coupon code will be shown / not be shown depending on the specific item(s) your customers have in their shopping cart. Moving on to the condition option – this is whether you want the criteria set to be relevant for “any product“, “products from a specific collection” or “specific products”.

products removed from the cart
With this targeting option activated, the coupon code will be shown / not be shown depending on the specific item(s) your customers have removed from their shopping cart. Moving on to the condition option – this is whether you want the criteria set to be relevant for “any product“, “products from a specific collection” or “specific products”.
If you choose “products from a specific collection”, you’ll be asked to select the collection(s) in choice from a dropdown with your currently existing collections. If you choose “specific products”, you’ll be asked to select the product(s) in choice from a dropdown with your currently existing products.
That’s it! When you’re done setting up your cart targeting settings, don’t forget to hit “Publish” at the bottom of the page. Easy as 1,2,3 ☺️ Now your Coupon X coupon code will only be displayed to visitors who meet the criteria you have just selected.
You can also read more about how to display the widget on specific days and hours, add page targeting to display the widget on specific pages, add country targeting to display the widget for specific countries, choose to display different widgets based on the time of the day, set up (past) orders targeting, set up date schedule targeting, set up traffic source targeting or set up customer tags targeting by clicking on each of the hyperlinks.