In this guide we’ll show you how you can create a shareable coupon link in a few super simple and quick clicks. Currently this feature is available in Shopify only and not in Wix.
Click to read more about how to use Coupon X for Shopify or Wix.
With this feature you can create a shareable link that you can use to promote your discount on different pages (e.g. in your social media channels, on landing pages, by e-mail) or to direct customers to your store’s homepage or to a specific page of a product/ products.
To note: the discount code associated with the link will apply automatically to your customer’s cart at checkout.
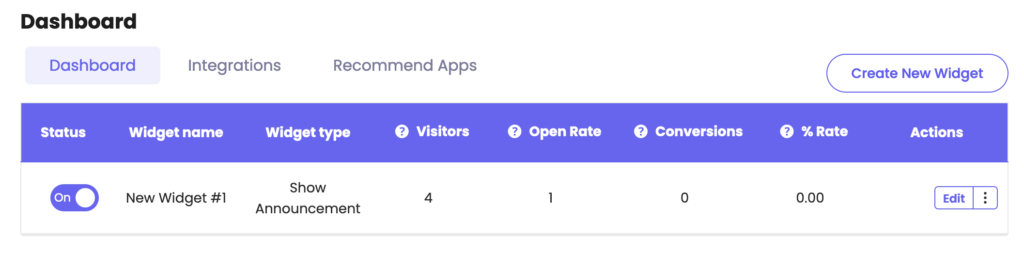
First, open the Coupon X app in your admin panel and click on the ”Edit” option next to your widget.
Click on ”Pop Up Design” in the page that will open.
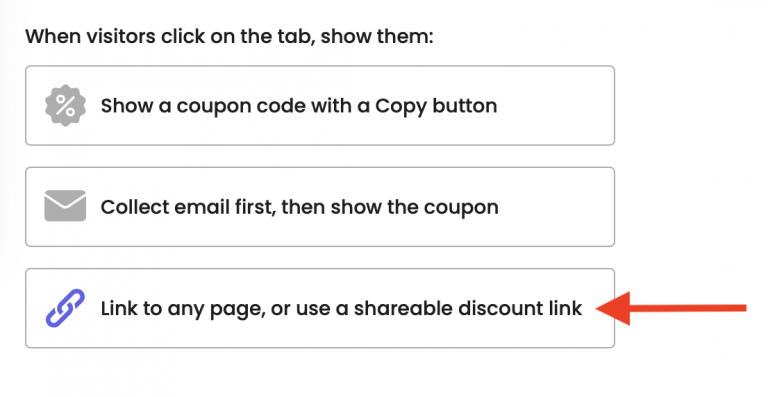
To create a shareable discount link, under ”When visitors click on the widget, show them”, select the ”Link to any page, or use shareable discount link” option. It will get highlighted.
Next, you need to choose your link type from the dropdown menu.
You can choose to share a custom link – a link to any page you want, e.g. product page, checkout page or even an external page, and then select whether you want the page that the link opens to open in a new tab or not.

You can also choose to show a shareable discount link with any of your currently existing discount codes.
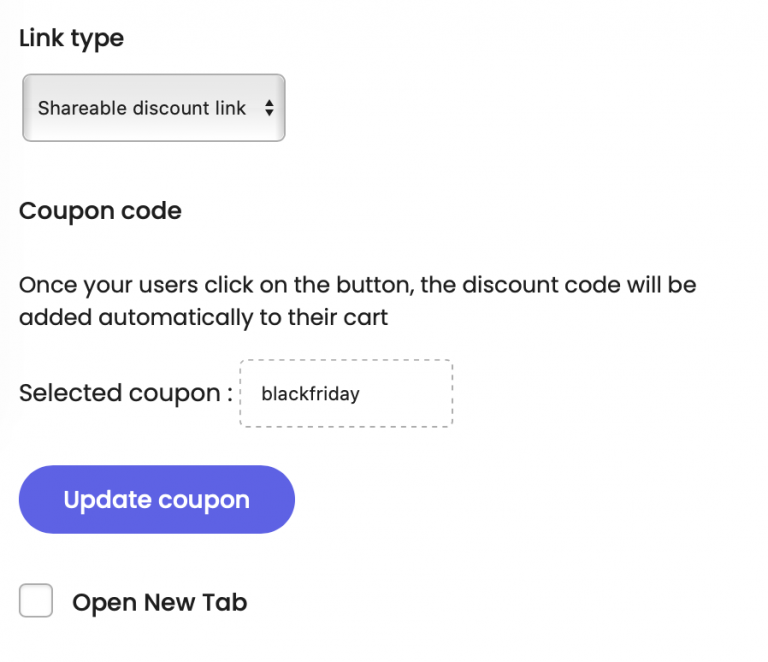
Simply click on ”Update coupon” and you will be asked to select a discount code from your currently existing codes. Once your website visitors click on the button, the discount code will be automatically added to their cart.

To read more about how to set up a discount code for your Coupon X widget, please check this article: https://premio.io/help/coupon-x/https-premio-io-help-coupon-x-how-to-set-up-a-discount-code-for-your-coupon-x-widget/
You can also select whether you want the page to be open in a new tab by clicking on the ”Open New Tab” box below.
Next, you can add a headline, a description (e.g. minimum spend applicable) and what text you wish to be displayed in the action button, for example ”copy”.
After this, you need to fill in the widget settings from the customisation menu that will show up below. This is how your customers will see the widget. As usual, you can also fully customise your widget in terms of colours to match your preferences.
In the end, it should look something like this, depending on your customizations:

When you’re ready setting up, just click on ”Publish” at the bottom of the page. That’s it! Easy as 1,2,3 ☺️