In this guide we’ll show you how to add page targeting rules to your Coupon X widget.
This can be useful if you want to either create different announcement/ discount code popups for different pages, e.g. product pages, or if you want to show the widget on specific pages only.
To learn more about how to use the Coupon X plug-in click here and don’t forget to check our entire Coupon X knowledge base.
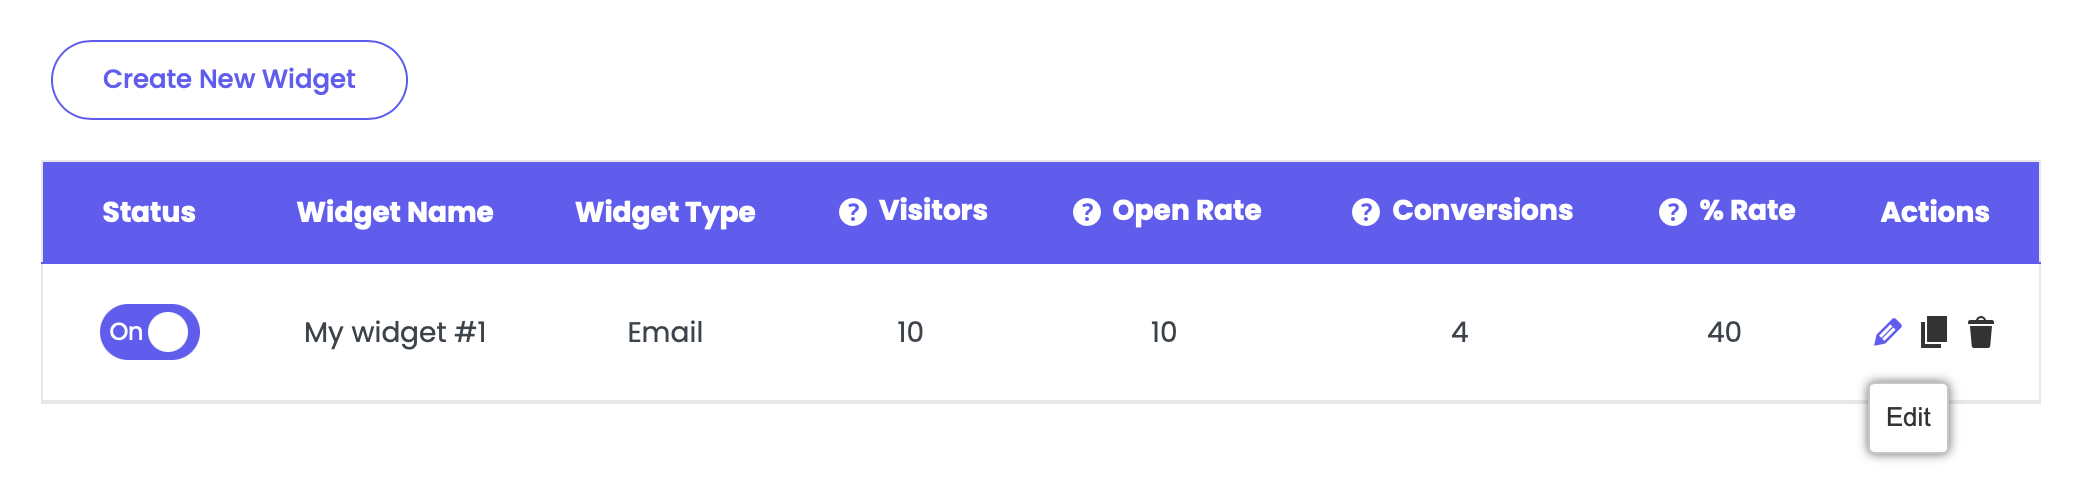
Let’s get right into it. First, open the Coupon X plug-in dashboard from your WordPress admin panel and click on the “Edit” button next to your widget.
Choose Step 4: Triggers & Targeting, scroll down and look for the ”Show on pages” option. By default, the widget will be displayed on all pages.
Click on the “Add rule” button to start adding your rule(s). You can choose to either “Show” or “Don’t show” the widget on the homepage, on pages that contain a specific word/ name, on a specific page, on pages starting with or pages ending with a specific word/ name, for example, to show the widget on pages that contain the word “product”.

You can add one or more rules, but make sure they don’t contradict with each other.
Keep in mind that if you have more than one widget, you need to make sure each widget is set up to show correctly to avoid overlapping widgets.
When you’re done, click on the “Save” button. Now your Coupon X widget will only be displayed on the specific page(s) as per the rules you have just added.
You can also read more about how to add country targeting rules, how to set up cart targeting rules, and past orders targeting by clicking on each of the hyperlinks. (add correct links)