In this guide we’ll show you how you can customise your Chaty widget so that your widget will only be displayed for specific countries in a few super simple and quick clicks. To learn more about how to use the plugin, click here.
With this feature you can customise your widget so that it appears for specific countries, depending on your business location and targeting, or based on your visitors’ browsing habits.
Let’s get right into it. First, open the Chaty settings and scroll down to ”Step 3: triggers and targeting settings”, then click on ”Add rule” next to ”Country targeting”. Please note it’s available for pro users only.
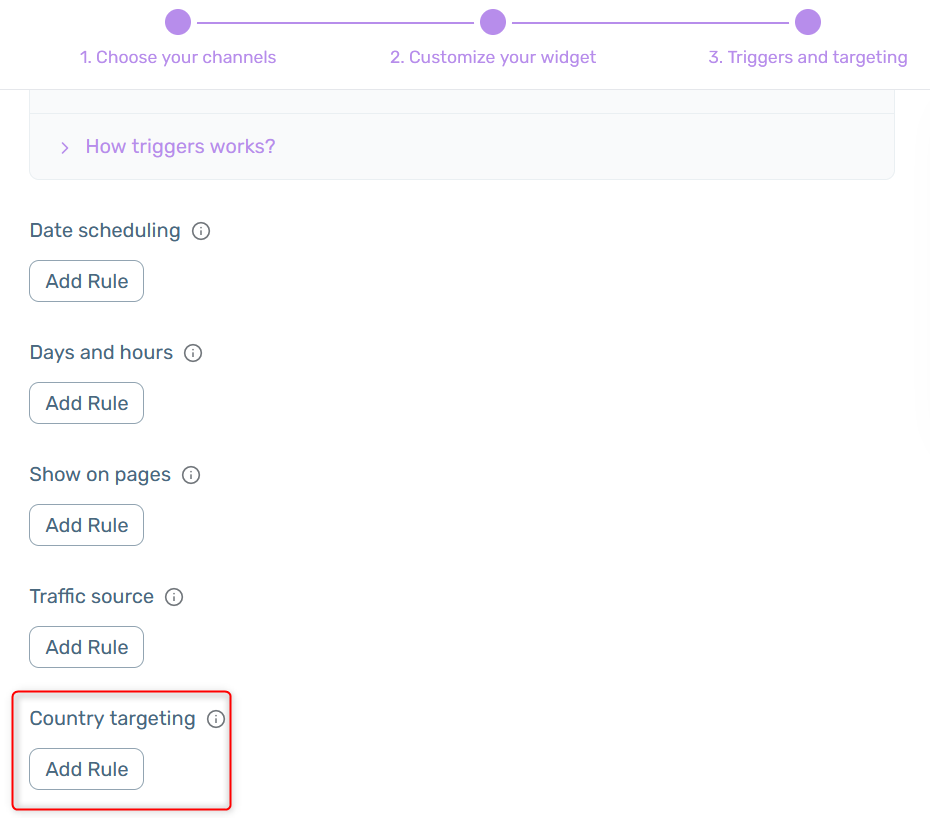
Scroll down the page and look for the ”Country targeting” option. Please note it’s available for pro users only.
To target your widget to specific countries, click on the dropdown menu and select one or more countries of your preference. You can also use our ”Select All” and ”Deselect All” options for ease.

Don’t forget you can create different widgets for different countries! We’ll show you how to create more than one widget in a separate guide.
When you’re done setting up your country targeting, don’t forget to hit ”Publish” at the bottom of the page. That’s it! Easy as 1,2,3 ☺️
Now your Chaty widget will only be displayed in the specific country/ countries you have just selected.
You can also read more about how to display the widget on specific days and hours, add page targeting to display the widget on specific pages by clicking on each of the hyperlinks.