In this guide we’ll show you how to customize your Chaty widget call to action message box. With this feature you can add a personalised message to encourage your customers to contact you and also customize it in terms of colours to match your website aesthetic.
To learn more about how to use the Chaty plug-in click here, and don’t forget to check our entire Chaty knowledgebase to make the most out of it.
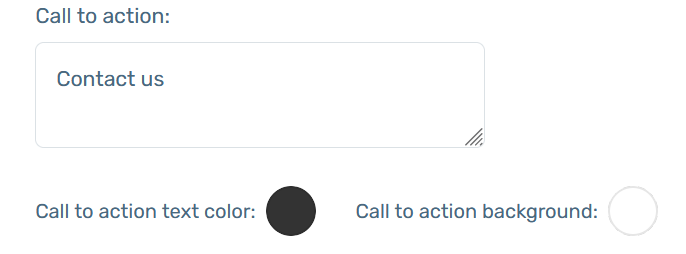
So let’s dive in. First, open the Chaty settings from your WordPress dashboard and scroll down to ”Step 2: Customize your widget”. In the ”Call to action” box, type your call to action text, for example ”Hi there :)”. From the two options below – ”Call to action text colour” and ”Call to action background” – you can choose the colour of your text and its background respectively, so that they match with the rest of your website. You can choose from the palette or insert the HEX code of your preferred colour(s).
That’s it! ☺️ In the end, depending on your settings and personalisations, the widget should look something like this on your website:
To read how to add an attention effect to your Chaty widget, click here.
You can read more about how to change the location, size or image of your widget here.
To read how to add an attention effect to your Chaty widget, click here.
To learn how to display your widget in an open state, click here.
Click here to learn how to set a time-based, scroll-based, or exit-intent trigger to your widget.