In this help guide, we will show you how to add reCAPTCHA in your Chaty contact form.
Click here to read more about how to add a contact form to your Chaty widget.
To learn more about how to use the Chaty plug-in click here, and don’t forget to check our entire Chaty knowledgebase to make the most out of it.
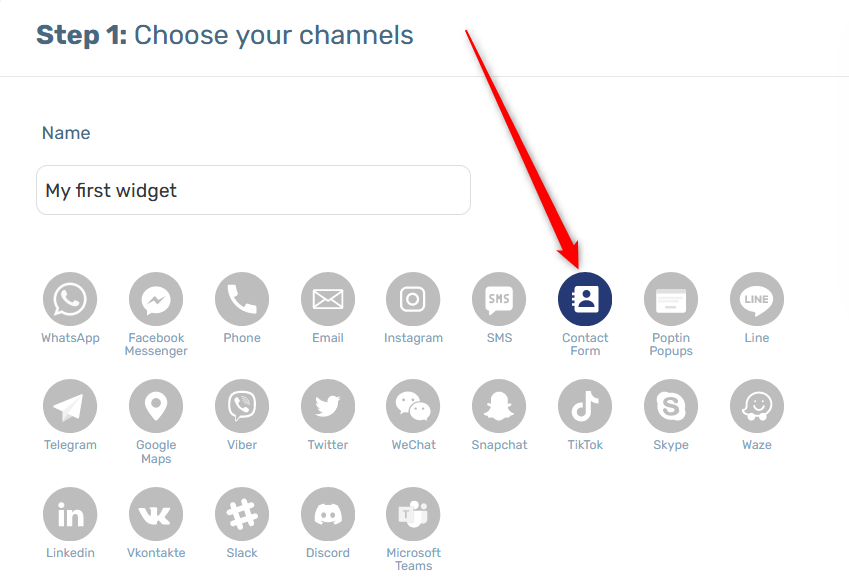
So let’s dive in. First, open the Chaty settings from your WordPress dashboard and add a the contact form channel from ”Step 1: Choose your channels”.
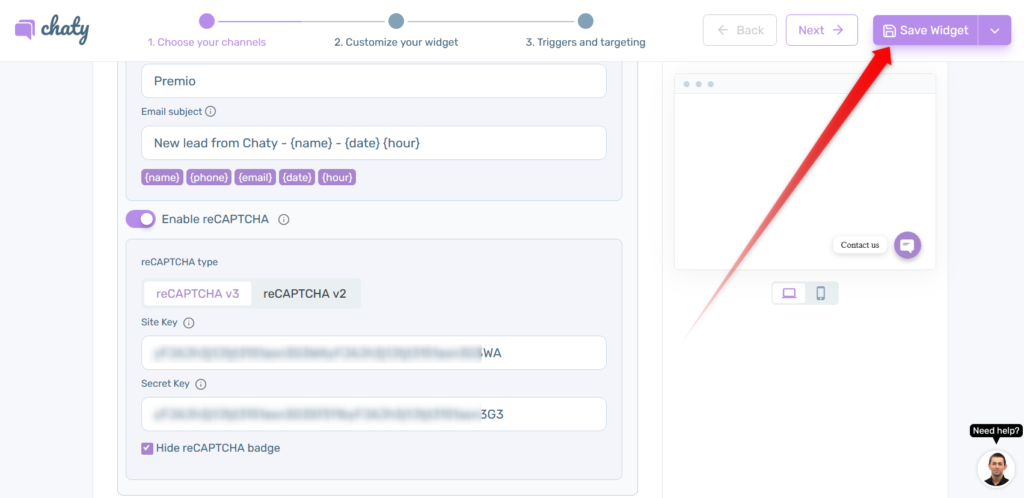
Now, click on the Settings button and scroll down where you will find the “Enable reCAPTCHA” toggle.
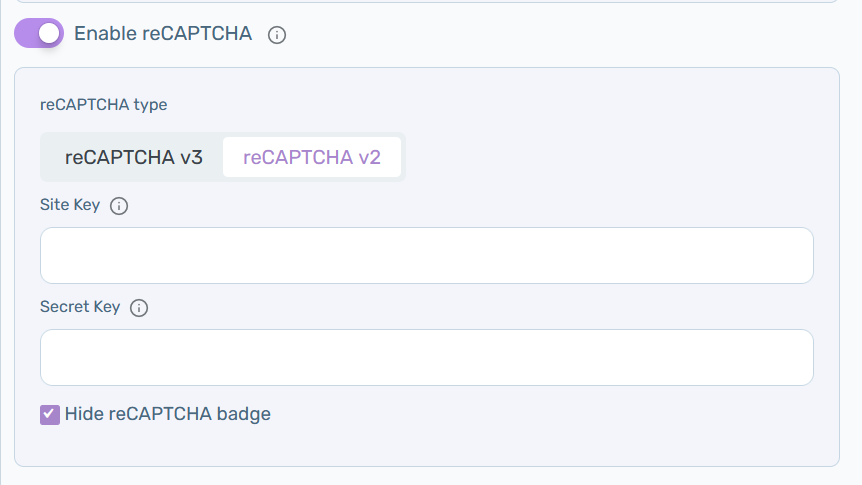
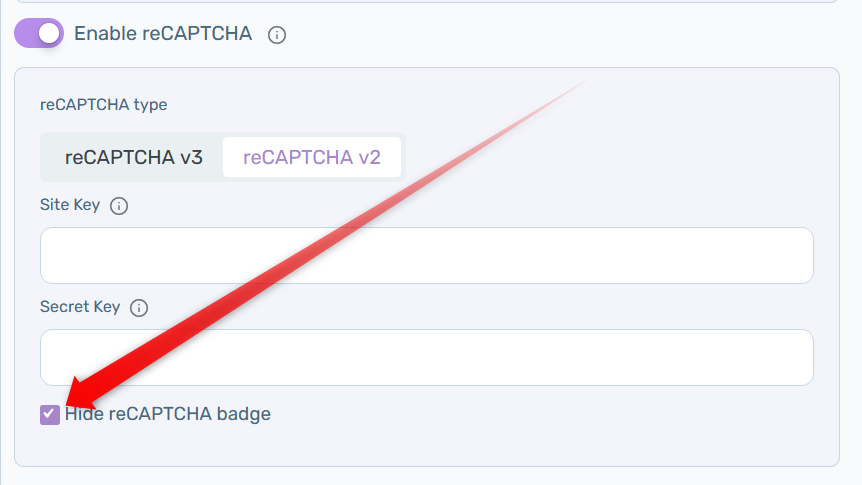
You can choose between reCaptcha v2 or reCaptcha v3. Depending on which one you choose, fill in your reCaptcha site key and secret key as shown below. You can also choose to hide the reCaptcha badge, to do that, click on the respective toggle.
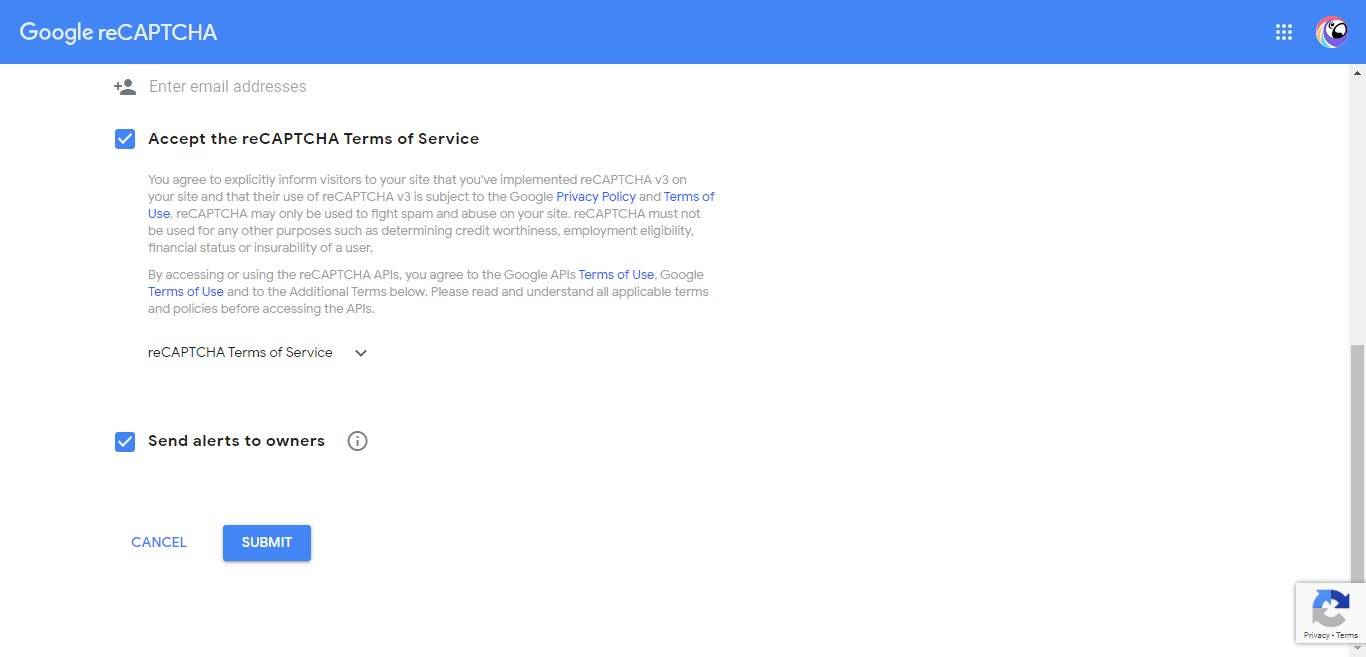
And this is how you can register your website for reCAPTCHA:
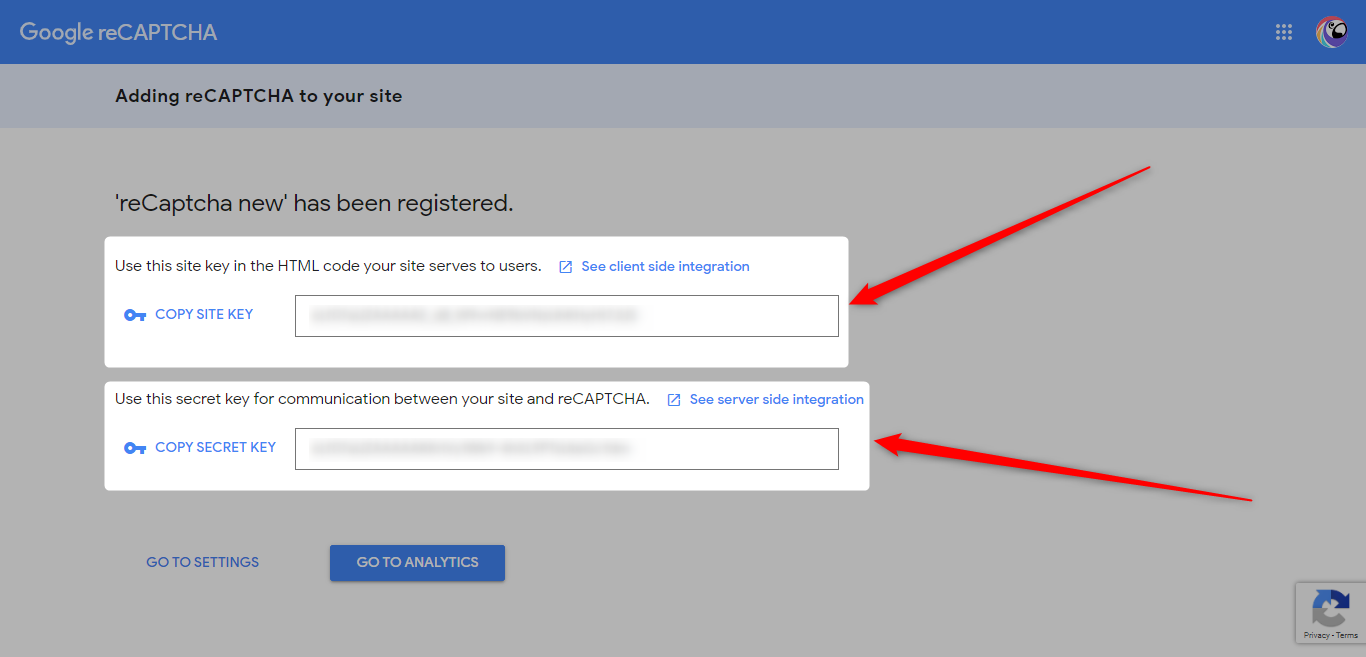
Click here to add your website. Please make sure you select the version you would like to use. After adding your website you’ll get your site key and secret key.

Then tick of the checkboxes to accept terms and conditions of reCAPTCHA and receive alerts and click on Submit. Make sure you go through their Terms and Conditions before accepting them.
Next, copy the site Key and secret Key and paste them to your contact form reCAPTCHA settings.
That’s it! When you’re done, don’t forget to hit the ”Save changes” button to make sure your settings will be saved.