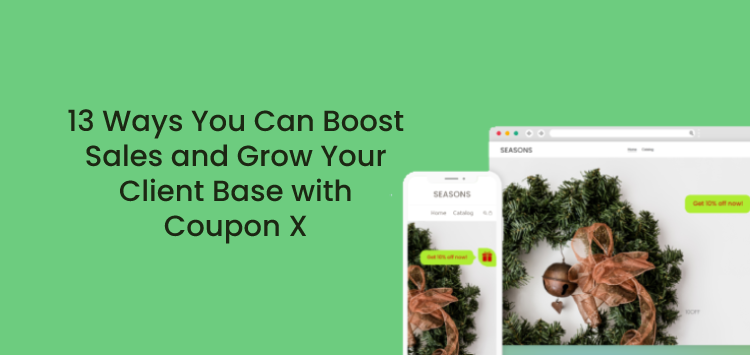
Whether you want to offer a first-purchase discount or are holding a promotional campaign, you are likely looking for a nice way to present your discount code on your store. And this is where the Coupon X app for Shopify and Wix comes in handy.
In full compliance with the standard discount code functionalities of both platforms, the app offers a fully customizable and modifiable beautiful popup solution for every business needs. And the best thing is that it’s free to install and use for up to 500 site visitors per month.
Keep on reading to find out how the app can be useful for boosting sales and growing your loyal customer base.
#1. Use the app with existing discount codes or create unique codes
When setting up your Coupon X widget, you can choose to either use it with a discount code that already exists in your Shopify or Wix discount code section or to set up a code in the app settings directly.
In either case, you will get to select the parameters of your code. Where the latter functionality comes in handy is that you won’t need to open any other page to do this – you can set up the code and its parameters in the app directly.
For example, you can choose the discount code type (percentage or value), value, whether it’s applicable to all products or to specific products/ collections only, any minimum requirements applicable (minimum purchase amount or minimum amount of items in cart), active dates of your campaign and usage limits (to limit the number of times the discount can be used in total or to limit the number of times a customer can use the code).
You can read more about how to set up an existing or a unique discount code for your Coupon X widget in this article from our help documentation.

#2. Choose among three types of widget
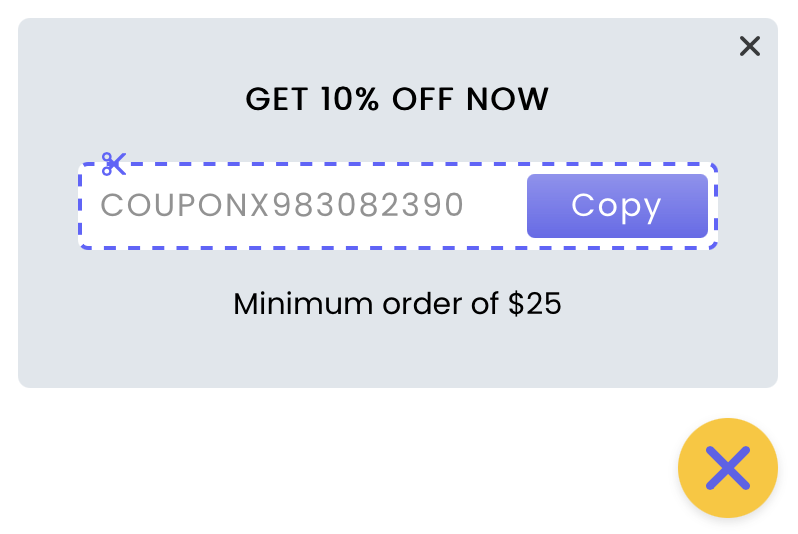
You can choose among three types of widgets – a regular ”coupon code with a ”Copy” button” – meaning the code will be visible immediately upon opening the widget and there will be a ”Copy” button next to it for convenience, a ”collect e-mail first, then show coupon” type, which means that the customer will need to leave their email address in order to reveal the code, that way growing your customer base.
You can choose to sync customer emails collected with the app with an email marketing platform (currently: MailChimp and Klaviyo).
And lastly, you can opt for a ”shareable link” widget type, which means that either once a customer clicks on the redeem button the discount code will be added automatically to their cart, or that you can add a custom link to any page that you want – for example, a page that contains the discount code.
Any of the three types of widgets can be selected in the free version.


#3. Fully customise your widget to match your site appearance
From the colors, fonts, and texts to the type of popup, you can set up a widget that matches your site appearance and aesthetic directly from the Coupon X app settings.
For example, you can select among our pre-uploaded widget icons or even upload your own image for the widget, add a (custom) position of your choice, add a call-to-action text (that can also hide after the first click!), add an attention effect and a countdown timer (which won’t make the discount expire, rather, it serves to create urgency) or choose to close the widget automatically and hide it after conversion.
Don’t forget that even if something you want to customize is not present in the settings, you can always customize it using custom CSS. If you need any help with that, don’t hesitate to drop us a line and we’ll happily assist you!
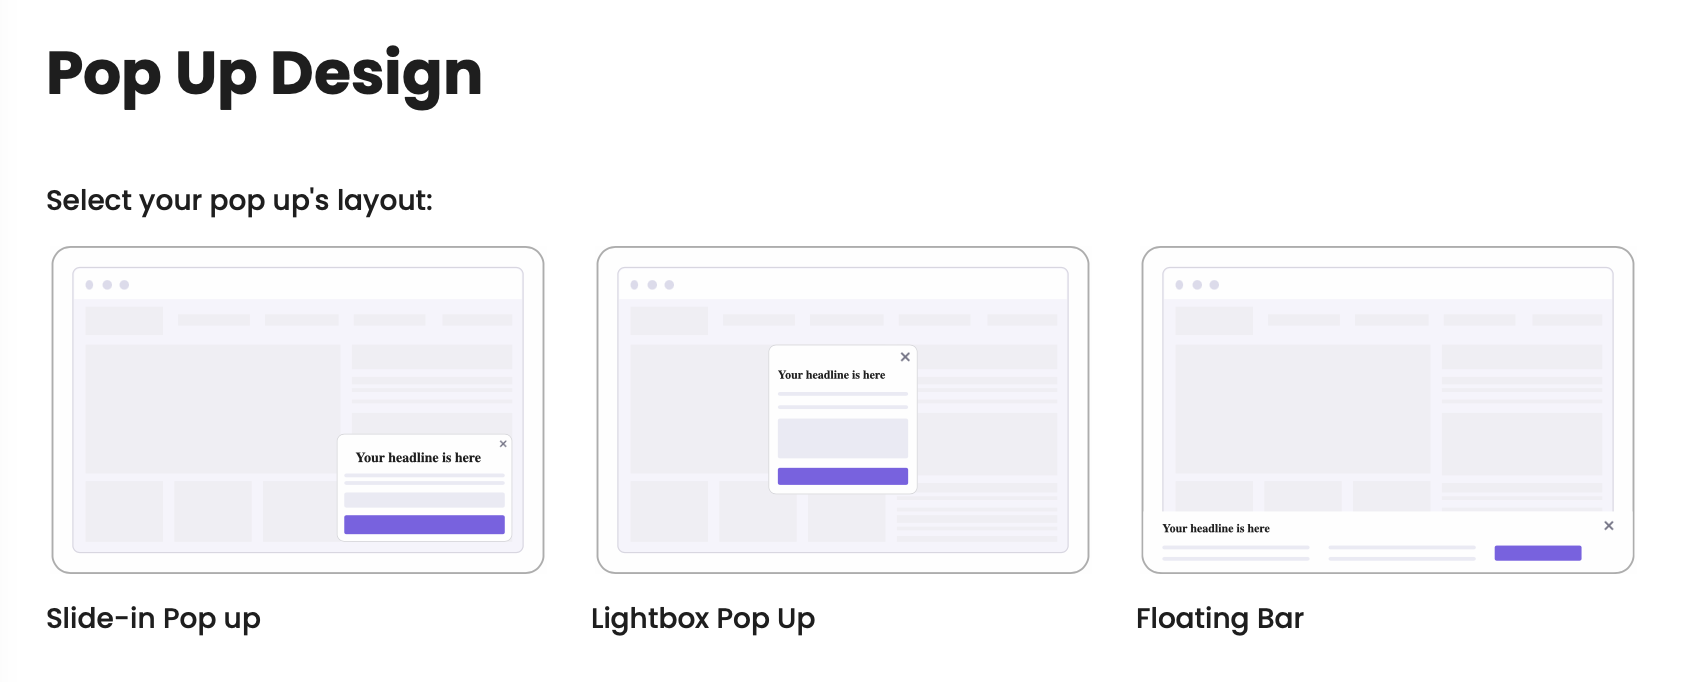
When it comes to the popup window, you can choose among 3 layouts – the so-called ”Slide-in popup” which is a small popup box that will appear at the corner of your site, a ”Lightbox popup” which is a popup that will appear at the center of your page, or a ”Floating bar” which will look like a full-width tab at the top or bottom of your page.
Most of the customization options are available for free. Read more about the different popup layouts in our help desk documentation.
#4. Add triggers of your choice to your widget
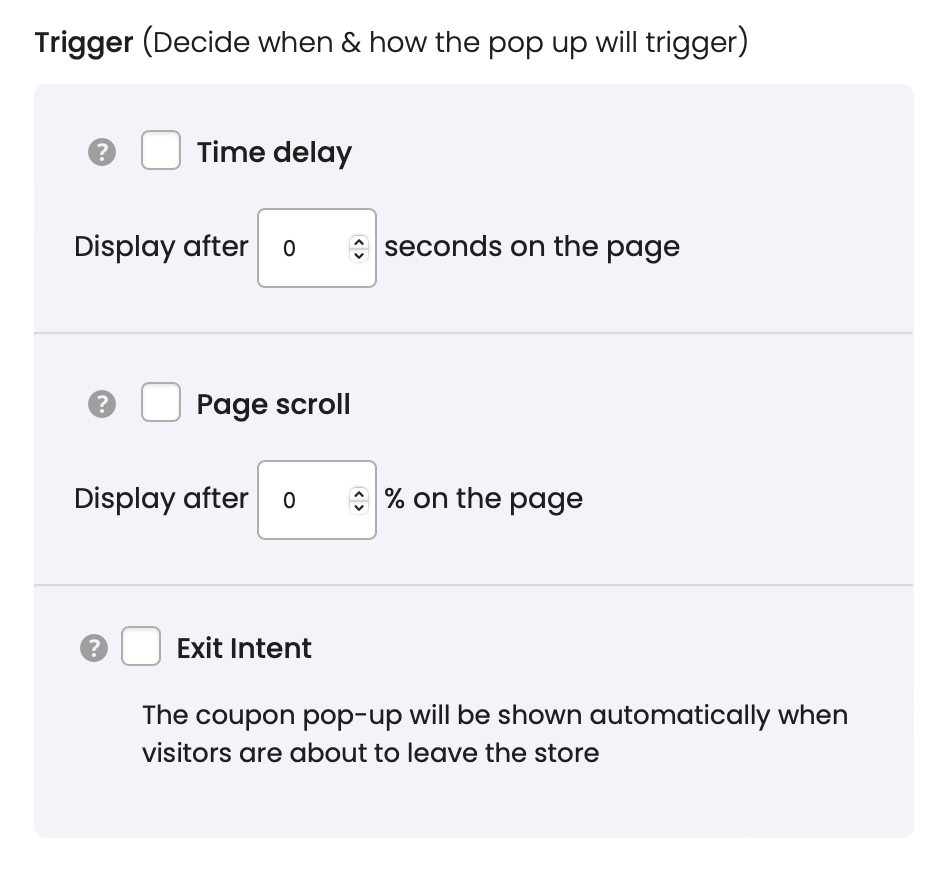
You can choose among three triggers to decide when and how the popup will trigger – a time delay trigger (meaning the popup will trigger after some time on the page, for example, X seconds, instead of on page load), a page scroll trigger (meaning the popup will trigger after a customer scrolls up to a certain percentage of the website, instead of on page load) and an exit-intent trigger (meaning the popup will be shown automatically when a visitor is about to leave the store).
Please note currently the exit-intent popup can’t be used on its own, only together with at least one of the other triggers. You can set up any triggers of your choice in the free version of the app.
#5. Collect customer emails and manage them using an email marketing platform
You can collect customer emails with the Coupon X app so that you can grow your client base by selecting an email widget type – the so-called ”collect e-mail first, then show coupon” – from the app Popup design settings. Each customer who submits their e-mail in order to get the discount code will be synced with your Shopify or Wix Customers tab respectively.
You can also integrate the Coupon X app with two different email marketing platforms. Currently, these are MailChimp and Klaviyo. Please note the email marketing platform integrations are only available in the paid plans of the app. After you collect customer emails, you can manage them as per your needs, for example, add them to different groups or lists.

#6. Set up A/B testing to see which type of popup performs better for your audience
The idea of the A/B testing is to find out which widget performs better for your specific business needs and audience.
The way it works, the testing basically splits your traffic into a few groups based on how many widgets you add to the testing – and shows the respective widgets on a rotational basis to each of the groups, so that later you can compare the statistics and find out which widget performed better.
You can add up to 4 widgets (A, B, C, and D) at a time to the A/B testing. In order to see which widget performs better for your site more accurately, we suggest that you test just one variable at a time; for example, if you want to test different design options, we suggest keeping the same triggers and targeting rules and changing the design only, and so on.
Learn how to set up A/B testing for your Coupon X widget in our help desk documentation. The A/B testing functionality is available in the app paid plans only.

#7. Launch and close the widget through any custom button or image
If for some reason you prefer not to launch the discount code popup through the inbuilt widget tab – such as if you already have a custom button or an image you prefer to open the discount code popup from, or if you have some custom JavaScript rules that need to be met before displaying the discount popup – you can do this by launching (and subsequently closing) the Coupon X popup using JavaScript.
You can read more about how to set it up in our help desk documentation article. If you want to hide the inbuilt widget tab, you can currently do this with custom CSS.

#8. Assign tags to customers and add customer tags targeting to your widget
You can assign any tag(s) of your choice to customers that submit their email through the Coupon X popup, for example ”Coupon X”, to be able to distinguish better your audience and know which customers came from the app. For that purpose you will need to select the ”collect email first, then show the coupon” widget type from the app Popup design settings.
As soon as you activate the option, you will be displayed a field in which you can type the tag(s), separated with a comma if more than one, that you would like to be assigned to customers who came from the app.
You can read more about how to set this up in our help desk documentation. Subsequently, you can also choose to add targeting rules to show or not show the widget to users who have some of the tags added – for example, if you have added a ”1st purchase” tag for a first-purchase customer and want not to show a discount code to that customer again. You can read more about how to set up customer tags targeting your widget in our help desk documentation.
Adding customer tags and customer tag targeting is available in the paid version of the app only.

#9. Schedule your widget in advance
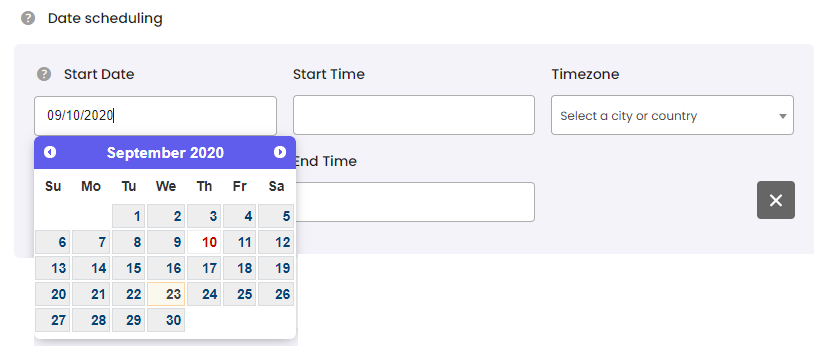
If you have planned a promotional campaign, such as a Black Friday or a holiday sale, you can schedule your promotion popup in advance, just like you would schedule a social media post.
By enabling the so-called ”date schedule targeting” from the app Triggers and targeting section, you can schedule in advance to show your Coupon X widget on specific dates and in specific hours. This feature is also useful if you want to offer time-limited discounts. If empty, the widget will be shown immediately.
You can read more about how to set up date scheduling in your widget in our help desk documentation. The feature is available in the paid plans of the app only.
#10. Show the code for specific cart value or content
You can choose to show the Coupon X widget only after specific cart-related conditions – such as cart money value, number of cart items, or specific products added to the cart – are met.
To do this, you need to set up the so-called ”cart targeting” from the app Triggers and targeting section. When off, the widget will show for any cart value and content. You can read more about how to set up cart targeting to your widget in our help desk documentation. The functionality is available in the paid plans of the app only.

#11. Show the widget on specific pages only or create different widgets for different pages
Say you want to offer a discount on a specific collection only or that you want to offer different discount code parameters for different collections? You can do this by setting up the so-called ”page targeting” from the app Triggers and targeting section.
You can set up to show or not to show the widget on a specific page or on pages containing/ starting with or ending with a specific word (to target multiple pages at once, for example, pages ending in /en). You can read more about how to set up page targeting to your widget in our help desk documentation.
To create different widgets for different pages, you will need to create different widgets and add respective page targeting rules – for example, widget A will show only on page A and widget B will show only on widget B.
Click here for further assistance in setting this up. Please note adding page targeting rules is available in the paid plans of the app only.

#12. Show the widget to customers who have already made a purchase (of a specific item or in general)
If you want the Coupon X app widget to show for first-time customers only or for customers who have or haven’t purchased specific item(s), you can do this by setting up the so-called ”order history targeting” from the app Triggers and targeting section.
If left empty, the widget will show no matter what has been ordered in the past, if anything. You can read how to set up order history targeting to show or not show the code for users who purchased a specific item or items from a specific collection.
If you want the discount code to appear to new customers only, select the ”don’t show” on ”any products” options from the respective dropdown columns.
Please keep in mind however as per Shopify and Wix rules we are allowed to store data for previous purchases for the past 60 days only. The order history targeting functionality is available in the paid plans of the app only.

#13. Add traffic source, operation system, location and time targeting rules
You can further customize your widget by adding a few more targeting options and namely: ”country targeting” (to show the widget for users coming from a specific country or specific countries only), ”days and hours targeting” (to show the widget on specific dates and in specific hours only – for example during your working hours only – or if you want to create different widgets for different days and hours), ”traffic source targeting” (to show the widget only for users who come to your site from a specific traffic source, such as direct traffic, social networks, search engines, Google Ads or a specific URL), ”operating system and browser targeting” (to show the widget in specific operating systems and browsers only on either desktop or mobile mode). By clicking on each of the hyperlinks you can learn more about how to set up each of the functionalities.
Keep in mind they are all available in the paid version of the app only. If off, the widget will show for all countries, on all days and in all hours, to users from any traffic source and on any operating system and browser respectively.


And that’s it! We hope you found this article informative and helpful – go on and create your first Coupon X widget now, and if you have any questions, check our entire Coupon X help documentation section or drop us a line. We’ll be happy to assist you in creating the perfect popup for your store!
